Monday, May 26, 2014

There and Back Again ~ Warping Mill Prototype

When we were in New Zealand in March we stopped in for a studio visit with Diane Dudfield ~ she writes Diane’s Loom Talk blog which is well worth a visit!
This is Diane (on the left) and me, in her amazing studio right on the peninsula in Katikati NZ! We had a great visit with lots of loom talk and show and tell.
Michael spotted Diane’s warping mill tucked in beside her loom and she graciously took the time to set it up for us to see. My husband was in the process of designing a warping mill built for my specific needs and he was able to get a few ideas from watching Diane set up her warping mill.
Diane gave me this great cheese of 110/2 Merino yarn to try and a wonderful copy of her artists statement.  I feel a collapse weave scarf or a woven shibori in my future!
Here is the prototype, which is made in softwood, for the warping mill that Michael is designing for me. It is done and ready for its maiden trial and  I will finally get to try it out as soon as I finish the Lynch Tartan which is keeping me occupied for now!
Michael has made it very lightweight while still maintaining structural integrity and has figured out a way for me to take it apart and fold it flat for storage. He has had his work cut out for him because I’m small and not all that strong, so I needed to be able to lift it onto the dining room table and then take it apart without help.  Once I make a few warps and we knock out all the bugs, Michael will make it in maple hardwood with stainless steel rods and fitting…..gonna be a beauty!
Today I finally ran out of the Ancient Blue yarn that I used to weave the family tartan ~ talk about poor planning on my part!  I had some really lovely steel gray/olive green marl coloured wool of the same grist so I’ll carry on and weave the rest of the warp off using it.  It will no longer be the Lynch family registered tartan, now it is just a humble plaid!

Wednesday, May 21, 2014

Dyeing Louet Fibre with Gaywool Dye

Don’t you just love it when a ‘box of happy’ is delivered to your door?  I got mine a few days ago from Louet!

I received a half pound of Merino Silk 80/20 Top fibre in Natural and the same again in  Black; you can clearly see the silk running through the black Merino so you know it is soft, soft, soft!  I also received a half pound of Tussah Silk Top which started calling to me right away!
Tucked into the box were four Gaywool dyes and the full range of dye sample cards, now I have everything I need to add some pizzaz to the silk! Although Gaywool dyes were developed specifically for wool, they work on any protein fibre ~ like mohair, silk and alpaca.
I measured four ounces of Tussah Silk top from the bag.  My first task is to get it saturated with water so I coiled the silk into a plastic tub to keep the silk fibres aligned and to make it easy to find the end.
There are yards and yards of silk so I needed to make a double layer, I used my laundry mesh bag between the layers just to keep it all from clumping together.
Because the silk wants to float, it needs to be weighed down and I used a couple of plastic containers filled with water to keep the silk under the water.
I left the silk overnight to make sure it was really saturated and the next day I squeezed out all of the excess water. I moved everything out to the garage and donning gloves I made up a solution of 4 cups of water with 1.4 ounces of urea and 3/4 cup of white vinegar and slipped the silk into the bowl.  I left it soak while I got my dyeing area set up in the garage.
I used this very light weight plastic sheeting to cover my work area.  I use a half sheet of plywood on sawhorses and it is a perfect height for me!
After about a 20 minute soak I squeezed out the silk (wearing gloves) and I laid it on the plastic in long ribbons.  I spent the time to flatten it out a bit to get as much surface area exposed as I could.
I measured out about 2 teaspoons of Cyclamen Gaywool dye and the same amount of Citrus into separate plastic cups.  (You see the prototype of the warping mill my husband is making me in the background on his workbench, but that's another story!)
Now I am ready to dye ~ really ~ that joke never gets old!  I sprinkled the dye in small alternating bands directly onto the still moist silk.  I purposely left some areas without dye so that I can get some colour blending and natural sections.
I used a little squeeze bottle with some of the urea, vinegar and water mixture from the soak to wet the dyes enough so that I could work the colour into the silk with my fingers.
I then turned the silk over and repeated the whole process on the other side.
Because I’m using a variation on the Rainbow dyeing method, all I have to do is to fold the plastic sheet from the table over the silk to encase it.
And roll it up!  Jobs a goodun’! 
 Just to be on the safe side I’ve put the silk roll into a plastic bowl to age for the next 24 hours.  I can't wait to see what it looks like tomorrow!

Friday, May 16, 2014

Weaving Tips and Tricks

Since I’m still plugging away on the tartan yardage, I thought I’d blog a bit about a few of the weaving tricks that I’ve used in the past few days to make weaving just that little bit easier.

After I did my first standard tie up on the tartan yardage I realized that my tension wasn’t all that great, so I decided to untie the warp from the breast beam and retie using the ‘lashing on method’ you can read about it here.
To hold the breast beam rod in place and to keep it level while I was lashing on I used a flat stick placed under the rod and resting on the beater bar.  These are the warping rods from my Louet Jane loom.
My friend Susan came for a visit awhile ago and while we were chatting about the tie up on the tartan yardage she spoke about the need to spread out the warp after the tie up and before weaving.  Just take a look the next time you tie on and see if there is an angle from the warp leaving the reed and where it attaches to the breast beam.
I almost always use a floating selvage thread; on the tartan I’m weaving right now I’ve used a smooth acrylic yarn to help me see the selvage changes and to help with draw in.  I’ve chosen a smooth yarn so that I can pull it out when I’ve finished weaving.  Rather than having just a mass of thread in my weighted film canister, I wind the thread around a sewing bobbin to keep it neat and tidy.
When I have several broken or missing warp threads that will hang close together off the back beam I wind the replacement thread onto the sewing bobbin and put it in a weighted film canister but before I attach it to the loom I slip the new thread through a small piece of plastic mesh or I use a piece of cardboard and cut slits in it and place the new warp thread into the slot. This will keep the hanging warp threads from twisting together.
When warping I prefer to use a heavy gauge bond paper rather than sticks.  I like the fact that I can pull it tight after each bout of winding and it keeps the warp threads beautifully in place, read more here.  As it comes off of the back beam I keep it off the floor by winding it back into a roll and holding it in place with clothes pins.
When I need to have unwoven areas for my fringes or between items I use 1 inch Venetian blind slates.  The photo above is Ngaires' newest shawl on the loom. These are firm enough to beat against when you first start and are easily to pull out as you go around the breast beam, but leave a few to ensure that the threads remain spread properly on the beam.
Ngaire was worried about draw in on this shawl so she pulled out this easy home made stretcher or temple.  It is simple to make with paper clips and works like a dream, you can get the instructions here

Friday, May 9, 2014

Fiber Fair

Today I added a new page to my blog ~ a for sale page!  I have no idea how I’ve managed to acquire so much stuff! Please have a quick look because there are some real bargains to be had.

On a much more interesting note last Saturday we went to the Fiber Fair in Campbell River and had a great time visiting all the booths.
I was especially happy to find a booth for The Weavers Atelier.  They are so new to Vancouver Island that they haven’t opened yet, but lucky for me they brought some weaving yarn with them. Linda is also the Guild of Canadian Weavers current president and it’s great to have such a strong West Coast presence in the guild.
I was so happy to get my hands on 16 ounces of 2/20 silk because dyeing season is almost here and I love to paint the silk, although I still haven't finished weaving last years batch of silk warps.
I also found some Brassards 2/8 unmercerized cotton in a stunning peacock blue/green and the navy to cross it with…..I’m seeing tea towels on the horizon.
The weather here continues to be cool and rainy, but that’s just fine by me as it keeps me at the loom. 
I am about 2 yards into the Lynch family tartan and so far, so good although I’ve had every problems know to a weaver ~ mis-selying, mis-threading; basically if I could make a mistake I did! But, doesn't it look lovely!

Sunday, May 4, 2014

Tartan Begun ~ Pinwheel Tea Towels Finished

Sadly I’ve not progressed very far with my tartan weaving.  I seem to be dragging my heels and I’m blaming the fact that we finally have warm sunny weather, so my garden beckons!

It took me three sessions to pull the warp ~ yup three days!   Then a full day to get the warp beamed another three sessions (days) to dress the loom, definitely heel dragging!
I’ve got the 8 yard warp tied to the breast beam and I’m ready to start, but…..darn the sun is shining again!
Way, way back in November I wove some Pinwheel tea towels and had some amazing problems with the warp.  I finished them in November but just tossed them into the finishing basket until I could get over my snit!
 This week I pulled them out, pressed them up and finished them ~ and frankly they are stunners!  I was worried that you wouldn't be able to see the tiny pinwheels with the 2/16 cotton, but they show through beautifully.
There is definitely a right and a wrong side with pinwheels on the right side and a darker warp band on the back side.

My husband has just extended the pergola that he built last year in the back garden and I’ve already got pots hanging!  I’ve decided to maximize our tiny back garden by vertical gardening and have put cucumbers, tomatoes and strawberries in the pots. Fingers crossed it works!
I’ve just bought this amazing golden hop to plant up one of the vertical posts and hopefully it will cover most of the pergola and fill out the garden as we wait for all the small shrubs and perennials to grow; apparently it will grow 6 inches a day ~ and that's just what we need while we wait for the clematis to grow.
The bleeding heart is looking it's best this week.

Tuesday, April 22, 2014

Family Tartan ~ New Project

Vacations are a wonderful thing….great to see the world, but also great to be home and to celebrate what you have!  Our month in the Cook Islands and New Zealand was exciting, but man, am I glad to be home and back at the loom!

While away I had plenty of time to think about what I wanted to put on the loom and what stash I wanted to bust… I made my mind up to weave our family tartan using the yarn I purchased made by Lochcarron Mills in 2007.  I know, about time......
 The Lynch family tartan is one of the original seven Irish tartans that were registered in the early 1900's and the colours are blue, scarlet and green.  I chose to weave this tartan using the Ancient colour palette; the only disappointing thing is that the ancient scarlet is quite rusty orange looking ~ not a fav, but authentic and against the soft blue and soft green it's surprisingly lovely.
It actually took me three sessions to make this warp ~ 1018 threads….yikes.  Although this is a 2/2 twill I had to extend it over all 12 shafts because of the number of heddles necessary.  After pulling the warp I noticed that I don’t seem to have as much blue yarn left over as I expected.  So an emergency yarn call to Susan down island who ordered this same yarn for our Canadian Master Weaver Tests ~ but she didn't have any of the colour I need….so if anyone out there has 2/16 worsted wool in ancient blue purchased from the Yarn Source in Ontario that you want to sell, email me please!
I’ve probably mentioned that I love, love, love to cook on this blog on more than one occasion.  Two years ago when we bought our house I put in this lovely appliance package and I’ve been bitching about it ever since.  I’m a really, really short gal, so the over the range microwave just didn’t work for me and frankly the fan just did not do the job.  The ceramic stove top is very pretty, but it cycles the heat and it made me crazy….Well, crazier anyway!
So we pulled them both out and sold them on Craigslist ~ I must have priced it too low because they went in hours!  I knew pretty much right away that I wanted a much stronger fan, so forward thinking gal that I am, yeah right!  I picked up a few tiles when I saw them last year just hoping that I'd get a chance to use them.
Ngaire and I tiled the bare patches of wall and added these great stainless steel button tiles for an accent.  Michael cut the tiles to fit and he made short work of installing the new fan without a scratch! Ahhh, team work!
For a full week we were without a range or microwave and this little hot plate worked really hard for us. My favourite recipe was this one from Martha Stewart, One-Pan Pasta, absolutely fool proof!
My new duel fuel cooker arrived last Thursday and the plumber came in on Good Friday morning to hook it up ~ I’m totally stoked!  No clock ~ no timer ~ no warming drawer ~ instant heat ~ priceless!

Monday, April 7, 2014

The 2014 ‘Oh Sh** Pile’


The contents of the pile starting from the top centre moving clockwise are
1. Colourful twill yardage - to be made into vests (?)
2. Pink and brown yardage - to be made into a cloak or cape (?)
3. Orange silk and blue Tencel scarf with beat error – to be made into a purse/bag (?)
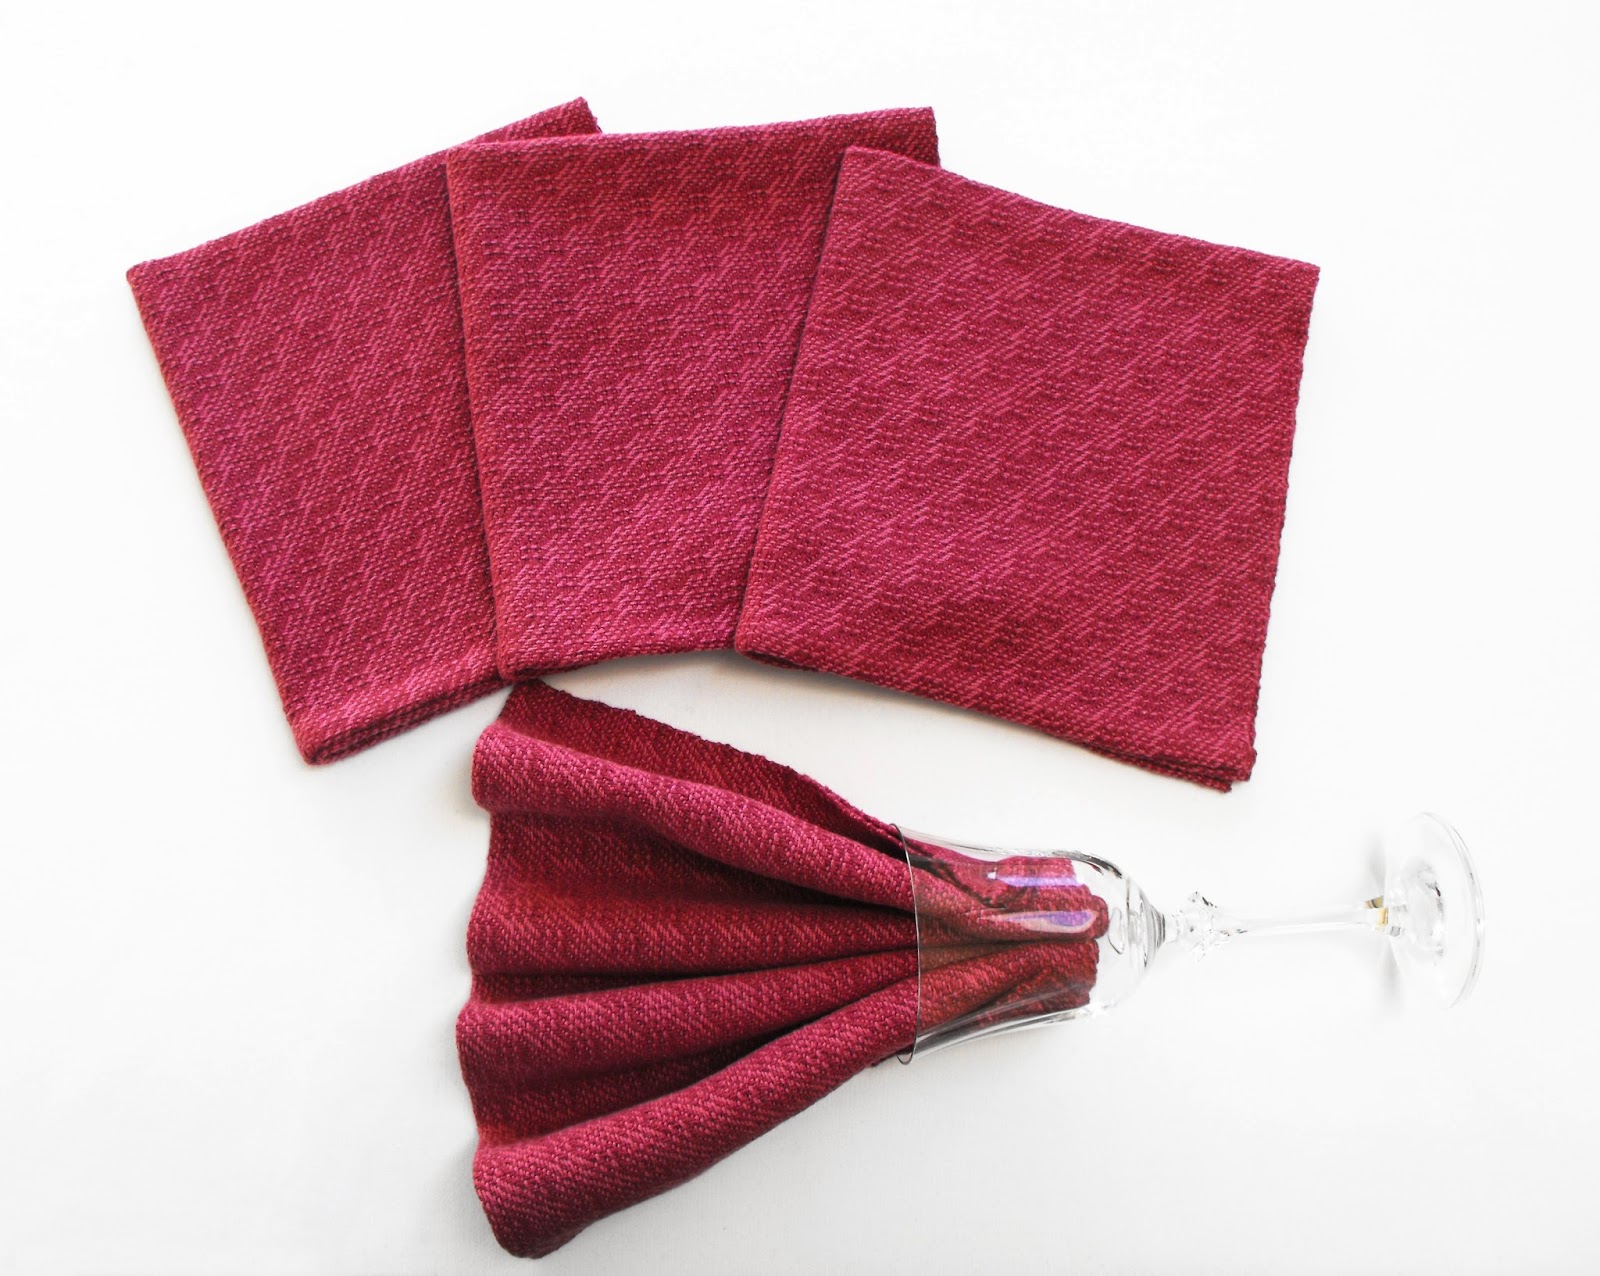
4. 4 napkins with one sewn the wrong way - needs to be fixed
5. 2 small black and yellow squares – have no idea
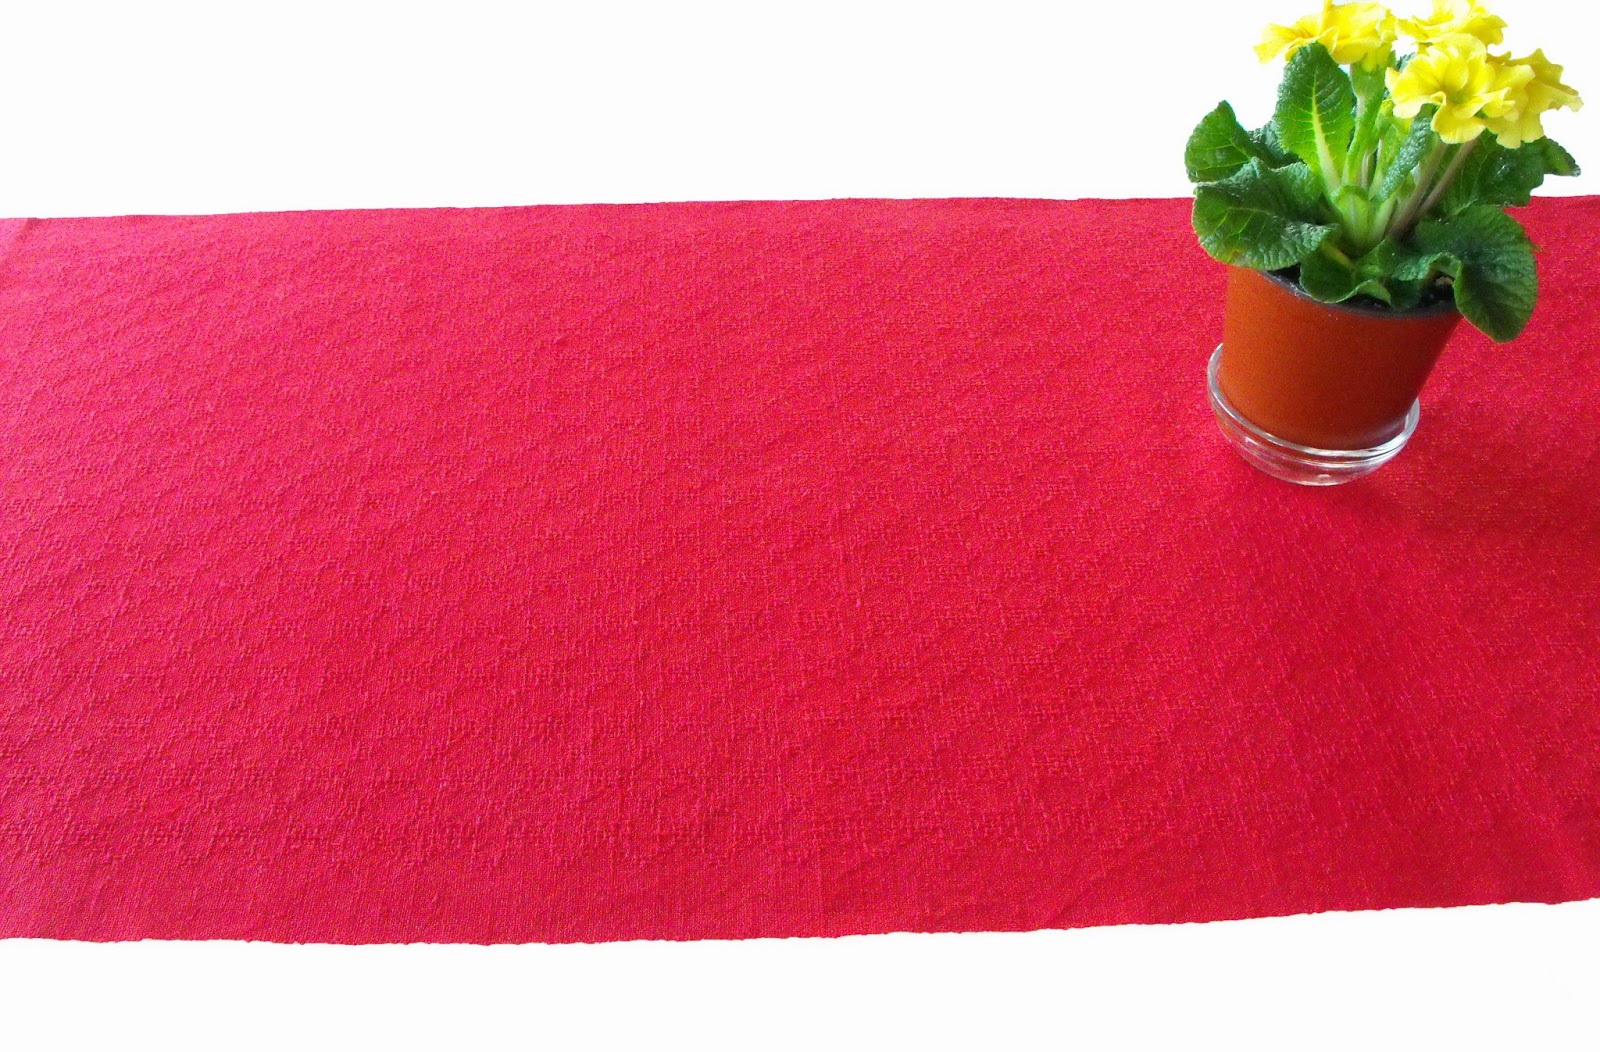
6. 2 Red runners that need to be pressed and hemmed


The first items to be worked on are the napkins.  I was photographing them so I could put them on Etsy when I noticed that 'one of these things is not like the other (channeling Sesame Street)!'. 

The hem on one napkin had been stitched on the wrong side.  I unpicked the hem and re stitched it.  Now it matches the rest.  For Sale.
The second project was finishing the runners; they are not really part of the 'O-pile' because I only finished weaving them in late December.  The warp is 2/10 cotton and the wefts are linen single in Scarlet and cottolin in Raspberry.  They are both woven in a huck lace trellis pattern.

For the hemming I used a trick that I learned from a blog post by Cindie at Eweniquely Ewe.  She uses templates cut from folders to fold over the hem.  For a template I used a metal ruler to press the hem, be careful pulling it out it can be quite hot!
For pressing I usually use a steam press but a steam press only flattens the fabric it can’t really be used to block the fabric.  So to the ironing board I went with the runners.  It took much longer than I thought but they are done and looking great!

Above are some beauty shots of the scarlet linen and cotton table runner.  Very dramatic!  The finish dimension are 17.5 x 47 inches.  For Sale.
Here are some beauty shots of the raspberry cottolin and cotton table runner.  It is very striking!  The finish dimensions are 17 x 63 inches.  If you would like this table runner just email me through my Etsy Shop - WovenBeauty - and I'll set up a listing for you.  Both of these runner are quite lovely and I am really pleased with them.

So for the New Years 'Oh Shit Pile' already two out of six are done or 1/3 done or 33% done.  That seems pretty good!