Showing posts with label Weaving Tools. Show all posts

Saturday, April 8, 2017

All About Shuttles

Today I gave a short presentation to my guild at our monthly meeting about shuttles and I thought I'd share it with you.

One common definition of a ‘weaving shuttle’ is that it is an appliance which holds the weft, and which can be passed or thrown through the shed in the warp.  These are a few from my collection.

Stick or Poke Shuttle
 The simplest shuttle is a flat stick that has a notch at each end.  It can be passed through the shed but cannot be thrown.
Loading the stick shuttle begins with a slip knot looped over a notch the yarn is built up in figure eights alternating sides after every few passes.  This builds the weft up outwardly to minimize the drag of the shuttle going through the shed. The weft must be unwound by hand every pick and care must be taken to unwind enough yarn to pass through the shed without tugging on the selvedges.
The middle two stick shuttles have a tapered edge on one side.  The edge can be used to beat the weft into the web.

Rag Shuttle
The rag shuttle has two flat sides and pointed ends. These sturdy shuttles have traditionally been used for rags although they are excellent for heavy rug yarns and chenille.  They must be unwound by hand every pick.  There are two distinct styles of rag shuttle, open bottomed and closed bottomed, but both styles have sides high enough for all the yarn to pass smoothly through the weaving web.  These shuttles are wound in a circular path around the centre of the shuttle.

Ski Shuttle
Ski shuttles do essentially the same job as rag shuttles and are designed to hold medium weight yarns. Begin winding the shuttle by holding the yarn in place around the ski base and anchoring the yarn with subsequent passes.  Continue until the ski section is full but not overflowing the shuttle. This allows the smooth bottom and top of the shuttle to slide through the web.  These shuttles are unwound by hand before each pick.

Boat Shuttle

Boat shuttles were the first type of shuttle that unwound in a continuous and automatic manner.  The boat shuttle has a spool or bobbin rotating freely on a fixed spindle.  The shape, size and weight of the shuttle vary and should be chosen with the weavers needs in mind.  Currently two styles are most prevalent, open bottom and closed bottom, there is little difference in the performance and is strictly preference. There is little doubt that a boat shuttle loaded with a bobbin increases your efficiency because you don’t need to unload the yarn at every pick. Boat shuttles are excellent for looms with shuttle races like table looms and floor looms.  The quality of the weaving bears heavily on how well the bobbin is loaded.
To wind a bobbin you fill up each end of the bobbin in turn, close to the inside of the bobbins ends. Then you run the yarn back and forth across the centre of the bobbin evenly, right up onto the ends which have already been filled.  Lastly you create a small hump in the centre of the bobbin.  Filling the bobbins evenly like this stops the yarn from tugging and giving you ‘mouse nibbles’ at the selvedges.

A helpful hint is to extend the slit on the side of the shuttle, it should be the length of the bobbin. This decreases the angle that the weft is released of the bobbin, which helps to even the tension that the weft is released from the shuttle.

Double Boat Shuttle 
A double boat shuttle is a very specialized tool that you may choose when you want to put two wefts through the same shed.  Although you can wind two threads together onto a single bobbin, it’s really difficult to keep the yarns from crossing around each other and to maintain an even tension. Inevitably one gets wound tighter than the other regardless of how much care you have taken. Winding two separate bobbins and releasing them individually alleviates the problem.

End-Delivery or End-Feed Shuttles
These shuttles are the ultimate automatic releasing shuttle for hand weaving. They are lightweight, comfortable to throw and catch, adjustable to a variety of yarns and easy to thread. The end-delivery shuttle has a pirn which remains stationary, instead of a free spinning bobbin. The weft yarn unwinds off the pirn’s tip when the shuttle is in motion and stops unwinding when the shuttle stops unlike a bobbin which continues to spin and release yarn. The yarn comes off the pirn and goes through a set of tension pads and comes out of the shuttle at a constant tension. This even delivery of weft causes less draw-in, which in turn makes better selvedges.

Pirns are loaded differently from bobbins; they are wound from the large end toward the narrow end, decreasing in volume as you go along the pirn.  You can never backtrack more than a half inch or so while filling a pirn or the yarn will not unwind correctly.  Here is an old post on how to wind a pirn.
My favourite End Feed Shuttle is a Schacht because it is so light, it's the lightest on the market.  And because the tensioning system which is incredibly easy to thread, some of the others you need to use a crochet hook and good luck.  But with a Schacht all you need to do is pull about a three inch length off of the pirn, hold the thread with your finger against the pirn to give it tension then just place the thread between the pads and follow the slit.  Easy!

Netting Needle or Netting Shuttles
These were formerly used to mend nets but now have become a tool in the hand weavers arsenal. They are not shuttle in the truest sense of the word, but rather a pointy end attachment to get the yarn through the web.  The yarn is not wound on the needle but rather hangs freely like a hand sewing needle.  This is a great tool for tapestry and inlay techniques where the weft is carried in and out of the warp, rather than as a primary weft supplier.  The pirn is for scale.

Tatting Shuttle
As the name indicates these tiny shuttles are used for hand tatting, but are quite perfect for holding those tiny fine threads used for inlay or finger manipulated weaves.  The shuttles are loaded by sticking the end of the thread through the hole in the centre of the shuttle and wrapping the thread round the bobbin until it is fully loaded.  Only a tiny amount of yarn is held on this shuttle.  Again the pirn is for scale.

E-Z-Bob
This is a really great tool for securing yarns while weaving.  Designed for use with the Loucet or Kumihimo Disks they serve admirably for inlay, finger manipulated weaves or as I have used them in the past for weaving bookmarks, five patterns at the same time on the loom.  They are loaded by pressing the centre and popping the spool open, then winding the yarn around the centre.  Clicking the E-Z-Bob closes secures the yarn in place and they must be manually unwound for each pick.

That's it, it is amazing all the different shuttles that are out there.

Friday, October 30, 2015

Summer and Winter Christmas Tree Tea Towels

I wanted to weave some Christmas tea towels with Christmas trees and after looking at many drafts I found the draft that Mum had used to make Summer and Winter Christmas trees for Christmas cards.
For the warp I used a 2/16 natural cream cotton set at 36 epi so that is close to 900 ends with most of those on harness 1, 2 and 3 because of the plain weave.  I had to make some changes to the draft to make it work with my loom as I only have 100 heddles per harness.  So I expanded the draft onto 12 harnesses with harness 1 through 7 being the plain weave and 8 through 12 being the pattern harnesses.
I still needed ten extra heddles on harness 1 through 4.  Summer and Winter is a heddle pig!  So I had to take 40 heddles off harness 12, I don’t really like to move the heddles around on the loom because it hurts my fingers.  I call the black pins used to hold the harness on the texsolv system ‘evil penguins’ because they bit my fingers!  But I only move heddles once a year so it is OK but if I had to do it more often I think that I would spring for more heddles!  The picture is harness 12 being held up by the lease sticks.
The plan for the tea towels is to weave plain weave for the hem in the 2/16 cream cotton.  The first three inches in the Christmas Tree pattern in the 2/16 cream cotton.  Then weave a stripe of the Christmas trees in green 2/8 cotton.  I want the Christmas trees to really pop.  The rest of the tea towel will be woven with 2/16 cream cotton in the Christmas Tree pattern to add a texture to the bulk of the tea towels.
I noticed that when I was weaving with the 2/16 cotton that I had large loops on the edges.  In the picture you can see that the tension is fine with the 2/8 pink scrap cotton but the 2/16 is too loose.
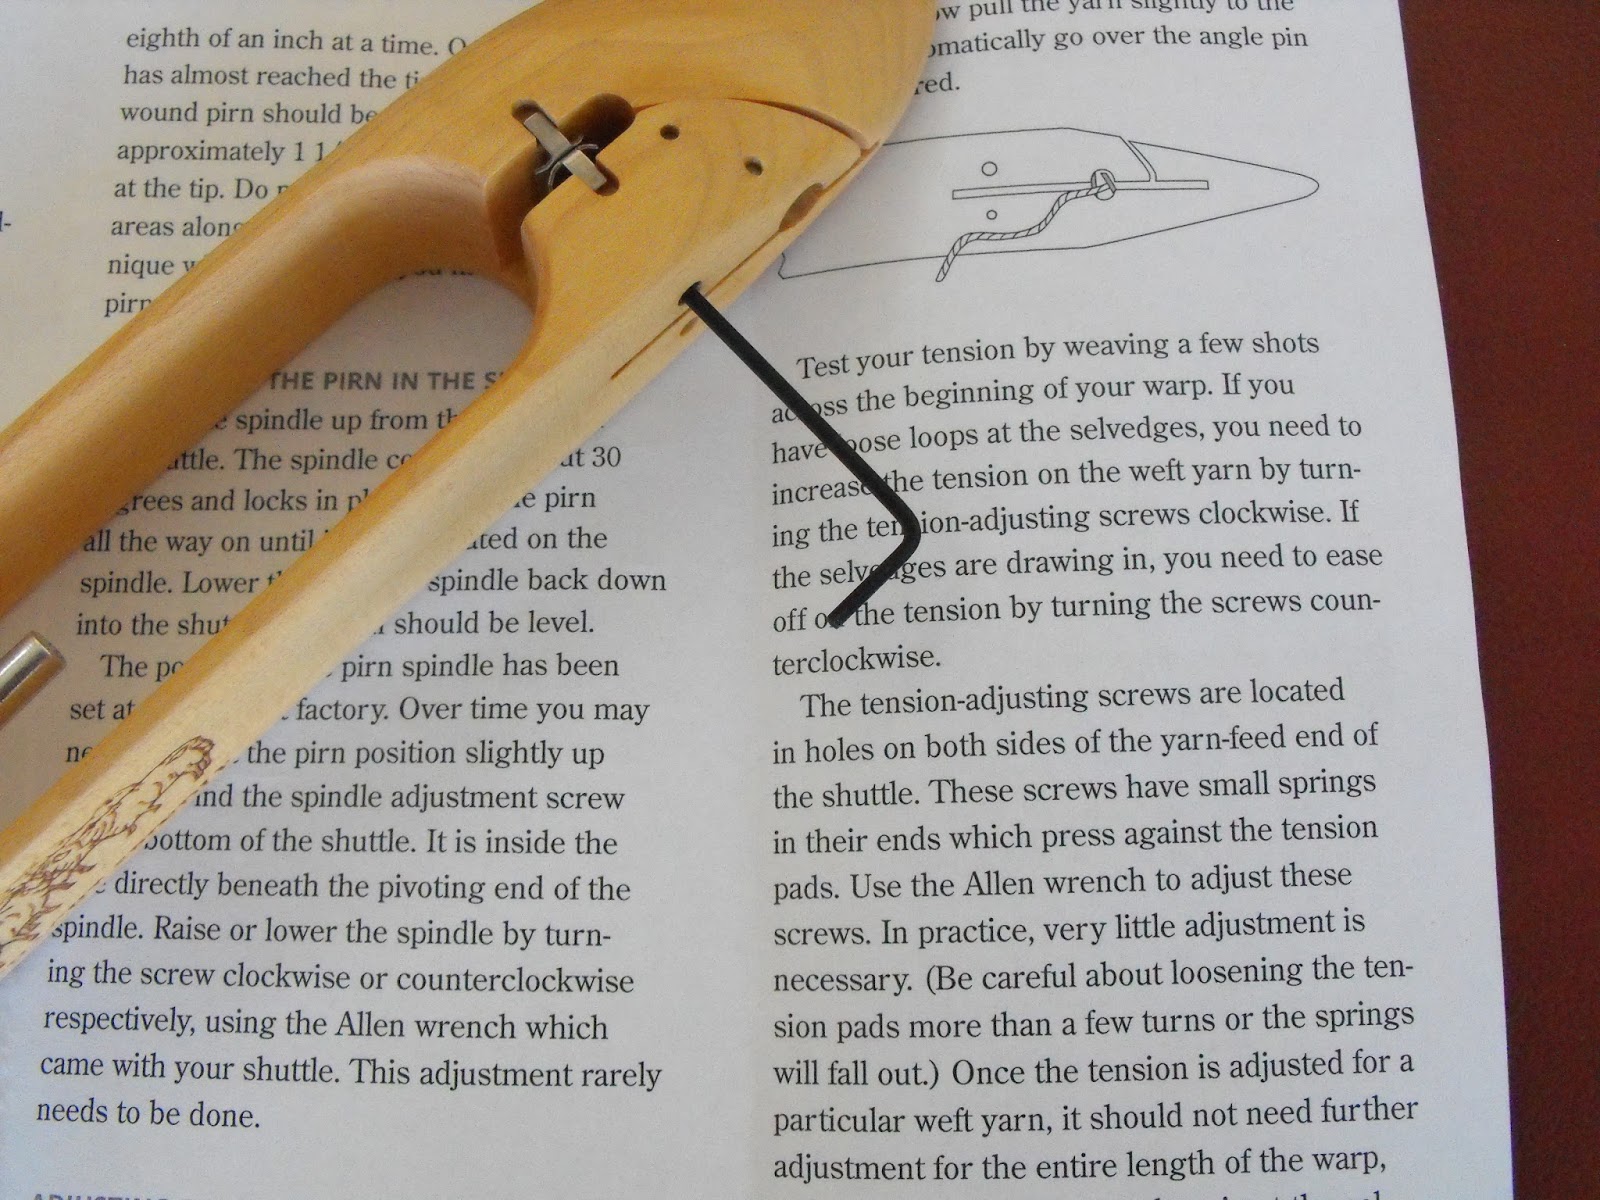
I use Schacht end feed shuttle so that means that I have to change the tension on the spring plates in the shuttle.  To do that there are little screws on the side that you stick in an Allen wrench in and turning clockwise for higher tension.  A pro tip is that there are two plates and you have to adjust both of them so small adjustments on both sides!  I only adjusted one side and it really affected the draw and I was close to losing the whole plate by pushing the screw out!
In the picture you can see the tension adjustments being made in the selvedges.
Finally ready to weave the pattern for the Christmas trees after a lot of unweaving.  I even remembered to flip the pattern before weaving!   It is OK but . . .
The selvedges are terrible!
I don’t think that there is much that can be done to save the tea towel project.  There is already two inches of plain weave for the selvedge.  I was going to do 4 picks of plain weave between each Christmas tree motif but the draw in would make for terrible edges.  Also I had only woven about five inches and already some of the pattern threads were drooping which I don’t really get because I had only woven about ½ inch of the Christmas tree pattern.  I shudder to think what a mess that I would have ended up with after a full pattern repeat.
So I unwove everything, put the lease sticks back in, untied the cloth bar, pulled the warp out of the reed and the heddles – there is no going back!  So now I have to hit the books to find a different draft that is going to work for my Christmas tea towels.

Final Garden Shot.  I think that we post a picture of this plant every year because it is absolutely beautiful.  It is a Beauty Berry Bush (Callicarpa bodinieri 'Profusion'), the lime green leaves and purple berries makes it the star of the autumnal garden.

Monday, May 26, 2014

There and Back Again ~ Warping Mill Prototype

When we were in New Zealand in March we stopped in for a studio visit with Diane Dudfield ~ she writes Diane’s Loom Talk blog which is well worth a visit!
This is Diane (on the left) and me, in her amazing studio right on the peninsula in Katikati NZ! We had a great visit with lots of loom talk and show and tell.
Michael spotted Diane’s warping mill tucked in beside her loom and she graciously took the time to set it up for us to see. My husband was in the process of designing a warping mill built for my specific needs and he was able to get a few ideas from watching Diane set up her warping mill.
Diane gave me this great cheese of 110/2 Merino yarn to try and a wonderful copy of her artists statement.  I feel a collapse weave scarf or a woven shibori in my future!
Here is the prototype, which is made in softwood, for the warping mill that Michael is designing for me. It is done and ready for its maiden trial and  I will finally get to try it out as soon as I finish the Lynch Tartan which is keeping me occupied for now!
Michael has made it very lightweight while still maintaining structural integrity and has figured out a way for me to take it apart and fold it flat for storage. He has had his work cut out for him because I’m small and not all that strong, so I needed to be able to lift it onto the dining room table and then take it apart without help.  Once I make a few warps and we knock out all the bugs, Michael will make it in maple hardwood with stainless steel rods and fitting…..gonna be a beauty!
Today I finally ran out of the Ancient Blue yarn that I used to weave the family tartan ~ talk about poor planning on my part!  I had some really lovely steel gray/olive green marl coloured wool of the same grist so I’ll carry on and weave the rest of the warp off using it.  It will no longer be the Lynch family registered tartan, now it is just a humble plaid!

Friday, May 16, 2014

Weaving Tips and Tricks

Since I’m still plugging away on the tartan yardage, I thought I’d blog a bit about a few of the weaving tricks that I’ve used in the past few days to make weaving just that little bit easier.

After I did my first standard tie up on the tartan yardage I realized that my tension wasn’t all that great, so I decided to untie the warp from the breast beam and retie using the ‘lashing on method’ you can read about it here.
To hold the breast beam rod in place and to keep it level while I was lashing on I used a flat stick placed under the rod and resting on the beater bar.  These are the warping rods from my Louet Jane loom.
My friend Susan came for a visit awhile ago and while we were chatting about the tie up on the tartan yardage she spoke about the need to spread out the warp after the tie up and before weaving.  Just take a look the next time you tie on and see if there is an angle from the warp leaving the reed and where it attaches to the breast beam.
I almost always use a floating selvage thread; on the tartan I’m weaving right now I’ve used a smooth acrylic yarn to help me see the selvage changes and to help with draw in.  I’ve chosen a smooth yarn so that I can pull it out when I’ve finished weaving.  Rather than having just a mass of thread in my weighted film canister, I wind the thread around a sewing bobbin to keep it neat and tidy.
When I have several broken or missing warp threads that will hang close together off the back beam I wind the replacement thread onto the sewing bobbin and put it in a weighted film canister but before I attach it to the loom I slip the new thread through a small piece of plastic mesh or I use a piece of cardboard and cut slits in it and place the new warp thread into the slot. This will keep the hanging warp threads from twisting together.
When warping I prefer to use a heavy gauge bond paper rather than sticks.  I like the fact that I can pull it tight after each bout of winding and it keeps the warp threads beautifully in place, read more here.  As it comes off of the back beam I keep it off the floor by winding it back into a roll and holding it in place with clothes pins.
When I need to have unwoven areas for my fringes or between items I use 1 inch Venetian blind slates.  The photo above is Ngaires' newest shawl on the loom. These are firm enough to beat against when you first start and are easily to pull out as you go around the breast beam, but leave a few to ensure that the threads remain spread properly on the beam.
Ngaire was worried about draw in on this shawl so she pulled out this easy home made stretcher or temple.  It is simple to make with paper clips and works like a dream, you can get the instructions here

Monday, February 3, 2014

Loom Maintenance

Sorry about the weird fonts, I'm having a bit of a blogger issue!

My loom was the next in line for the New Year’s maintenance overhaul.  Each time we lift up my loom it's a surprise how much heavier it is than Mum’s.  My loom was built in the 1980’s and it is twice as heavy ~ OK maybe not twice as heavy but it is much heavier~ than Mum’s which was built in 2008.  There is nothing  really different about the design so it must be the wood that has all the weight.
So up onto the sawhorses went my loom and everything below knee height was at eye level and I was shocked at how dusty my loom was.
The previous owner had marked the treadles with green Sharpie highlighting the second screw.  I had never tried to clean them before but with a little VIM and some elbow grease it came right off. 
The next step was to level both sets of lamms.  It is pretty easy thing to do with the ‘biting penguins’ (I don’t know what they are really called) it is just a matter of screwing the heads up or down to level the lamm. 
I took off the tie up cords to clean and level the lamms so I had to return the texsolv tie up cords.  I measured each cord against a new one and removed any that were too long or too short.  I tied up the loom in plain weave so that there would be an even amount of tie cord on each lamm.  I was surprised that I had 14 too many long cords and was 5 short on the short cords ~ really out of whack!
There are two new improvements to the loom.  At the top right hand corner of the castle is a pin that holds the main textsolv cords in the neutral position, that pin is very bent so my Dad made me a new one! The original pin seems to be a knitting needle embedded in the wood, now its a stainless steel rod.
The new pin came about because I asked him to drill a new hole in the loom.  On Mum’s loom there are holes on both sides of the castle so the pin can go in through the back and it gives more room on the shelf.  On my loom the second hole didn’t go all the way through so Dad just finished the hole and now I can secure the shafts from the front or the back.
So now the loom is clean and reset for the New Year.  I can’t wait to start a new project.

Saturday, October 6, 2012

Project Based on Handspun Merino

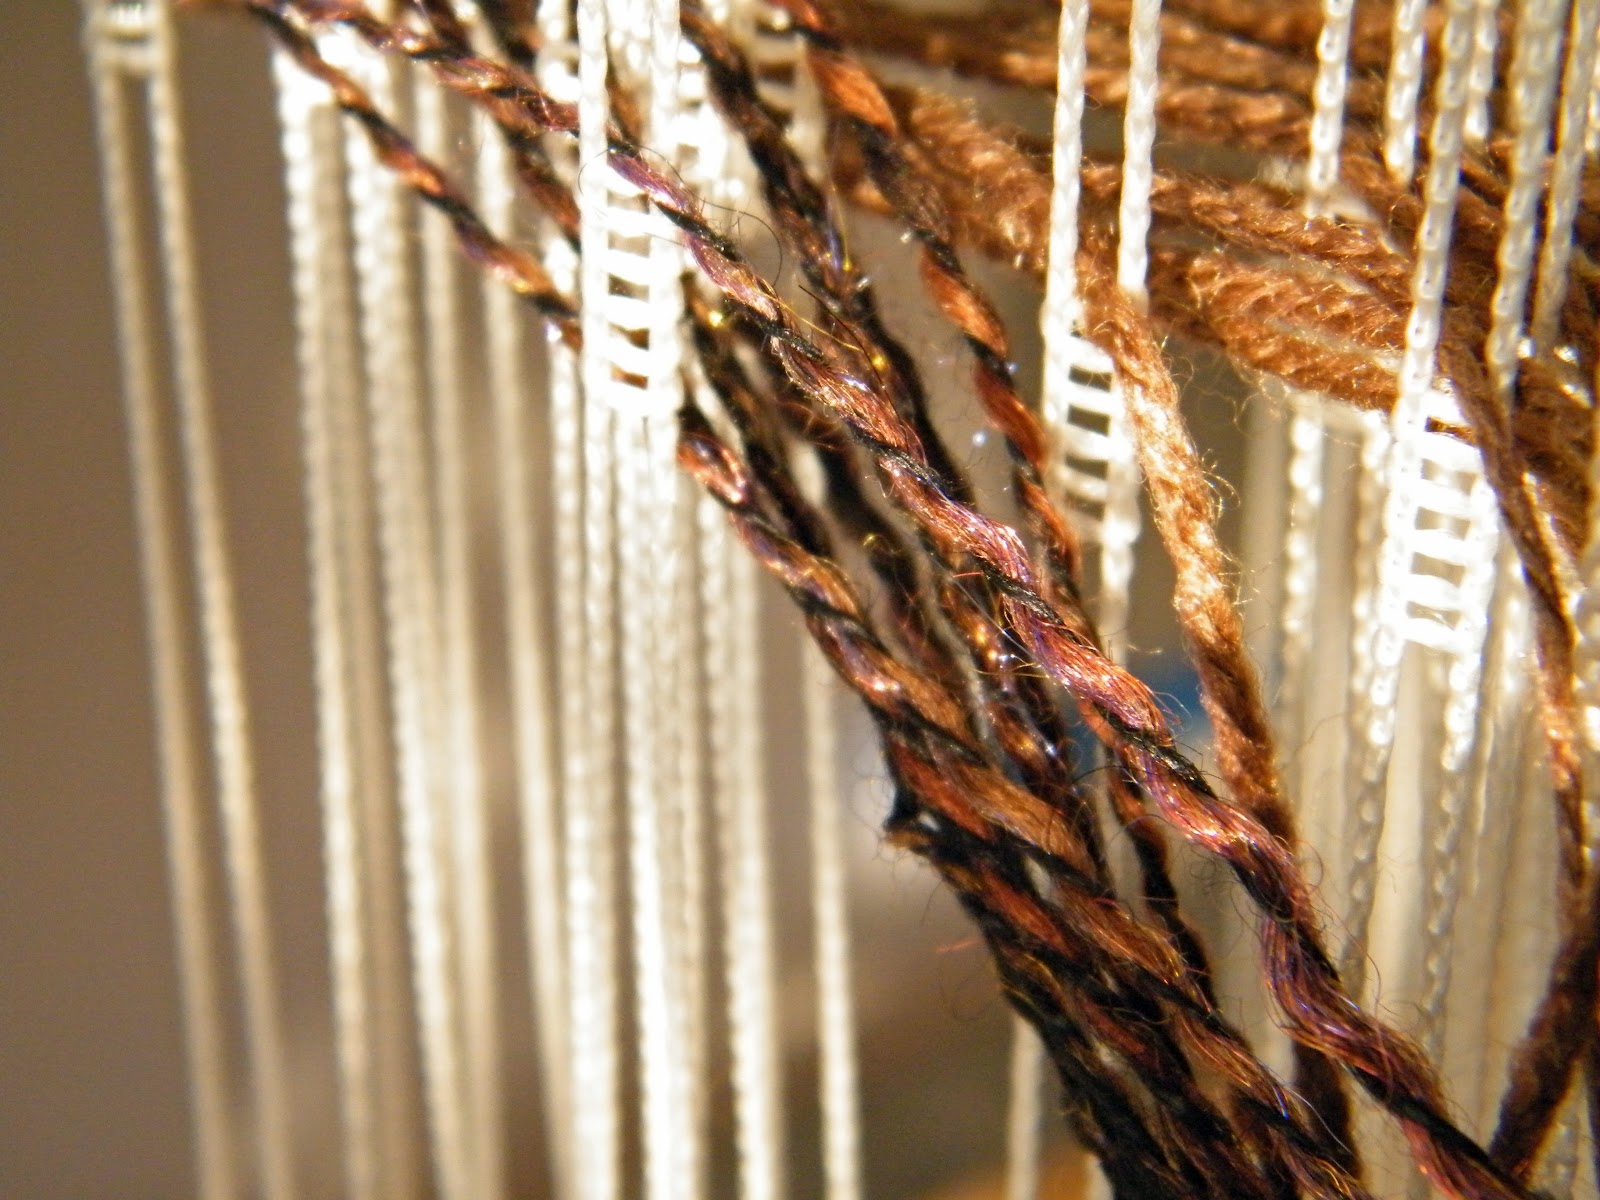
I've been longing to weave using my handspun yarn for a while, but haven’t found just the right project until now. The yarn I’ve chosen to use in this project was black and brown merino sliver that I bought from Aurelia Fibers. I then cherry picked a package of ‘firestar’ and pulled out all the weird coloured fibres and just kept the gold and purple. I spun this blend loosely in a semi-worsted style making sure I got a fairly even blend of black and brown. I didn’t have a huge amount of the sliver, and I knew I wanted to use it as warp, so I plied it with a very fine black linen yarn. The idea was to reduce the ‘sproing’ factor and it worked! I’m really pleased with the result!

My plan was to weave a shawl using my handspun and some of the new 50/50 Silk Wool blend I’d just purchased. I also wanted to have two unique sides to the shawl and to have surface interest.  Here's my draft.
I decided to go with an 8 shaft pattern of bands of 1/3 twill and 3/1 twill which will give me pleats of solid brown 50/50 wool silk and handspun on one side and all black handspun on the other. The little bit of 'firestar' in the handspun really makes the yarn sparkle!
I didn’t want to use my favourite Schacht end feed shuttle because it just doesn’t hold all that much of this fairly uneven yarn, so I used this 15 inch Little Man Howell shuttle which holds an amazing amount of yarn. What you can get on this shuttle is astonishing!
I didn’t have a temple that was wide enough (well, actually I do have one, but it’s a Leclerc rug stretcher and it’s really heavy and so not a good choice for this lightweight fabric), so I made this simple home made version using paper clips, string and weights.  It hangs over the sides of the loom and really, really works!
I filled film canisters with pennies for the weights ~ this is a great solution and I found the idea here.
Side number 1 of my pattern consists of 2 inch stripes of handspun and commercial yarn alternating and you can already see how it’s already starting to pleat! I sett the yarn at 12 epi and hopefully this is not too close a sett. I didn’t want a sleazy fabric and I know that twill needs more epi than plain weave, so I’m still at the ‘fingers crossed’ stage and hope it works out.  As you can see from the streaking, my handspun was a tad unevely blended.....ahhh but that's the nature of the beast!
Side number 2 was really hard to photograph, but you can just make out the pleats and the all over handspun with each 2 inch stripe.
I'm almost finished and can't wait to see how it washes and pleats.