Showing posts with label Things I Know. Show all posts

Saturday, April 8, 2017

All About Shuttles

Today I gave a short presentation to my guild at our monthly meeting about shuttles and I thought I'd share it with you.

One common definition of a ‘weaving shuttle’ is that it is an appliance which holds the weft, and which can be passed or thrown through the shed in the warp.  These are a few from my collection.

Stick or Poke Shuttle
 The simplest shuttle is a flat stick that has a notch at each end.  It can be passed through the shed but cannot be thrown.
Loading the stick shuttle begins with a slip knot looped over a notch the yarn is built up in figure eights alternating sides after every few passes.  This builds the weft up outwardly to minimize the drag of the shuttle going through the shed. The weft must be unwound by hand every pick and care must be taken to unwind enough yarn to pass through the shed without tugging on the selvedges.
The middle two stick shuttles have a tapered edge on one side.  The edge can be used to beat the weft into the web.

Rag Shuttle
The rag shuttle has two flat sides and pointed ends. These sturdy shuttles have traditionally been used for rags although they are excellent for heavy rug yarns and chenille.  They must be unwound by hand every pick.  There are two distinct styles of rag shuttle, open bottomed and closed bottomed, but both styles have sides high enough for all the yarn to pass smoothly through the weaving web.  These shuttles are wound in a circular path around the centre of the shuttle.

Ski Shuttle
Ski shuttles do essentially the same job as rag shuttles and are designed to hold medium weight yarns. Begin winding the shuttle by holding the yarn in place around the ski base and anchoring the yarn with subsequent passes.  Continue until the ski section is full but not overflowing the shuttle. This allows the smooth bottom and top of the shuttle to slide through the web.  These shuttles are unwound by hand before each pick.

Boat Shuttle

Boat shuttles were the first type of shuttle that unwound in a continuous and automatic manner.  The boat shuttle has a spool or bobbin rotating freely on a fixed spindle.  The shape, size and weight of the shuttle vary and should be chosen with the weavers needs in mind.  Currently two styles are most prevalent, open bottom and closed bottom, there is little difference in the performance and is strictly preference. There is little doubt that a boat shuttle loaded with a bobbin increases your efficiency because you don’t need to unload the yarn at every pick. Boat shuttles are excellent for looms with shuttle races like table looms and floor looms.  The quality of the weaving bears heavily on how well the bobbin is loaded.
To wind a bobbin you fill up each end of the bobbin in turn, close to the inside of the bobbins ends. Then you run the yarn back and forth across the centre of the bobbin evenly, right up onto the ends which have already been filled.  Lastly you create a small hump in the centre of the bobbin.  Filling the bobbins evenly like this stops the yarn from tugging and giving you ‘mouse nibbles’ at the selvedges.

A helpful hint is to extend the slit on the side of the shuttle, it should be the length of the bobbin. This decreases the angle that the weft is released of the bobbin, which helps to even the tension that the weft is released from the shuttle.

Double Boat Shuttle 
A double boat shuttle is a very specialized tool that you may choose when you want to put two wefts through the same shed.  Although you can wind two threads together onto a single bobbin, it’s really difficult to keep the yarns from crossing around each other and to maintain an even tension. Inevitably one gets wound tighter than the other regardless of how much care you have taken. Winding two separate bobbins and releasing them individually alleviates the problem.

End-Delivery or End-Feed Shuttles
These shuttles are the ultimate automatic releasing shuttle for hand weaving. They are lightweight, comfortable to throw and catch, adjustable to a variety of yarns and easy to thread. The end-delivery shuttle has a pirn which remains stationary, instead of a free spinning bobbin. The weft yarn unwinds off the pirn’s tip when the shuttle is in motion and stops unwinding when the shuttle stops unlike a bobbin which continues to spin and release yarn. The yarn comes off the pirn and goes through a set of tension pads and comes out of the shuttle at a constant tension. This even delivery of weft causes less draw-in, which in turn makes better selvedges.

Pirns are loaded differently from bobbins; they are wound from the large end toward the narrow end, decreasing in volume as you go along the pirn.  You can never backtrack more than a half inch or so while filling a pirn or the yarn will not unwind correctly.  Here is an old post on how to wind a pirn.
My favourite End Feed Shuttle is a Schacht because it is so light, it's the lightest on the market.  And because the tensioning system which is incredibly easy to thread, some of the others you need to use a crochet hook and good luck.  But with a Schacht all you need to do is pull about a three inch length off of the pirn, hold the thread with your finger against the pirn to give it tension then just place the thread between the pads and follow the slit.  Easy!

Netting Needle or Netting Shuttles
These were formerly used to mend nets but now have become a tool in the hand weavers arsenal. They are not shuttle in the truest sense of the word, but rather a pointy end attachment to get the yarn through the web.  The yarn is not wound on the needle but rather hangs freely like a hand sewing needle.  This is a great tool for tapestry and inlay techniques where the weft is carried in and out of the warp, rather than as a primary weft supplier.  The pirn is for scale.

Tatting Shuttle
As the name indicates these tiny shuttles are used for hand tatting, but are quite perfect for holding those tiny fine threads used for inlay or finger manipulated weaves.  The shuttles are loaded by sticking the end of the thread through the hole in the centre of the shuttle and wrapping the thread round the bobbin until it is fully loaded.  Only a tiny amount of yarn is held on this shuttle.  Again the pirn is for scale.

E-Z-Bob
This is a really great tool for securing yarns while weaving.  Designed for use with the Loucet or Kumihimo Disks they serve admirably for inlay, finger manipulated weaves or as I have used them in the past for weaving bookmarks, five patterns at the same time on the loom.  They are loaded by pressing the centre and popping the spool open, then winding the yarn around the centre.  Clicking the E-Z-Bob closes secures the yarn in place and they must be manually unwound for each pick.

That's it, it is amazing all the different shuttles that are out there.

Monday, April 7, 2014

The 2014 ‘Oh Sh** Pile’


The contents of the pile starting from the top centre moving clockwise are
1. Colourful twill yardage - to be made into vests (?)
2. Pink and brown yardage - to be made into a cloak or cape (?)
3. Orange silk and blue Tencel scarf with beat error – to be made into a purse/bag (?)
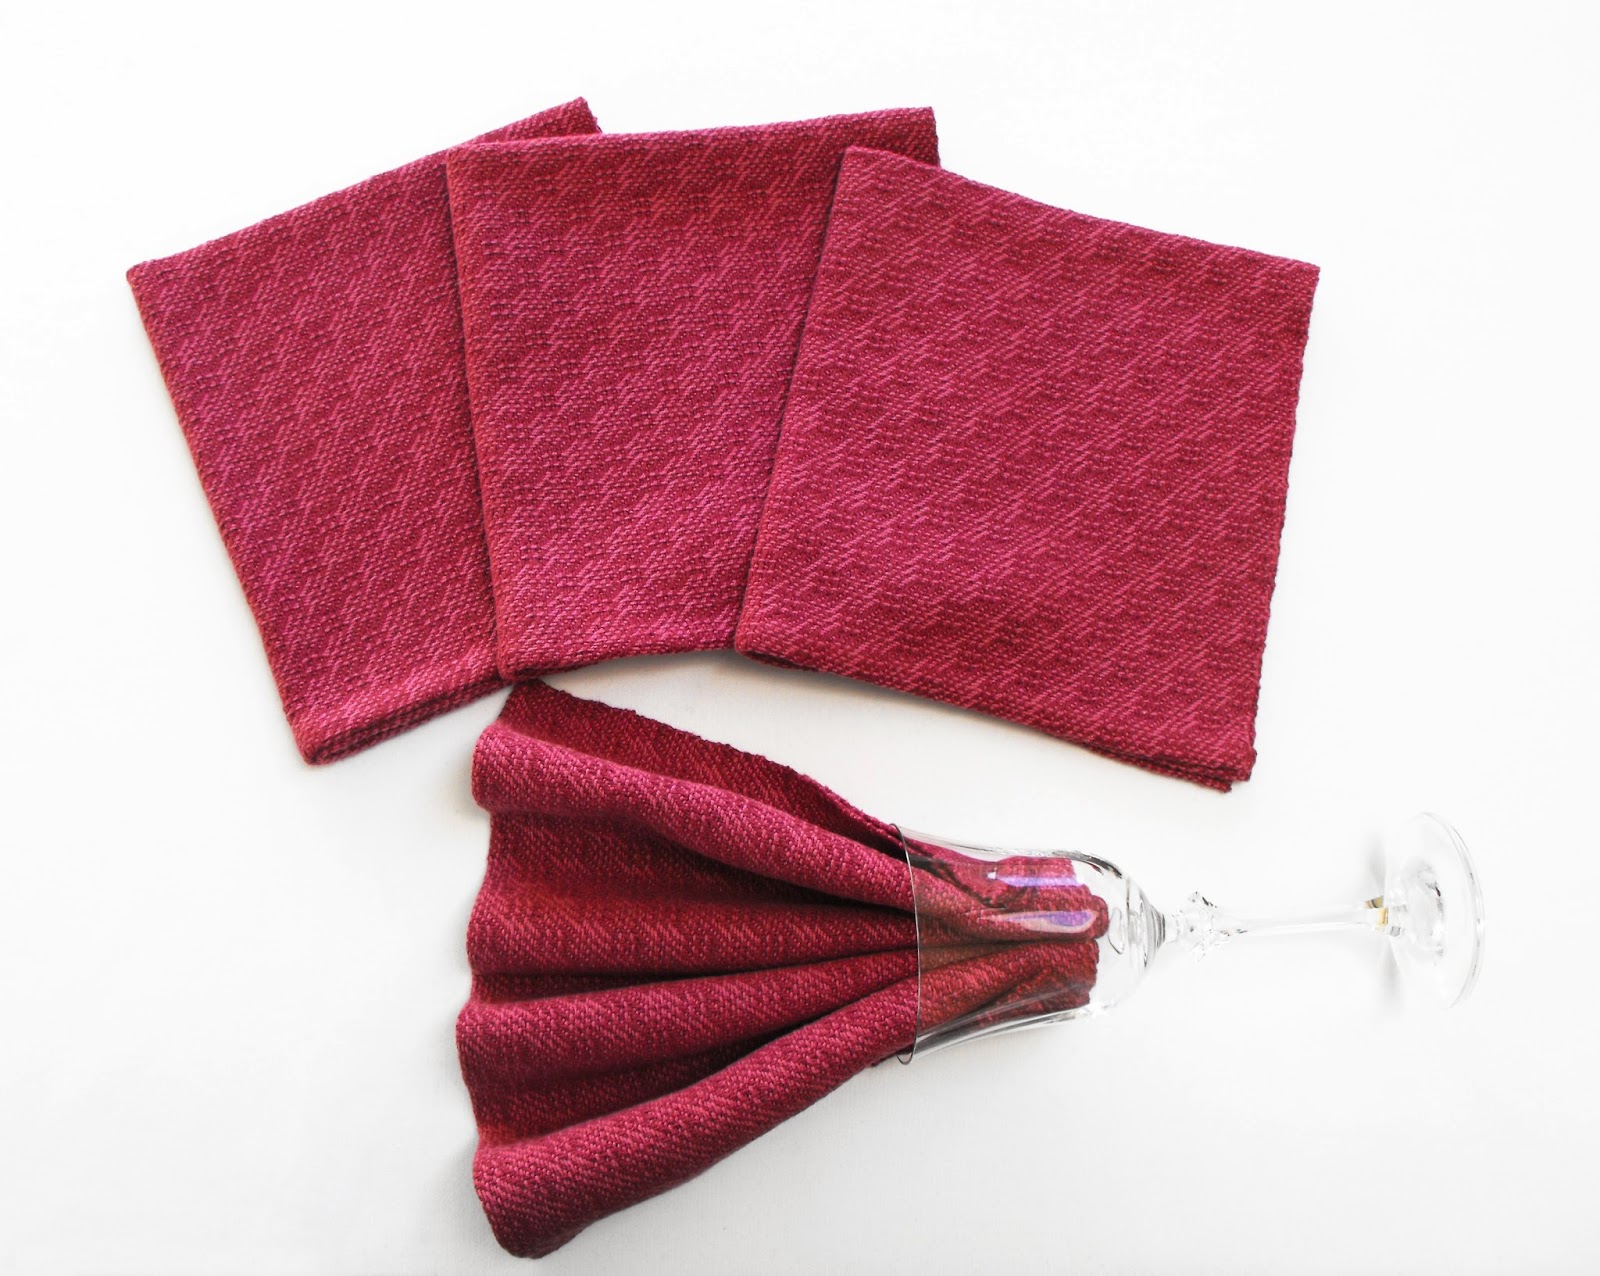
4. 4 napkins with one sewn the wrong way - needs to be fixed
5. 2 small black and yellow squares – have no idea
6. 2 Red runners that need to be pressed and hemmed


The first items to be worked on are the napkins.  I was photographing them so I could put them on Etsy when I noticed that 'one of these things is not like the other (channeling Sesame Street)!'. 

The hem on one napkin had been stitched on the wrong side.  I unpicked the hem and re stitched it.  Now it matches the rest.  For Sale.
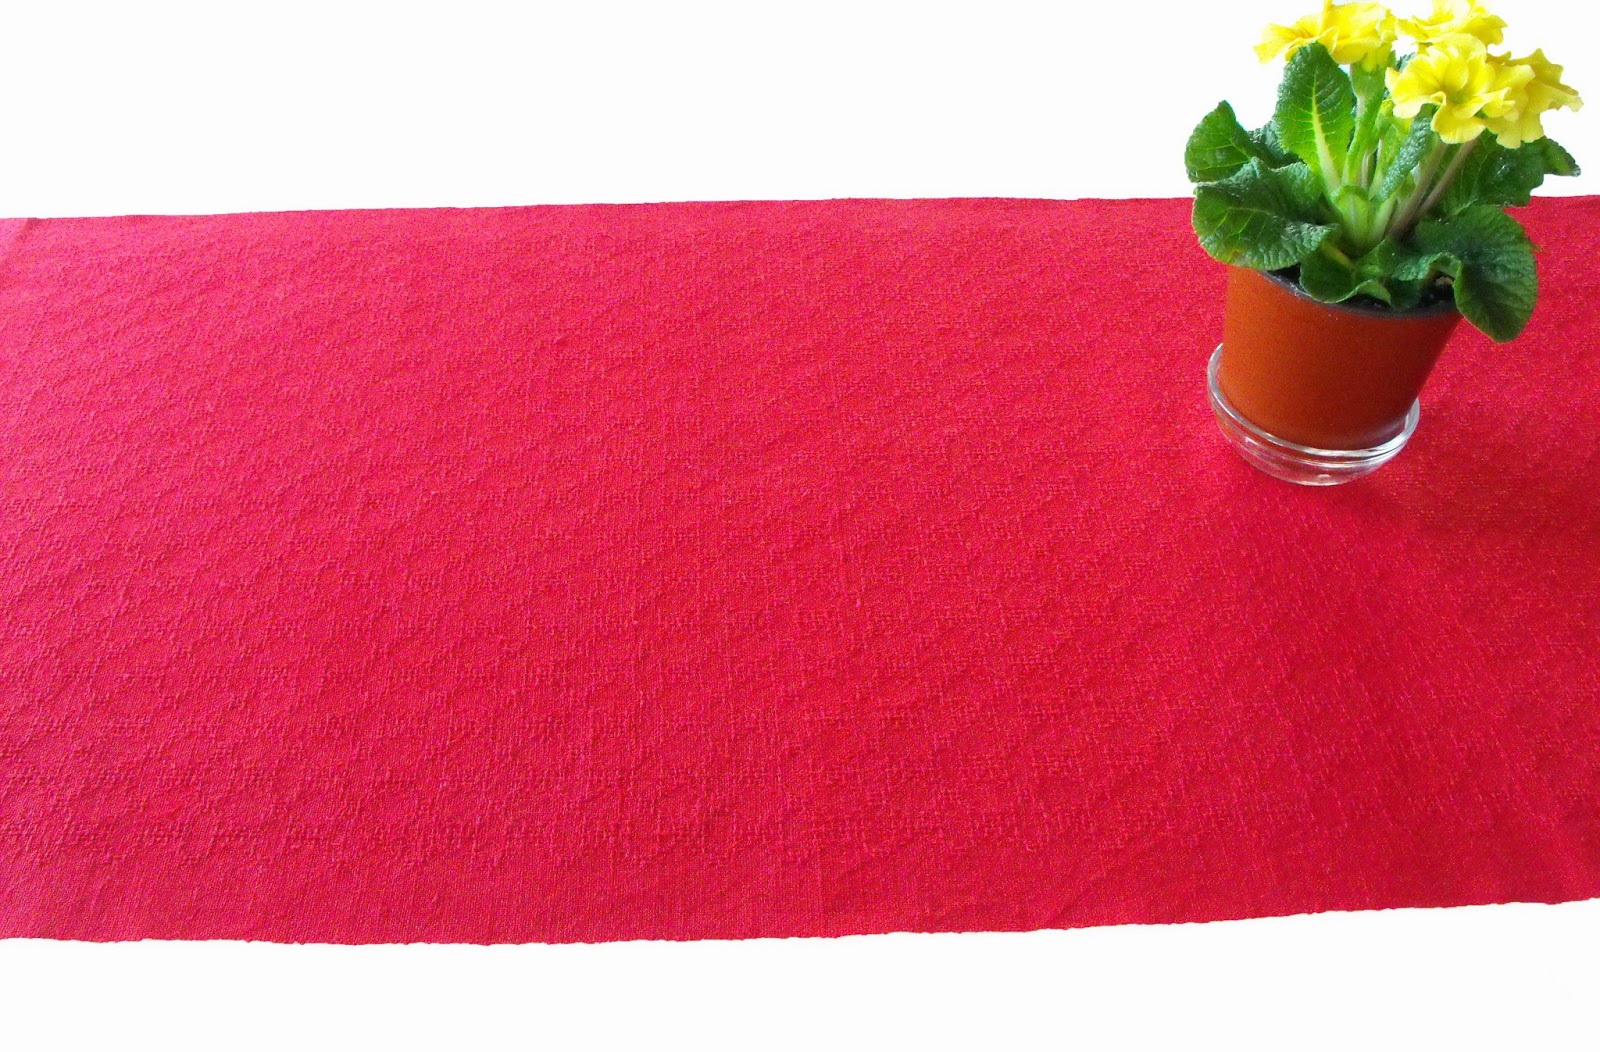
The second project was finishing the runners; they are not really part of the 'O-pile' because I only finished weaving them in late December.  The warp is 2/10 cotton and the wefts are linen single in Scarlet and cottolin in Raspberry.  They are both woven in a huck lace trellis pattern.

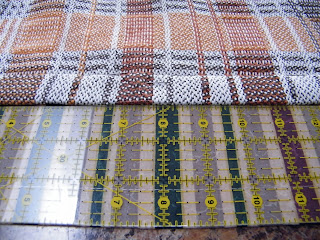
For the hemming I used a trick that I learned from a blog post by Cindie at Eweniquely Ewe.  She uses templates cut from folders to fold over the hem.  For a template I used a metal ruler to press the hem, be careful pulling it out it can be quite hot!
For pressing I usually use a steam press but a steam press only flattens the fabric it can’t really be used to block the fabric.  So to the ironing board I went with the runners.  It took much longer than I thought but they are done and looking great!

Above are some beauty shots of the scarlet linen and cotton table runner.  Very dramatic!  The finish dimension are 17.5 x 47 inches.  For Sale.
Here are some beauty shots of the raspberry cottolin and cotton table runner.  It is very striking!  The finish dimensions are 17 x 63 inches.  If you would like this table runner just email me through my Etsy Shop - WovenBeauty - and I'll set up a listing for you.  Both of these runner are quite lovely and I am really pleased with them.

So for the New Years 'Oh Shit Pile' already two out of six are done or 1/3 done or 33% done.  That seems pretty good!

Monday, March 17, 2014

Finishing the Rainbow Scarves

What I have learned about fringes is that when I first started weaving scarves I always twizzled the fringe first before I washed the scarf.  But I found that I had to go back and fix the knots in the fringe because they had moved/shrunk differently.  It was really noticeable in scarves that had different fibres but also the shrinkage is different between the two different manufacturers of Tencel. 

So now I lightly braid the fringe and then wash the scarf.  When I hang up the scarf to dry I undo the braid so that the threads will dry smoothly.
The next step in finishing is twizzling the fringe.  I use a quilters cutting board and use heavy cookbooks to weigh down both ends of the scarf.  This is the time to even up the length of the fringe because it does make a difference on the tightness of the twist if you start with different lengths.   The fringe is then separated into the segmented bouts for easier twisting.  I don’t knot the fringe until I have twisted every bout.  Twizzling the fringe can move the scarf out for under the cookbooks so I even up the scarf again before I knot the fringe.
Now it is time for the beauty shots. 
Lots of tiny dots like rain drops in a rainbow.  For Sale
Lines of diagonal squares make for a striking scarf.  If you would like this scarf just email me through my Etsy Shop - WovenBeauty - and I'll set up a listing for you. 

These are subtle scarves that are suitable for both men and women.  I absolutely love both patterns but I am not sure about the black lines between the colours, it makes the scarves really dark.  If I do rainbow coloured scarves again I wouldn't put anything between the colours, just embrace the brash colourfulness!

Thursday, September 12, 2013

Lashing On A Warp ~ or ~ Lashing Out About Lashing On

 Ngaire just put on a project using Bambu7 and she found that getting perfect tension was problematic using our tried and true method shown here.  The Bambu7 is a fairly thick yarn that has 6 strands and very little twist and frankly it’s really pricey, so lashing on was the solution to fix the problem and to save warp!

The fist step is to tie overhand knots.  The knots are tied using the number of ends in about a half inch of reed.  In this case the sett was 20 epi, so there are 10 ends in each knotted bout.

All the knots are done and you can see that Ngaire made every effort to get the knots about the same length from the ends.  Taking time now to keep them even really helps later on.

On the right hand side you can see a stick holding up the front apron rod.  Ngaire put one of these small lease sticks on each end of the loom and the purpose is to hold the apron rod in place while you lash on, making it hands free.   Ngaire made sure that the apron rod started out about 3 inches away from the knots to ensure that there was enough room to tighten the bouts after lashing on.

The yarn you use to lash on is another variable.  You need to choose a yarn that has hardly any stretch and is very, very strong because you will be pulling on it quite hard and you don't want it to snap half way through!  Ngaire decided to use 2/8 Orlec, but any synthetic will do nicely.  You need to start out with enough yarn to go over and through each knotted bout, so make sure you have at least 8 or 9 times the width of your cloth.

To start lashing on you need to tie the end of the lashing yarn onto the apron rod and go through the centre of the knot and then back around the apron rod.

You go around the rod and then up through each and every knot.

Every 5 or 6 knotted bouts stop and pull the tension fairly tight before proceeding forward.  This is another little step that makes it easier in the end.  When you have reached the end of the knots you tie off the lashing yarn and then pull or press on the lashing yarn until they feel even.

The knots should be in a fairly even line in the front, so go around to the back of the loom and walk your hand across the warp to futher even the tension.  Just gently push down and rock your hand on any tight feeling ends.  You may want to close your eyes to help you ‘feel’ the tension better.

Walk back around to the front and using the tension brake tighten up the warp to remove all the slack.  Now run your hand along the warp in front of the heddles and behind the reed to make sure the warp is evenly tensioned.  Leave the warp to rest with the tension on for twenty minutes or so, to make sure no new tension problems develop.

Here it is all done, evenly tensioned and ready to weave!  This is a great technique to use on those 'spendy' yarns because there is hardly any waste.

Tuesday, March 12, 2013

Lemon Tea and Honey Part Two

It seems that I’ve leapt ahead and started weaving scarves without ever showing you the finish of the linen drall runners ~just goes to show that having a cold can really throw you off your game!

I wanted to do something completely different with drall and so I put some stripes in the warp. This seemed like a great time to try out plaid, and I had these lovely bits of linen just sitting there, since they were different from the white linen I hoped to also get an added a textural element. I like to think of the colours as blonde, bronze and brown….who doesn’t love alliteration!
I wove the hem border using Block A and the dark brown linen.
I decided to weave the Block that produced the stripes in the dark brown ( Block B/C) and then alternate the blonde and bronze (Block A) throughout the runner; although it isn’t as graphic as weaving with a solid colour warp and weft, I’m pleased with it.

I did notice while I was weaving that even though the weft linen was from the same manufacturer, the blonde linen seems to have more twist than the other two and I was hopeful that this wouldn’t cause a problem. After wet finishing and hemming I saw that the blonde stripe has taken up just a tad differently, so this is a great time to show how I block my linen runners! I think it’s really important to be precise when you set the shape of a runner as yarn has memory and a good initial pressing will help the runner spring back into shape after future washing.
I use a piece of commercial fabric as a straight edge template, and the first thing I do is use a ruler and pin one of the hem edges in place.
Finding the closest straight line in the fabric I spray the runner with a little water and push it toward the  straight line and pin it in place; I continue working up one selvedge side before starting the other.
As I start the second selvedge I continue to spray the runner with water and I lightly push the runner from the center to the desired width and pin it in place.
As I work up side number two, I periodically check with the ruler to make sure that I’m keeping the plaid lines in the runner straight.
I have pinned both sides to the fabric and you can see that the center of the runner is just a little uneven. Using the ruler I gently push the hem into place and pin it securely.
Here is the runner all pinned in place and misted with water. I’ll let the runner relax overnight and then tomorrow I’ll steam press it while it’s still pinned in place. This should ensure that the piece is an even rectangle with the edges and the center the same length and width.
Only one more runner to hem....thankfully!


Monday, June 18, 2012

Warp Rep or Ripsmatta

I am still on a stash busting mission and Rep Weave uses a lot of yarn, so it seemed like a natural choice for me. I haven’t woven Rep Weave since 2004, when I was doing the Guild of Canadian Weavers Master Program, so I thought I’d have another look at the whole weave structure.  I found that Lila Lundells book Rep Weave to be really good.

Rep Weave gets its name from its strong horizontal ribbing; rep and rib have the same root word in French.

“Rep Weave is a derivate of Tabby with warp set so closely that it covers the weft. Two wefts are used alternately; one very heavy and another very fine. The fabric has ridges parallel to the weft. If the warp has all uneven numbered ends of one kind of yarn; and all even ends of other the fabric will have two sides woven in two different yarns. The same applies to the warp made of two alternating colours; the fabric will have one colour on one side and the second colour on the other”. Excerpt from Encyclopedia of Hand-Weaving by Stanislaw A Zielinski published by Funk & Wagnalls New York.
I decided to use two different colours of the same yarn rather than two different yarns, although that sounds pretty exciting and I may try it in the future. I found exactly the pattern that I was looking for in Handwoven Magazine September/October 1988. The article is entitled Warp Rep by Lynne Giles. The actual design is called ‘Lace’ and was designed by Catharina Carlstedt and published by Glimakra.

This is the draft that I got from the magazine and it took me forever to key it into PCW!

Ngaire had a look and noticed that I didn’t have enough heddles on 8 shafts for the pattern, so she took it to PCW and stretched it over 12 shafts for me. I still ended up making 20 extra heddles…..painfully slow! I can see an order for a few hundred more heddles will be in my future.
Pulling the 808 threads seemed to take forever, but thankfully it pulled onto the loom really easily. I’ve sett the Rep Weave at 40 ends per inch ~ 4 per dent in a 10 dent reed, so that part went quickly.

I found that the origianl draft in the magazine was just too big for my purposes, so I reduced the pattern overall to make a runner the width 20 inches. I’ve chosen to use 2/8 Orlec for the warp in mid-green and light green alternately for the warp.

Threading was pretty straightforward, but I had to really keep my mind on the colour sequence as it changes on a frequent basis and there are plenty of times where two light or two dark colours lie next to each other.  The pattern looks like it has some texture but that is an optical illusion caused when the warp colours change.
I’ve used the same 2/8 Orlec for the fine weft and thought I’d use a DK weight Acrylic Knitting Yarn for my heavy weft. It was cheap and cheerful and I thought it would wash very well.
Well that didn’t work out well at all– can you see the fluffy knitting yarn popping out between the warp threads? It's just too fluffy and poofy and it makes the pattern appear a bit fuzzy.
I went to my local yarn shop and found a skein of Butterfly Mercerized Cotton from Greece! This is a 6 ply cable yarn and it works much, much better. The cotton is very firm and it behaves itself and allows the warp to cover it completely.
This is my runner so far.
This is the runner from underneath. I took this photo lying on the floor looking up and it was much more difficult than I thought it would be!  This runner will be completely reversable.
I'd forgotten how much fun Rep Weave is ~ I'm really enjoying this simple, graphic pattern and I can't wait to see the finished result!