I’ve joined a study group with the
Qualicum Weavers and Spinners. The group is called Exploring More and we are study Inlay. Mum has already done two projects with Theo Moorman, one with a
plain weave ground cloth and the other with a twill ground cloth, that she hasn't blogged about yet.
I have chosen to do a table linen project with classic inlay. Inlay is a finger manipulated supplementary weft that doesn’t weave selvedge to selvedge. There are various techniques that create different patterns, examples of some can be found here from a
Transparency workshop that I did.
The warp is 3/10 buttercup yellow from Dressew, a fabric supply store in Vancouver, which I have never used it before.
The pattern is four shaft goose eye twill blocks but I have extended it onto eight shafts as I didn’t have enough heddles on the first four shafts. I’m amazed at how complicated the pattern is, with only four shafts. The weft is the same buttercup yellow as the warp so that pattern has an embossed effect. Finding an ilay weft was a bit more problematic because I wanted the inlay colour to really pop.
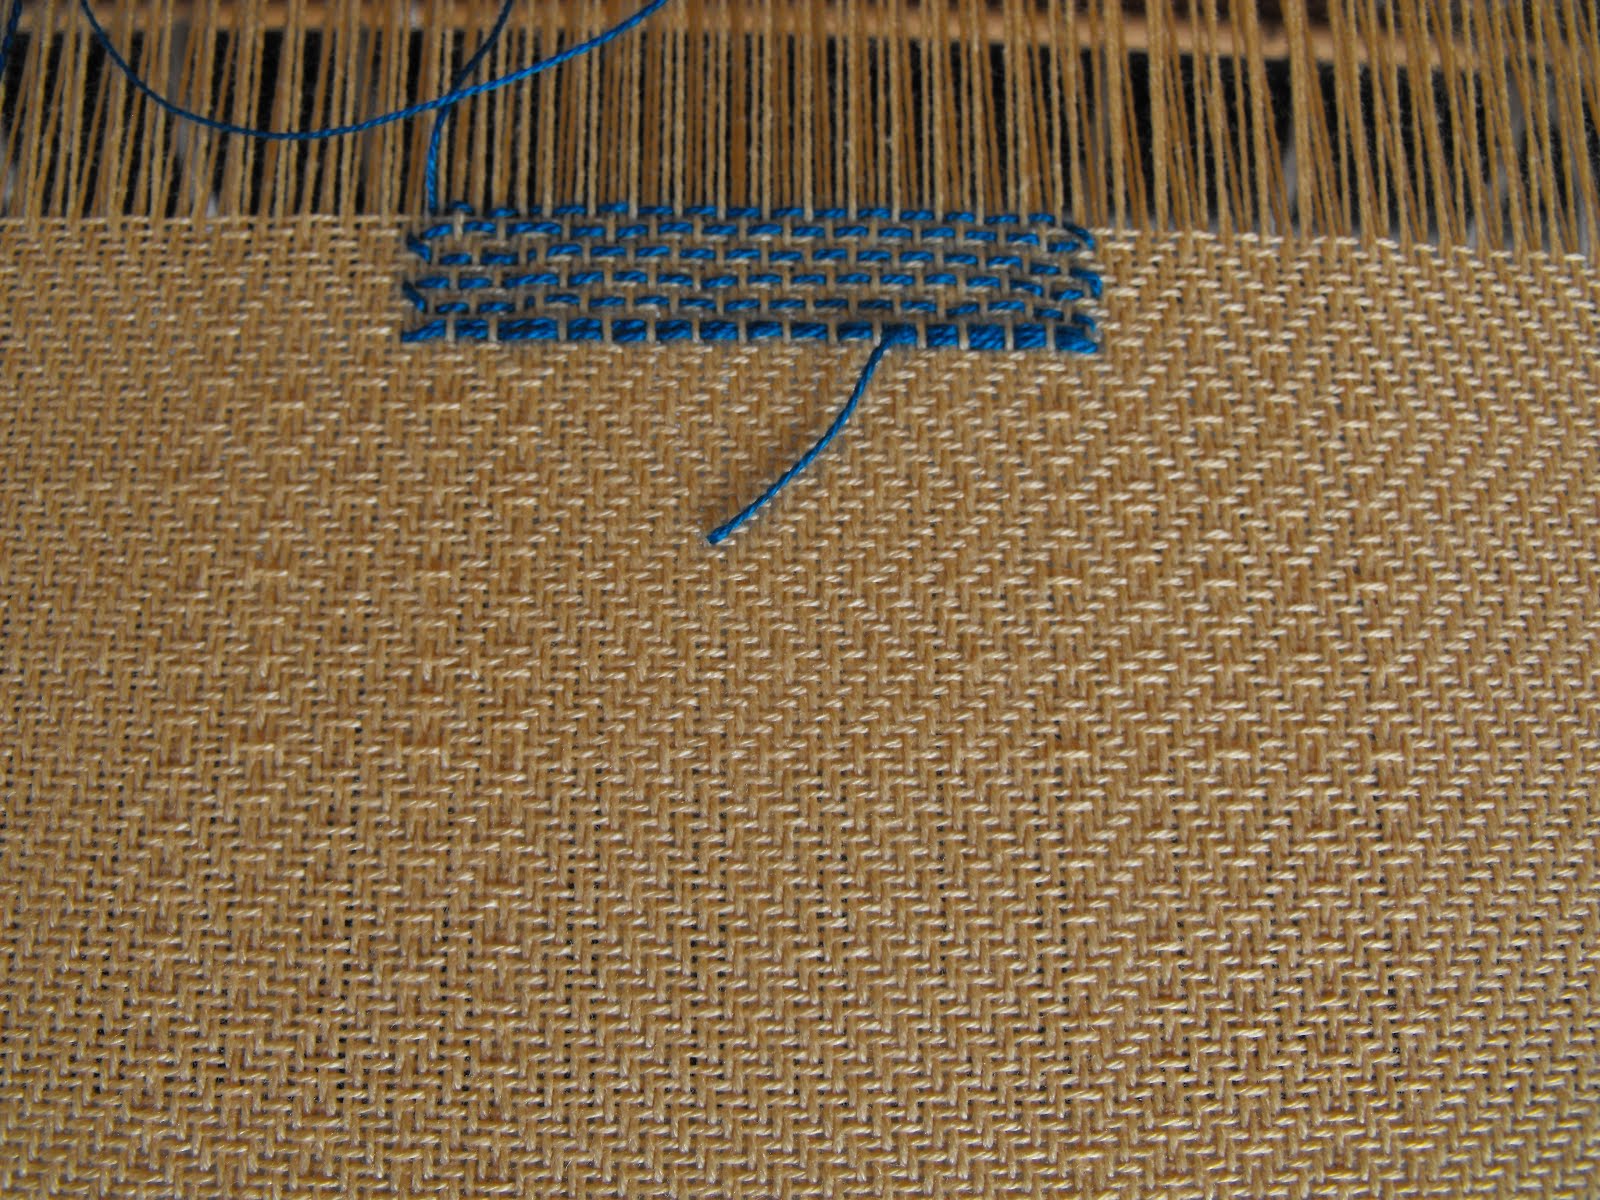
I used Orlec for the Inlay thread because it doesn't shrink, which means that the squares wouldn't pucker. I picked a bright blue Orlec for the inlay colour, and its way too bright! You can also see that I wasn’t sure on how to secure the end of the inlay. It was three layers deep at the end and looks very funny. You can’t see it but I also didn’t make my inlay thread long enough!
I auditioned two shades of grey Orlec and I am going with the darker of the two. You can’t really tell but my beat changed during the inlay into a heavier beat that I liked better. So I unwove everything; all five inches so I could start again to get my beat perfect.
The grey Orlec is the right choice, the blocks are highlighted but don’t overwhelm that rest of the table linen.
The inlay technique that I picked was Ryss Weave with two picks of the ground twill between each inlay. I like the offset stacking and the long three thread floats. To secure the inlay I did a double pick at the beginning of the square and at the end.
Here is the finished table linen, sorry about the colour but it’s raining this afternoon. The inlay squares add interest, and although you can’t see in the picture the goose eye and twill blocks really shows up.
This is a close up and you can see the goose eye and twill blocks a bit better. You can also see that I didn’t quite get the inlay squares right. They all have a section that is inside the goose eye portion. So I guess the table linen is mine now!
This picture is off the back piece. The inlay just peeks through onto the back, which makes it a one sided weave structure.
The take away of Inlay for me is that it is a pretty but there is a big drawback. I’m not sure that the inlay blocks are going to stay in place when the table linen is washed again; will the Orlec slowly work its way out?
I don’t know and it is something that worries me about the piece. I thought about putting a little bit a Fray Check on each end, essentially gluing it into place, but it slightly changes the colour of the Orlec; or, I could sew some beads to anchor the ends but then how do you press flat?
I think that Inlay isn't suitable for items that I'm going to sell, there is too much of a question mark about how the Inlay will behave through use. But I did discover how much I like the cotton from Dressew!
Final Garden Shot is Campanula Garganica 'Dickson's Gold'. It really is lime green with pale blue flowers and it is just stunning.
 In my case I am using 2/20 silk that has been hand dyed a variegated royal blue for the structure threads. For the fine thread I was going to use sewing thread in a slightly darker blue, but lucky for me it ran out, before my warp was finished. So instead I am using a stainless steel thread encased in black merino wool, it is very shiny and makes me very happy! Thanks to Susan at Thrums for sharing a sample of this yarn with us. I think that the scarf is going to be much better; it really adds a depth to the scarf.
 For the spaced and crammed part of the scarf, there are five warp blocks 1” across and ½” space between them. So I put 3 threads per dent in a 12 dent reed that equals 1” and left 6 dents empty.
 The main weft I am used is the same blue silk as the warp and for the Theo Moorman inlay squares I am using 2 ply green silk with soft slubs and purple 2/20 silk. 1” squares are woven then a 1” space is left, I’m using Venetian blind slats for the spaces. To add even more interest to the scarf, I’m only adding inlay on specific blocks to make a larger design.
 Theo Moorman inlay is a very simple technique yet it has such a great impact. First step is to do one pick in plain weave with the main weft, in my case the blue silk. It goes all the way across and where there is no inlay, it weaves a block made up of plain weave.
 Second step is to open a shed that only has the stainless steel and throw a pick of the supplemental weft, green silk.
  Here is a close up of one of the inlay squares. The blue weft can barely be seen, further away it can’t be seen at all. The inlay is done in a brick method; it can also be done as perfectly straight rows, called the Dukagang method. Beside is a block of just plain weave however with variegation of warp and weft with the shine of the stainless steel it is also very special.
  A cool thing about Theo Moorman technique is that the back of the cloth doesn’t show any of the inlay weft. It is truly a surface design.
  Here is the sample so far, exciting isn’t it, and yet another addition to Mum's workshop!


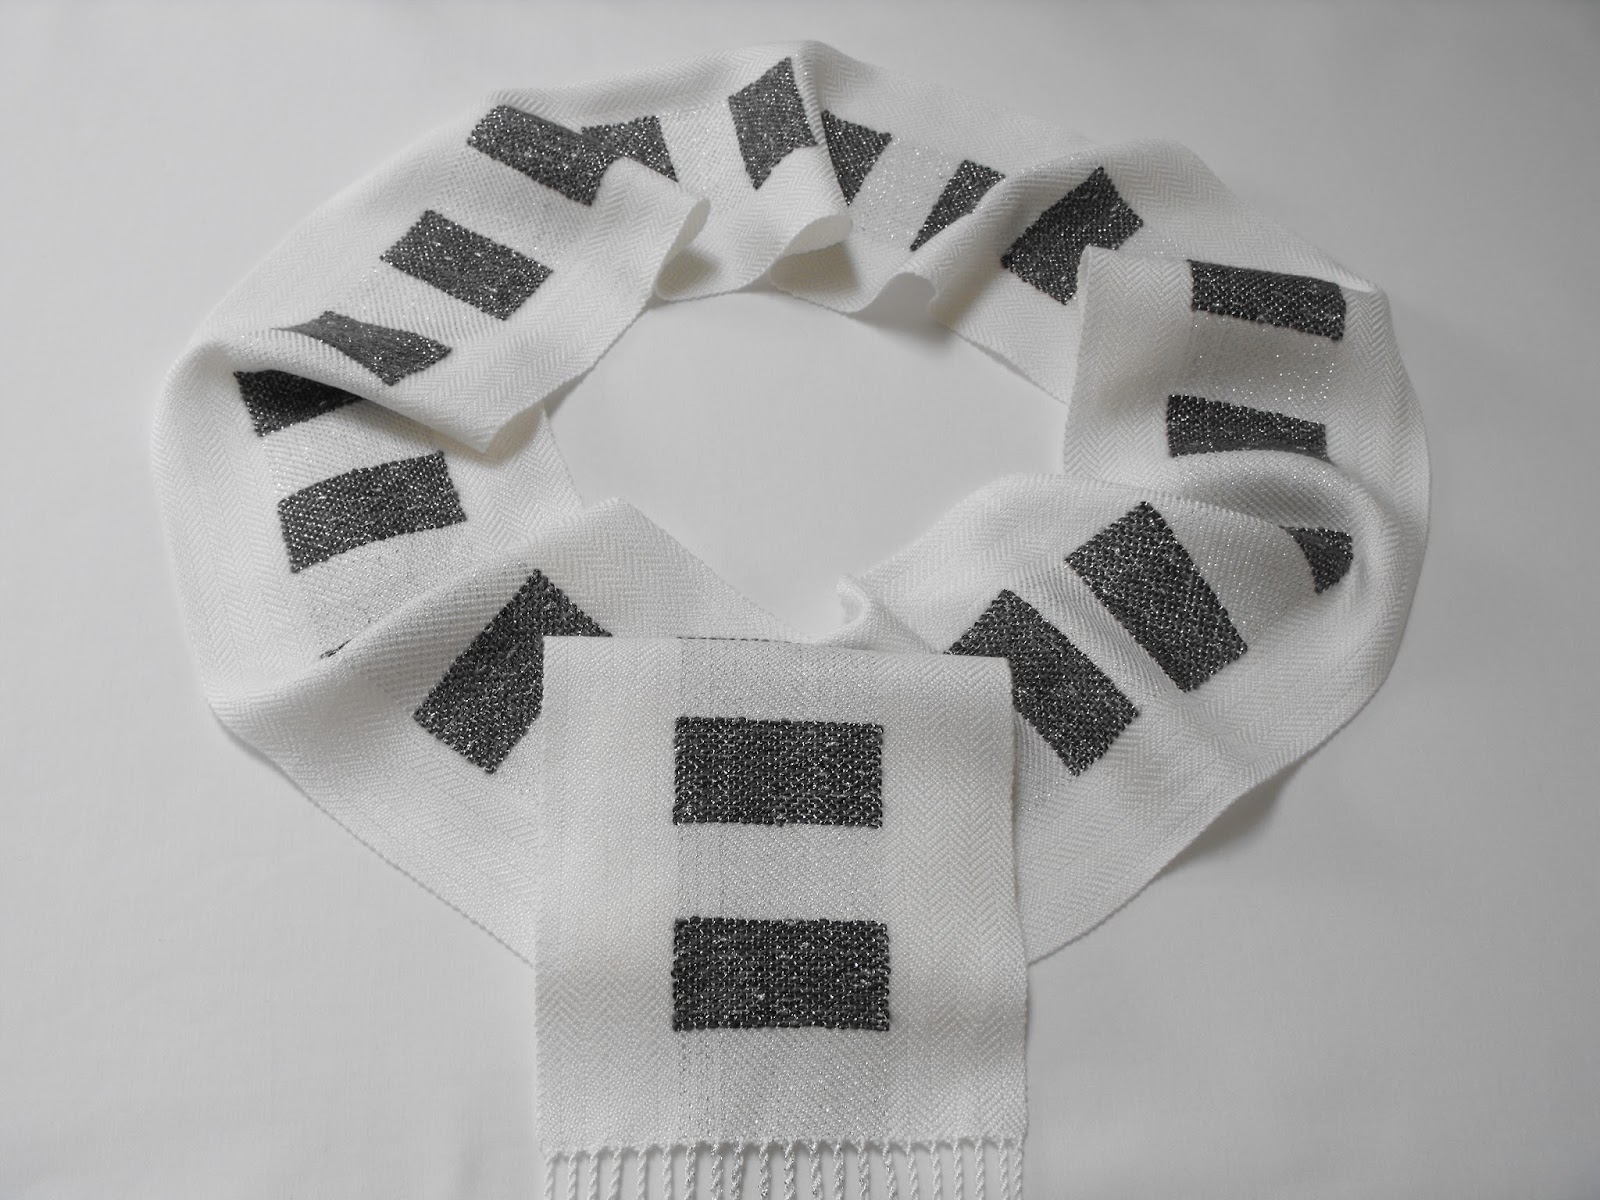


 The pattern that I chose for the inlay blocks was based on an X of the coral silk with the centre square of the green. I wanted to achieve a strong graphic pattern that really showcased the inlay blocks and I think I succeeded. The colours I chose all have the same value, so it’s the shape that really stands front and centre.
 When the scarf is shown with the full pattern, the pattern looks more like diamonds than an x cross; although not what I had envisioned I’m more than happy with the graphic look.
 The scarf has a very unique drape. The blocks of plain weave are very firm and have little movement, but there is plenty of movement in the unwoven blocks and the open work. The overall feel is very soft and silky; the stainless steel doesn’t seem to be affecting the drape at all and adds so much shine!
 The edges of blocks are a little loose, but the stainless steel and the inlay really hold the warp threads in place nicely, so there isn’t much migration between blocks at all.
 It is a very different style of scarf to what I have done before and I’m completely taken with the bold blocks of colour.