Showing posts with label Weaving for Sale. Show all posts

Saturday, September 18, 2021

Weaving Drafts for Sale

I have been thinking for a while that I would like to sell some of our original drafts, especially the 12 shaft designs as they are hard to come by.  So when I got a message asking if I sold weaving drafts, I took that as the push that I needed to get started.


It is surprising the time and information that needs to go into each pattern.  First I started by naming the drafts, as some of my drafts have silly names like ‘Interesting Motif’.  I went with a space theme; all the drafts are named after Nebulae.  I then created WIF, which is a universal weaving file that can be used with most weaving programs.  


The next part was to create a PDF with the draft, project guide and further breakdowns of the threading, tie up, and treadling just in case the person buying the draft doesn’t have a weaving program. 


The first draft is an original Crackle Weave pattern that is on 6 harnesses.  This draft is called Helix Nebula Crackle Weave.  Etsy listing for Helix Nebula Crackle Scarf Weaving Pattern.  

The second draft is an original Echo Weave pattern that is on 8 harnesses.  This draft is called Cat’s Paw Nebula Echo Weave.  Etsy listing for Cat's Paw Nebula Echo Scarf Weaving Pattern.

The third draft is an original Crackle pattern that is on 12 harnesses.  This draft is called Orion Nebula Crackle Weave.  Etsy listing for Orion Nebula Crackle Shawl Weaving Pattern.

The fourth draft is an original Crackle pattern that is on 12 harnesses.  This draft is called Rosette Nebula Crackle Weave.  Etsy listing for Rosette Nebula Crackle Shawl Weaving Pattern.

I will be adding more drafts in the coming weeks so please check out WovenBeauty on Etsy.  Next week the drafts are going to be the Piano Scarf and the Music Note Scarf.  I’ll also be adding a page to the blog (beside the Tips and Tutorials Tab) that will have links to the drafts that I have available for sale.   We will be posting more regularly again, I have some tea towels to share with you!


Final Garden Photo is Climbing Lilies (Gloriosa rothschildiana).  We got these as tubers from the Horticultural Society and we didn't know what to expect.  We planted them in early spring, dug them up in June to see if they were alive, they finally started to grow in July and by August we had these lovely flowers.  They were well worth the wait!

Monday, November 9, 2020

Eight Shaft Undulating Twill Blocks

I finished weaving my ‘Checker Board’ scarves this morning and I am absolutely chuffed with them. 

Taking the time to improve the selvedges made a world of difference to the stability of the cloth, and since the selvedges weren’t constantly curling under, it made weaving the scarves just a joy.

To recap I put on 4.57 metres (5 yards) of warp for 2 scarves, each allocated 2.29 metres (90 inches).  The plan was to have 25 cm (10 inch) fringes and 178 cm (70 inches) of woven fabric.  

The threading and tie up for these scarves are an undulating twill with up to 3 warp threads grouped on the same shaft.  Due to this warp thread grouping, the reed choice is critical.  I sett the scarves at 28 epi and sleyed the reed with 2 ends per inch.  This minimized the reed marks which can occur and can be very noticeable in weaves that have multiple repeating ends.

Scarf number 1 on the loom, it was woven using Spice tencel and I treadled the pattern 1-2-3-4 X5 ~ 1-8 ~ 5-6-7-8 X5.  This produced a pattern that showed rectangular shaped alternating blocks.  

Off loom this scarf measured 173 cm (68 inches) long and 15.5 cm (6 inches) wide.  The weave structure itself took up more warp and weft than expected.

I had to leave about 50 cm (20 inches) unwoven between my scarves and my spacer of choice is slats of  1 inch metal Venetian blinds.  After 10 had been placed I threw five picks of weft to give me a cutting line when they came off the loom and it keeps the unwoven threads beautifully aligned.

Scarf number 2 was woven using Pompeii tencel and I treadled the pattern 1-2-3-4 X4 ~ 1-8 ~ 5-6-7-8 X4.  This produced lovely square alternating blocks and this treadling is my favourite of the two.  

Off loom this scarf measured 166.5 cm (65.5 inches) long and 15.5 cm (6 inches) wide.  I must admit that this is my favourite and this is the one I claim as mine, mine, mine, both because of the squares, but  I love the length too!

Right now they are in the set tub having a nice soak in Eucalan which is a wonderful product to use for finishing handwoven fabric.  It is very gentle and requires no rinsing which is very easy on the cloth.  I will post a photo of the scarves after they are dry and pressed later.

Here is a beauty shot of an orange drizzle cake that I just made.   I got the recipe from Taste Australia and I heartily recommend both the website and this yummmmmmmy cake! I changed it up a wee bit by adding a pinch of salt and a teaspoon of vanilla, but all the rest is as stated.   Oh, I changed the pan from a loaf tin to a small savarin pan, but otherwise.....

Monday, November 11, 2019

Getting Ready for A Sale

November is when we have our weaving guilds biggest event.  It is a two day sale, called Elegant Threads.
The funds raised by the Guild commission at this sale is essential to the Guild’s financial health so Ngaire and I always put in our weaving and lend the Guild our display racks and manniquins.
Frankly it is a huge amount of work to get ready for this event.  The first step is deciding exactly what to put in the sale. Everything has to be pulled out of storage and inspected and discussed.  Our spare bedroom is a disaster while we get organized.
The Guild requires us to use the Guild designed hang tags on every item.  We have tags for hand woven items and tags for handspun and knitted handspun items.    It takes a good day to print off the tags on cardstock, cut them apart, hole punch each one and add string to the tags, all the while I keep my fingers crossed that my printer doesn’t have a wobbly!
The guild provides us with an inventory sheet template, and we fill in our code number, item name (which is the same as on the hang tags) and price.  We keep one inventory sheet for ourselves and give one copy to the sales desk when we drop off our submissions. Each tag must have a unique number, so it is really hard to reuse tags from previous years and still maintain numeric integrity on your inventory sheets.  The part of the tag with the unique number is cut off when the item is sold and used to update the inventory sheets.  I do quite a bit of fiddling around to try and use the old tags and I spend far too much time avoiding rewriting and reprinting tags!
Each item has to be ironed and folded in a specific manner per the Guilds request; for example each tea towel has to be folded into three lengthwise and then the tag must be attached.  No other tags are to be on the item.
One tea towel down, twenty to go.
 I don’t even want to talk about the scarves, the shawls, the runners (which must be rolled on a cardboard tube for display) and the skeins in their basket which have to be measured for length and weighed!  It will surely take us another couple of days to get ourselves ready.
The front garden is much more sombre place today as we remember all those who fought for the freedom we have.  

Monday, July 30, 2018

A Kitchen Reno and Two Scarves

During the summer I find weaving often takes second place to gardening as our climate makes everything grow at an amazing rate.  I seem to spend my time, weeding, picking and processing for most of June, July,  August and September.  It's no wonder I'm ready for vacation in October!

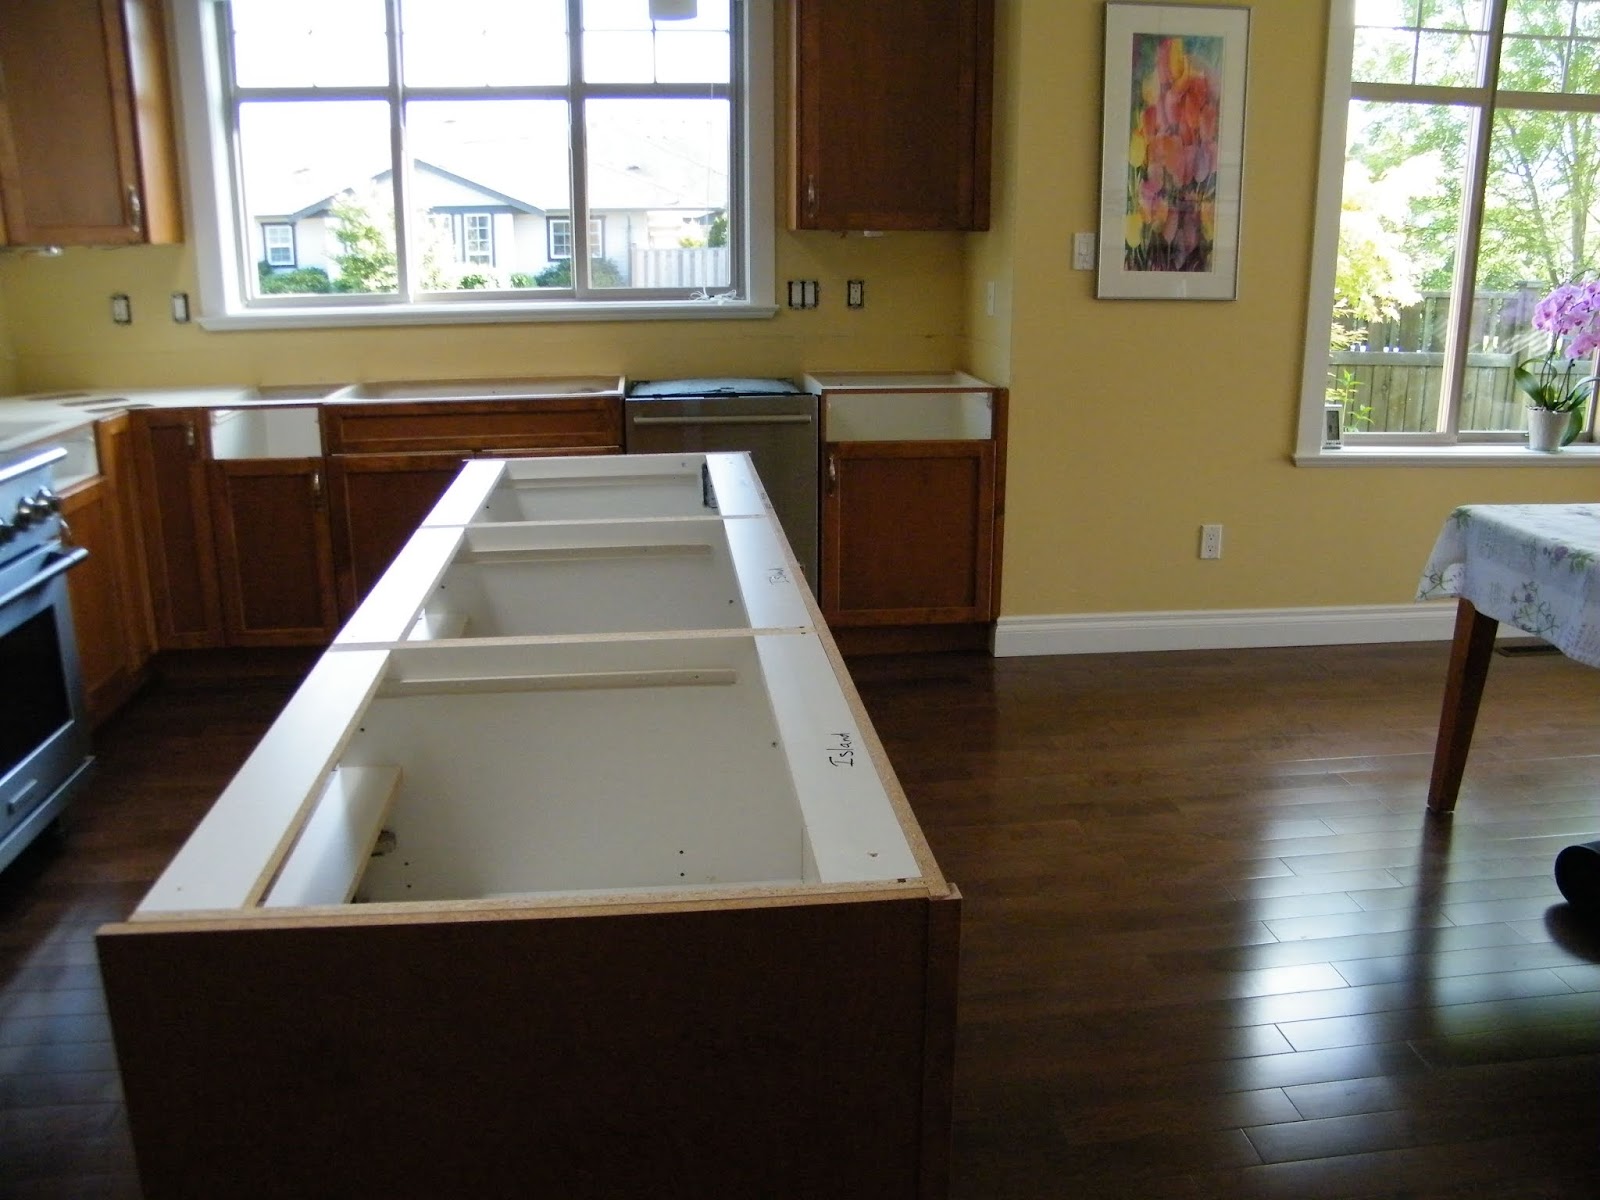
Mid June we started a kitchen renovation.   We did most of the work ourselves ~ and went from the kitchen chosen by the builder which looked like this, a tad too brown for me:
To a blank canvas; and it is at this point you always question yourself. It is daunting!
And we ended up with this, a light and bright kitchen to make our often cloudy winters just a bit less grey. We put two different quartz counter tops in, a plain white fleck on the perimiter and a bolder white and grey marble on the island.  We also increased the size of the island, cause who ever said they had enough work surface? The upgrade to quartz made all the difference for me as it lowered the overall height of the counters, by a full inch and since I'm a bit vertically challenged, it is a wonderful improvement. We put in a black granite sink which is HUGE and that was a bonus too.
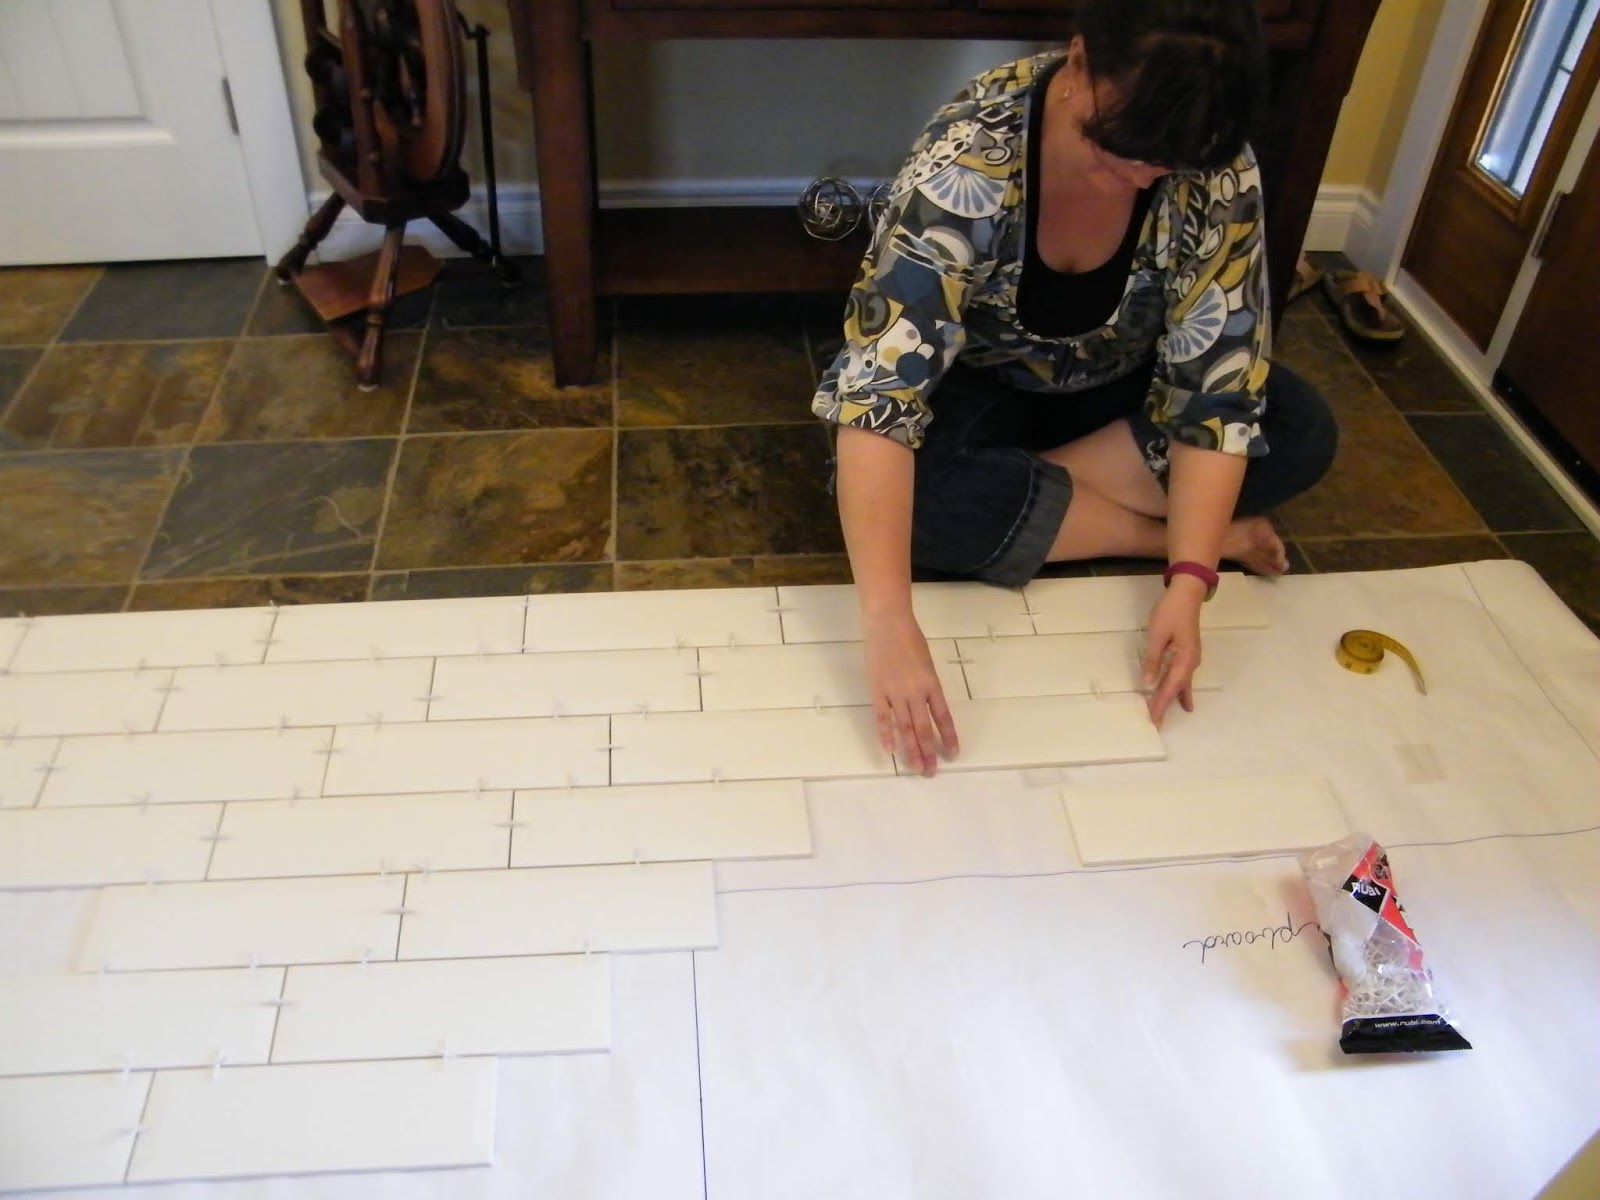
Ngaire planned the back splash tile pattern by laying the tiles out on the foyer floor using a paper template made from a roll of my used beaming paper.  We found that offsetting the tile by 1/3 was perfect.  We chose white beveled edge subway tiles from England that match the colour of the perimeter quartz perfectly.
The actual tile setting was relatively straightforward due to the preplanning, but perfecting the grout was much more difficult.
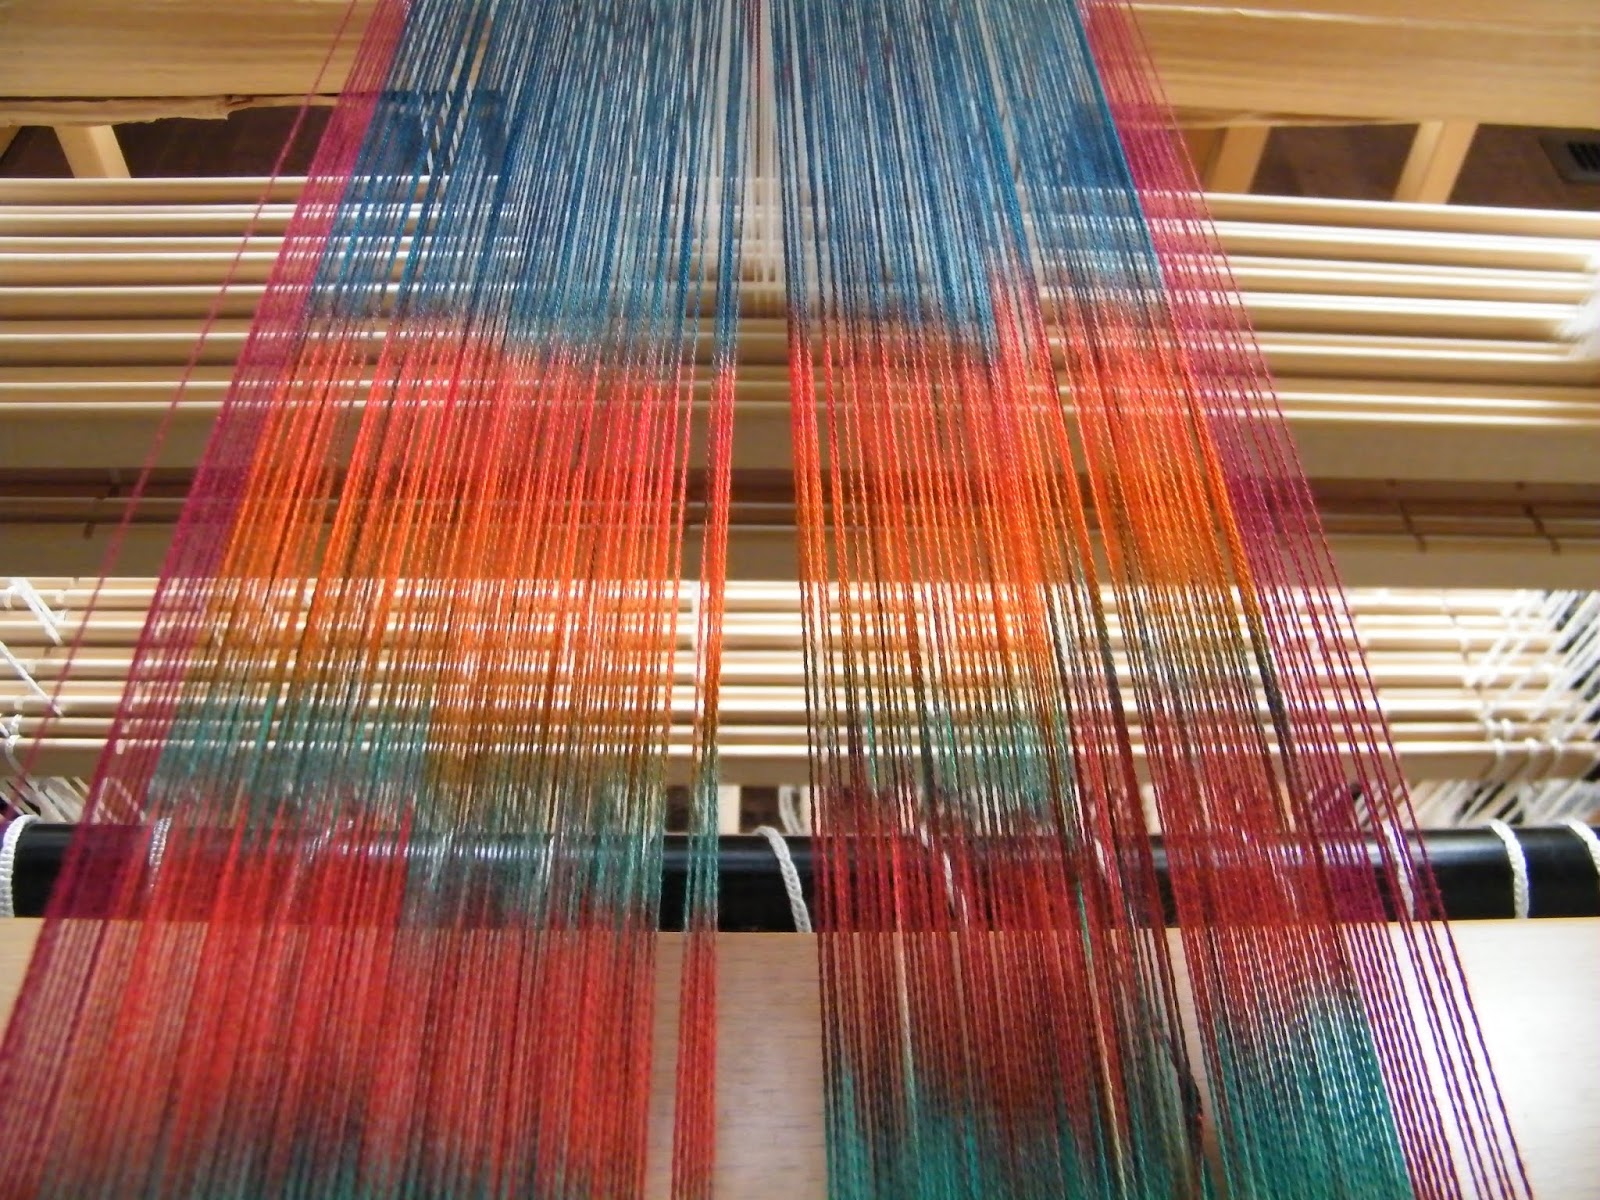
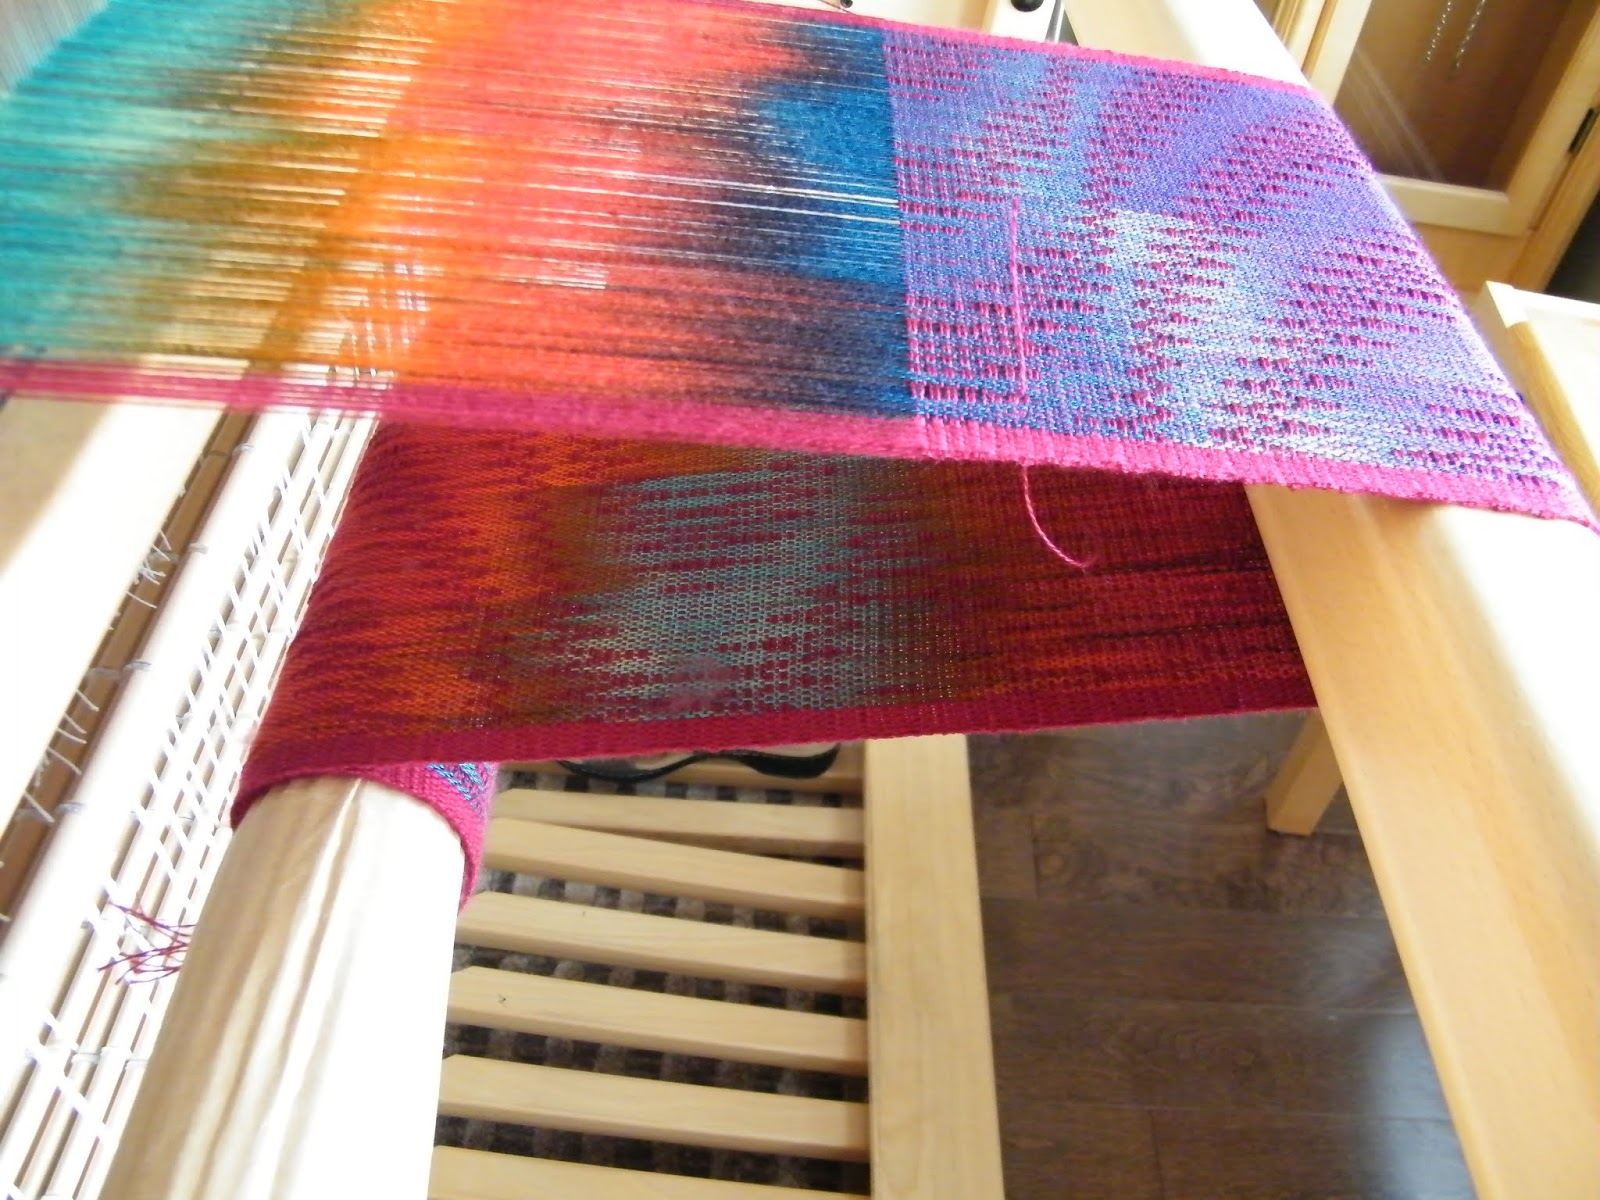
I did manage to do a wee bit of weaving in June and wove two painted tencel warps.  I used the same pattern for both of them as it is one I love weaving and summer is not the time to tackle difficult tasks in my opinion.
The first warp I called Fire and Ice, this painted warp was predominantly blues and oranges and by  choosing a burgundy red weft I ensured that it really does look like fire.
I threaded the warp as an 8 shaft advancing twill and treadled it in a parallel fashion.  I have used this pattern several times before and the fluid nature of the treadling never ceases to please.  As long as I pick a general progression series and stick to it I am free to weave ad hoc which is perfect for summer and a general laziness.
The final result is for sale on our Etsy shop Woven Beauty.  For Sale.
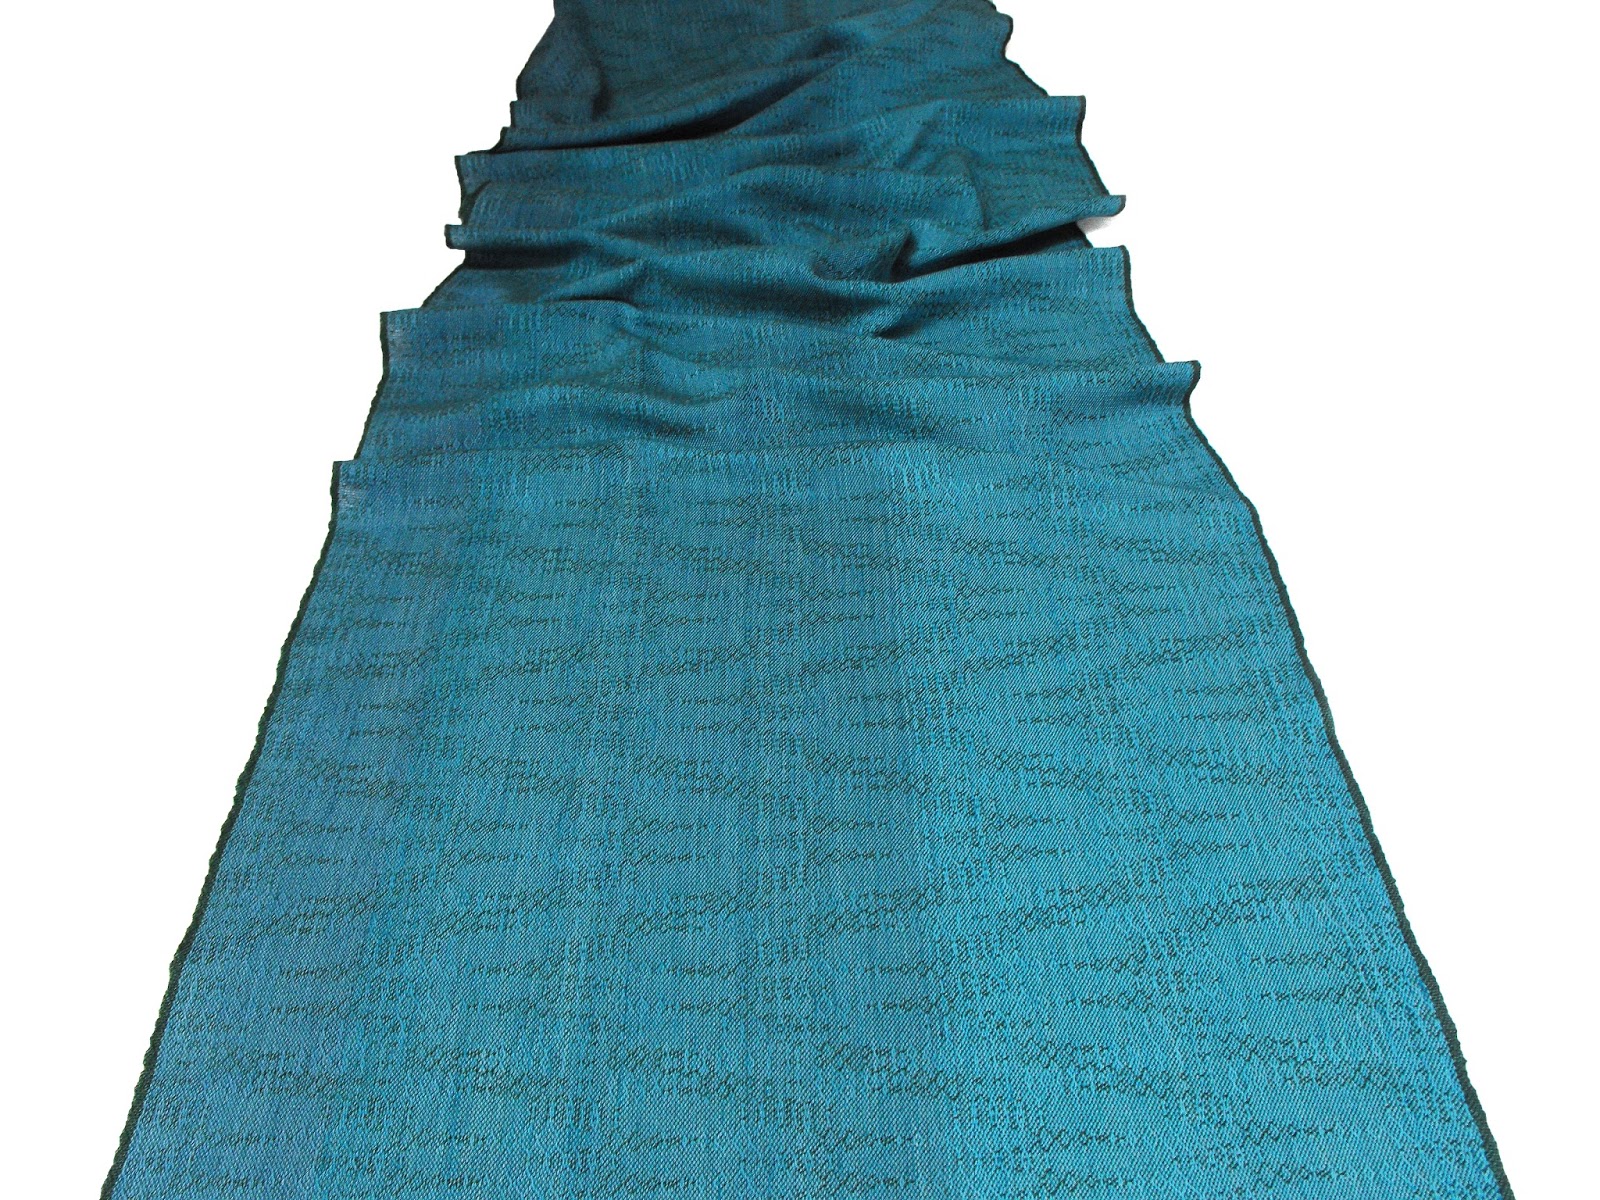
The second warp I call Pink Cammo and it is various olives, peachy pinks with a bit of burgundy.  I used black for the weft and this one is a real stunner.  For Sale.
The garden photo today a clump of drumstick allium ~Allium sphaerocephalon ~ complete with honey bees.

Sunday, April 8, 2018

Twelve Shaft Advancing Twill Shawls

My last project on the loom was a pair of shawls using some hand dyed 2/20 cotton in three tones of blue.  The colour variations are very subtle, but it still shows enough to add a bit of interest.

This is such fine thread with quite a strong twist that I ended up setting it at 30 ends per inch and even with that it was just about transparent on the loom.
I chose to use a twelve shaft advancing twill pattern and I am more than pleased with it although, I did have some real issues with the selvedges, and no amount of pattern manipulation seemed to fix it.
So I ended up adding seven threads to each edge due to weird pull in on the pattern.
The selvedge edges were added using the same yarn as the weft, in this case it was 2/8 tencel.   I added the selvedge threads by winding them individually onto a sewing bobbin and popping them into an old film canister with seven pennies.  I really had to search to find pennies now that Canada no longer makes them.  Luckily, we had just come back from the Garden Show in Seattle and had a handful of US pennies.
With so many hanging threads in one place there is always the danger that they tangle, so a few holes punched into a piece of cardboard and clipped to allow the thread to be inserted and I was good to go.
I did make sure to take the weight off of these hanging selvedges when I took a weaving break.  My big footstool did the trick.
I decided to make my hem stitching in increments of two reed dents, so with 30 ends per inch, that was a huge amount of hem stitching and when it came time to twist the fringes it was a beast!
The first shawl was woven using a blue/navy weft and was woven as drawn in; you can see the warp colour variations in this photo.
The second shawl was woven using hunter green weft and an advacing M’s and W’s treadling.

The garden shot this time is my newest Japanese Maple ~ Acer Japonicum ‘Green Cascade’.  It is waiting for this darned mizzle to abate so I can plant it!
Friday, May 19, 2017

Creamy Shawls in Broken Basket Weave

When Microsoft changed my Windows 7 to Windows 10 some pictures disappeared into a weird folder and I just found them so here is the post to go with the missing photos.  If it seems a little familiar I think that I weave these creamy shawls every year.
The warp is enough for two shawls and it is 2/20 Tencel/Cotton blend in Natural with a white Rayon knop yarn.  This time I had some trouble with the warp even though I followed my own instructions.  The reed that I usually used pulled the knops on the rayon and even frayed the 2/20.
I had to change to a larger reed that would let the knops through.  But that lead to the problem of the 2/20 threads being sleyed three per dent and having reed marks show up on the shawl.  The threads almost look braided together.
The solution was to weave about two inches and then move the threads by hand with a needle into the correct spots.  It was very slow going but I had a time line for this shawl because it was a custom order.
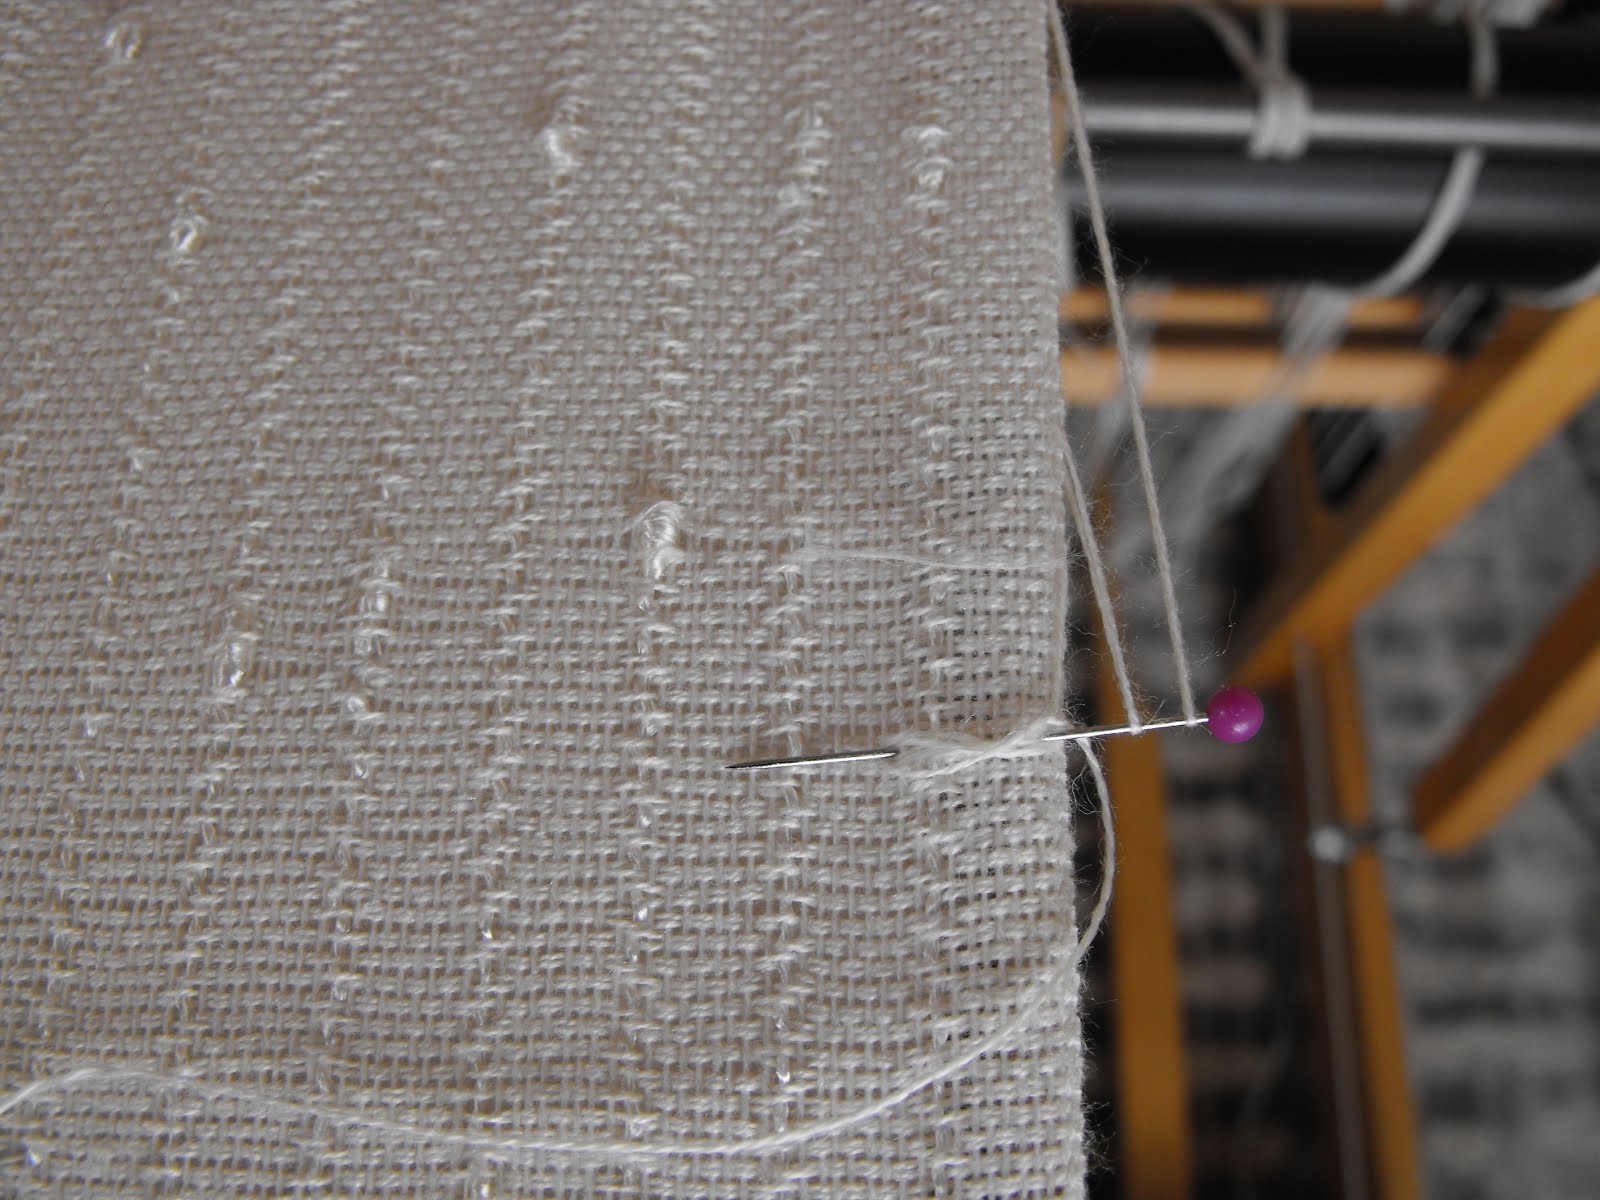
This shawl also had the additional problem of the right hand floating selvedge shredding.  So I had to pin another floating selvedge on but I left the pin head sticking out a little bit and I looped the weft over it twice!  Sometimes it seems that I spend more time unweaving then weaving.
The shawl gets cut off and finished to meet the time line for the custom order.  It is really pretty with the freshwater pearls and seed beads in the fringe.  It was sent to a lady in Australia and she loved it!
For the second shawl I didn’t change the reed, hand manipulating the threads worked and you couldn’t see any reed marks in the finished shawl.  The trick was to not weave too much and run the needle along the thread gently moving it into a more open position, almost like strumming a guitar.
This time I managed to loop the weft around the paper clip temple three times!  More unweaving.
I did make a rather terrible mistake on the second shawl.  I stepped back from the shawl and noticed a weird line going across the second shawl.  The weft thread had gotten thinner at the end of cone but I didn’t notice it until I had woven it into the shawl.  The mistake was that I left that line of thread in; I thought that it would bloom in the water and you wouldn’t notice it.
Well it didn’t wash out and it was noticeable in the finished shawl.  I should have pulled it out but I didn’t so I had to figure out a way to fix it.  First the shawl had to sit in the cupboard for a couple of months.  But then inspiration struck.
Mum came up with the idea of doing an embroidery stitch on the shawl.  The stitch is called Scroll Stitch and it looks like little knots going across the shawl.  The thread used is a fine cotton and silver thread that adds a little extra shine to the shawl.
The finished design was four lines of silver stitching that are four different lengths.  The back of the Scroll Stitch is a plain vertical stitch but it does add sparkle.
The shawl is quite pretty and the Scroll Stitch is very subtle when the shawl is being worn.  For Sale.
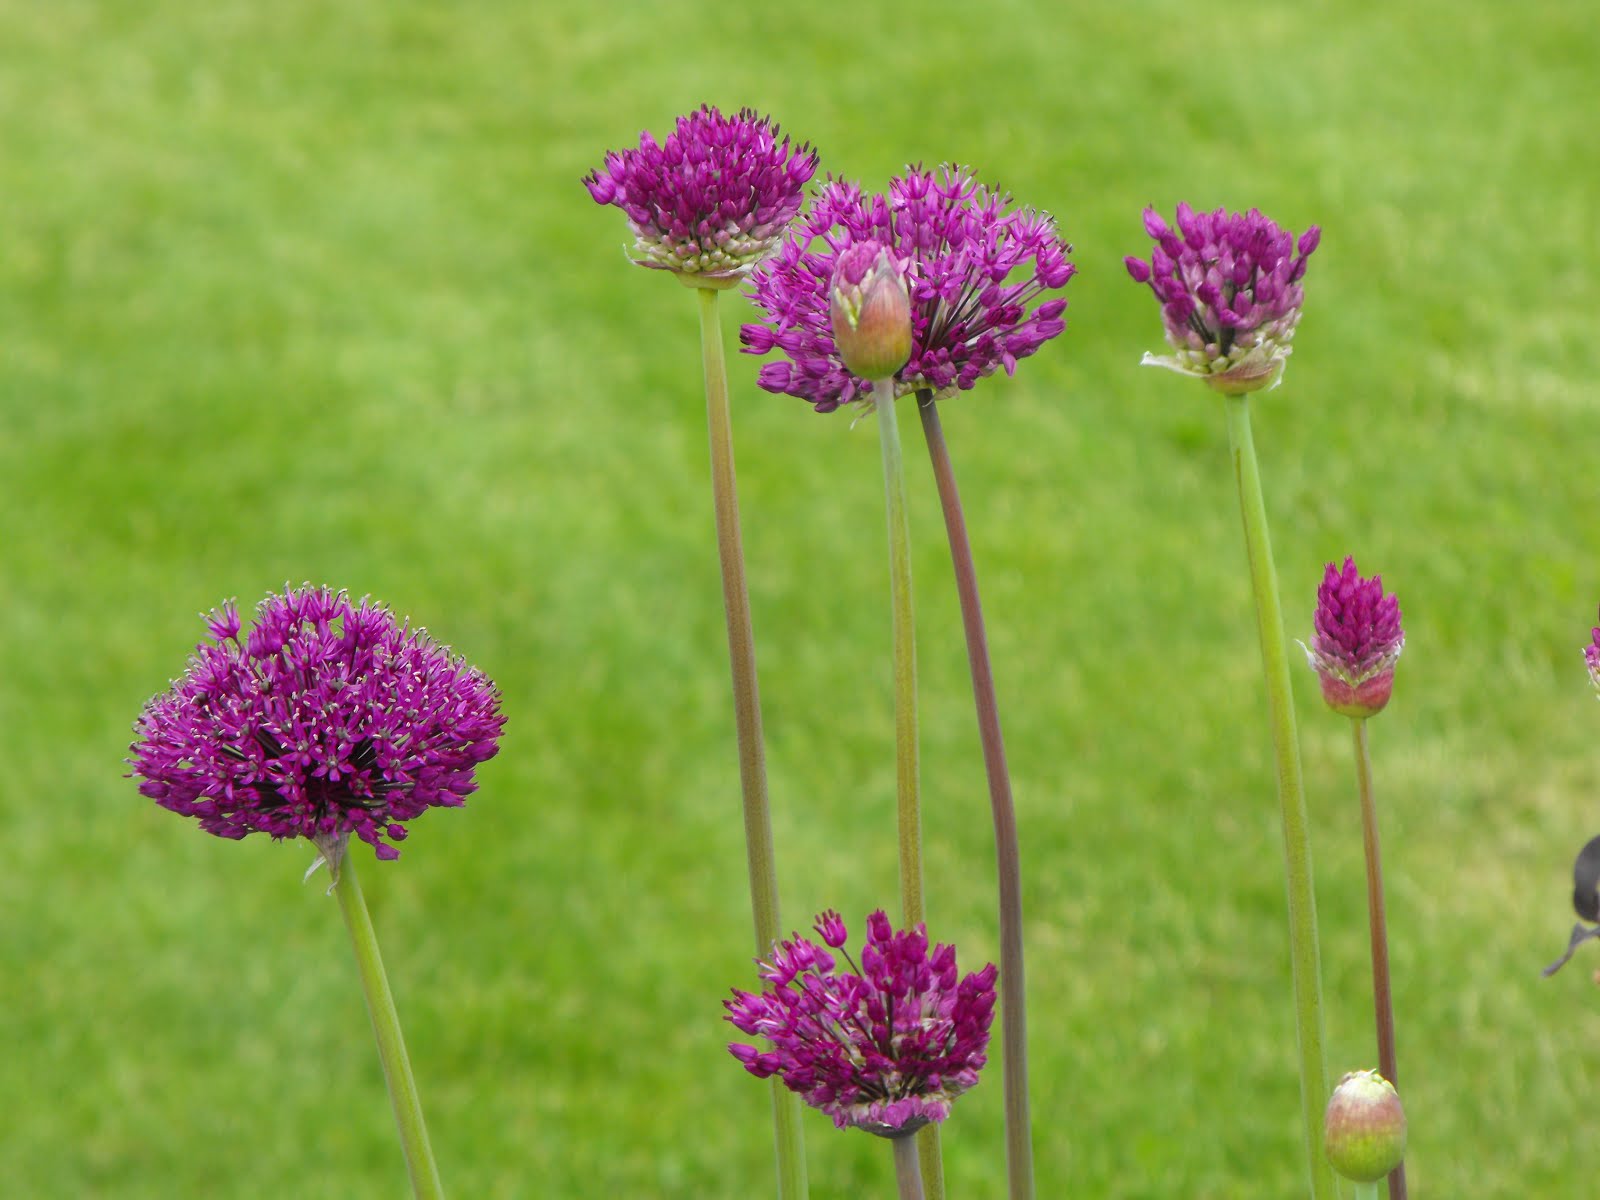
Final Garden Shot are large purple Alliums - they are a new addition to the front garden and they make quite a statement!