Showing posts with label Procion Mx dyes. Show all posts

Monday, September 11, 2023

Finishing up the Dye Days

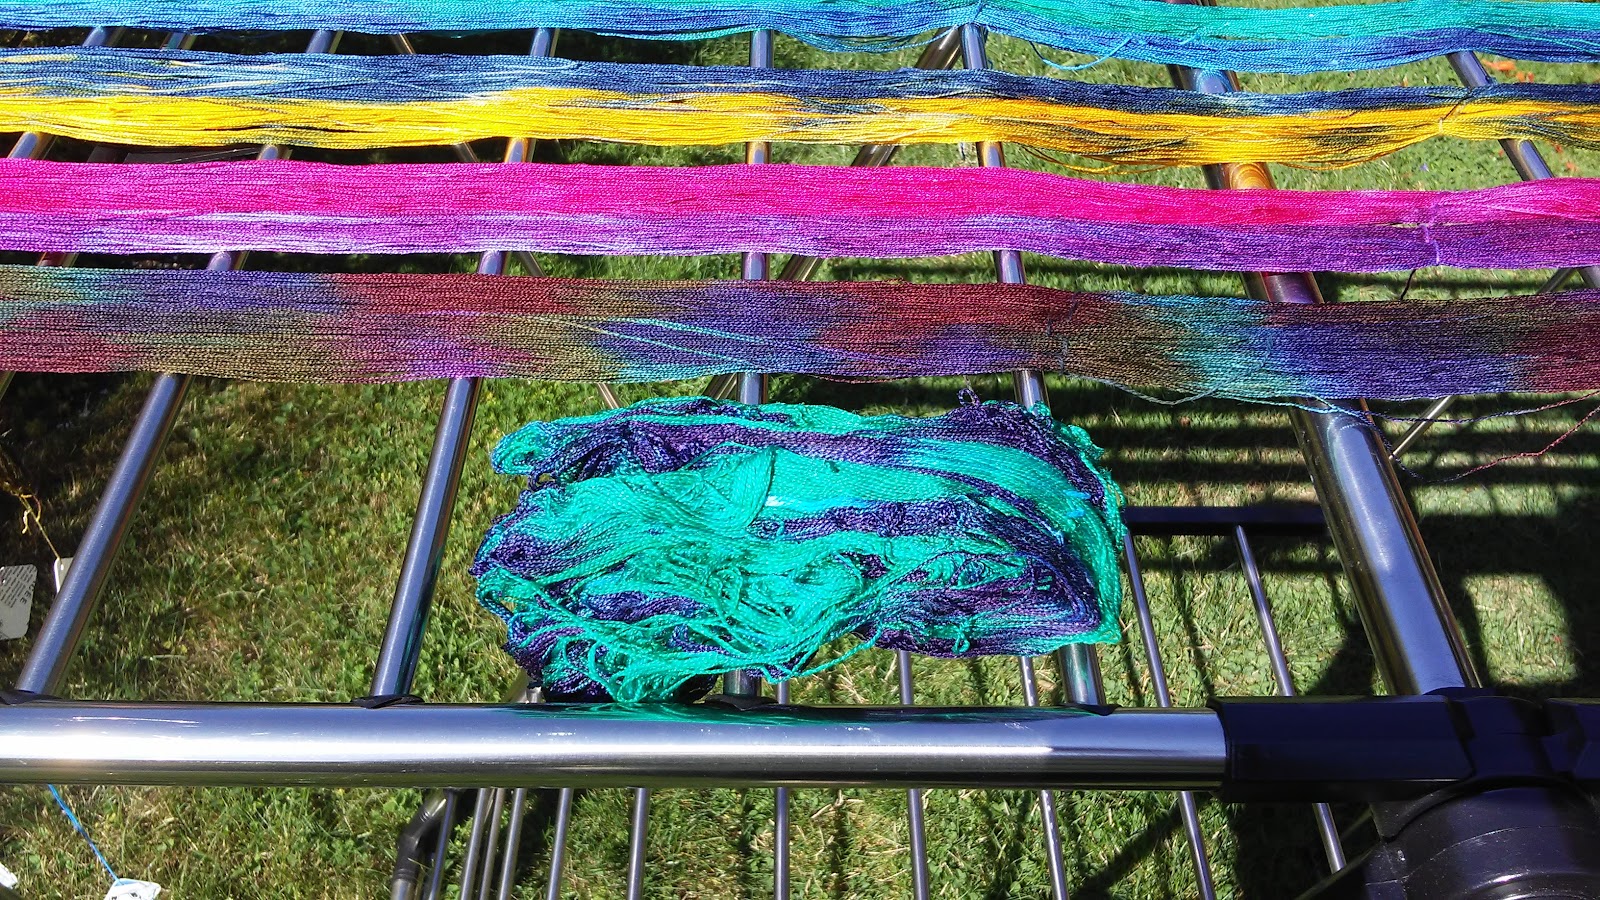
After the creative part of dyeing the silk warps is done, the warps sit wrapped up in plastic wrap for 24 hours.  Then the rinsing begins, just plain water to start moving out the excess dye, then a couple of drops of Synthrapol soap is added to the final rinse to remove every last speck of loose dye.

The silk warp comes out of the rinsing process in a bit of a tangled ball.  Luckily, it is really easy to fix, just grab the ends and a couple of flicks the warp is laying flat and smooth, ready to hang and dry.

The first lot of 8 silk warps are with the 2/22 silk.  There is a couple of different painting styles on show here.  There is a long curve of colour, half and half colour and random colour splashes, anything and everything goes when dyeing like this.   There is a lot of colour here!

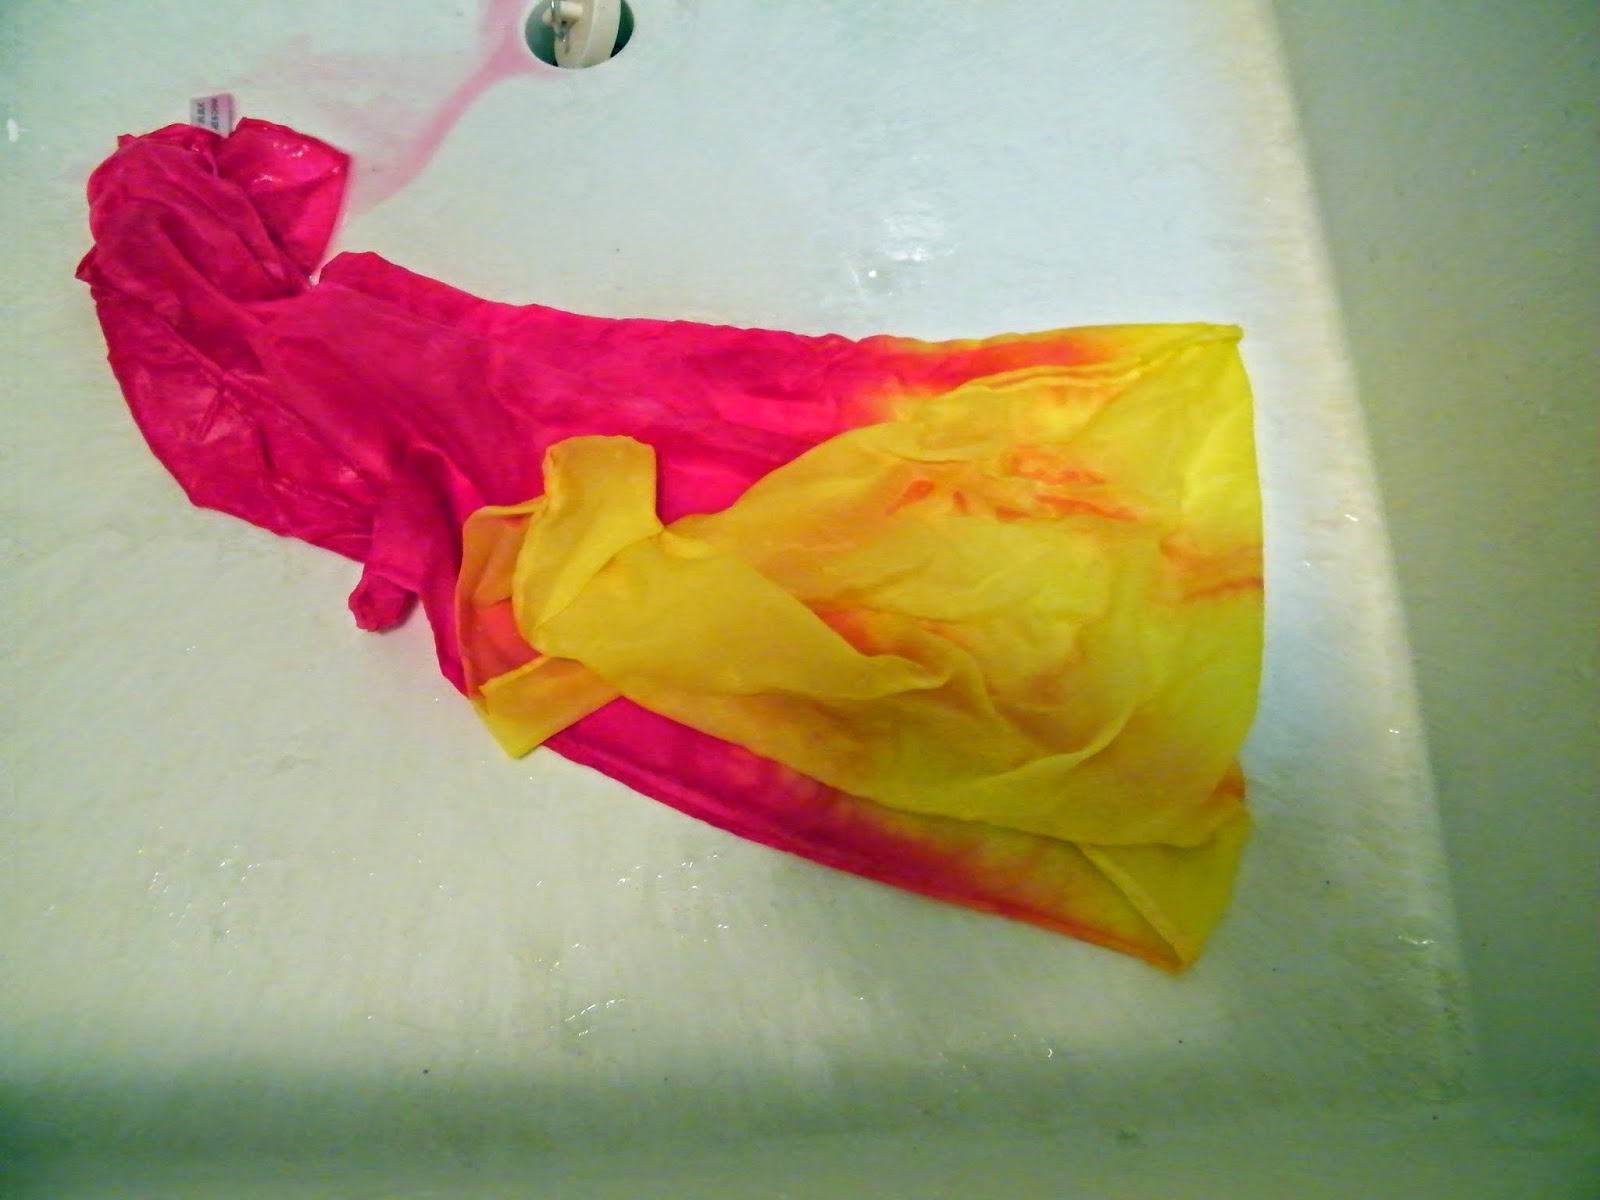
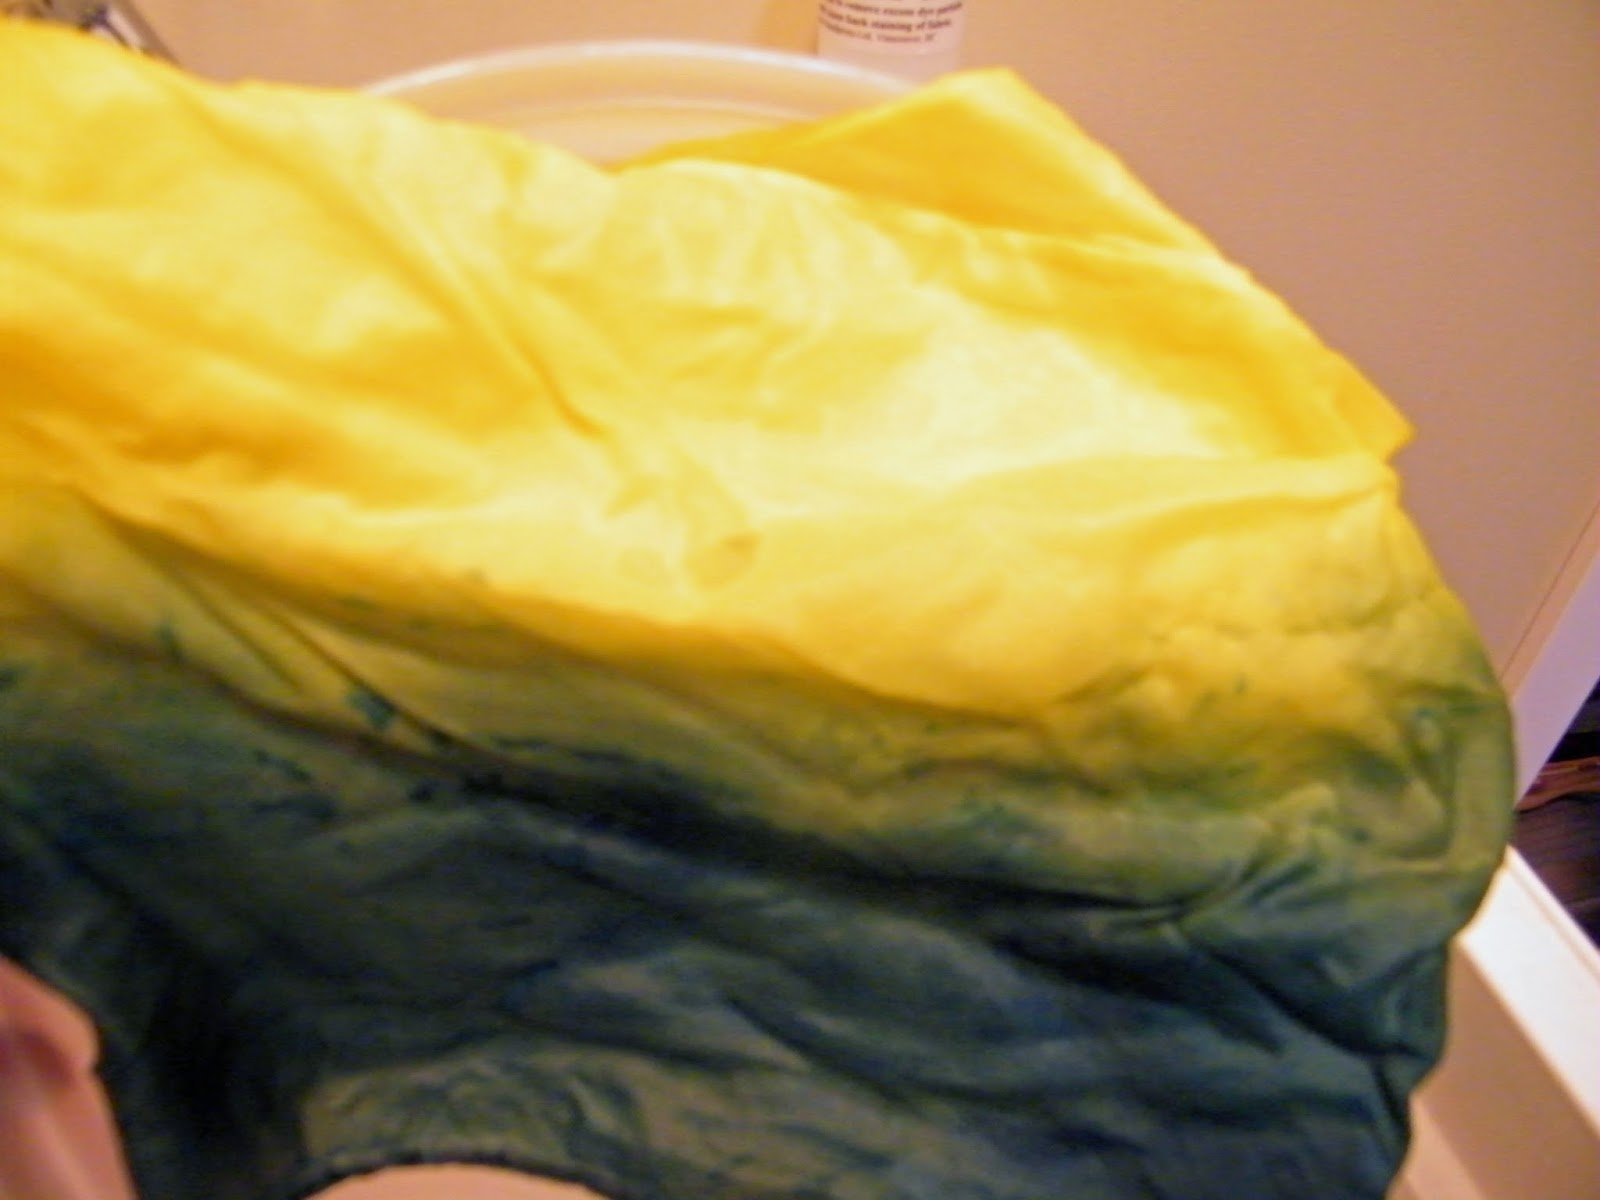
Since we had the dyes out I also over dyed a scarf, it was white cotton and lime green silk.  I over dyed it with navy blue Procion MX dye.  It was a multi step process but easy, just a lot of stirring.  The dye bath method took about two hours and then straight to rinsing.

This is the second lot of 8 silk warps.  There is a mix of tussah silk and a camel/silk blend.  The camel/silk blend is wonderfully soft and I’m quite excited to work with it.

I didn’t get a photo of the third lot of silk warps, I guess I’m still a little rusty in the blog making!  But here is a final photo of all the warps together.  What a wonderful range of colours!

I’m a little disappointed on how the over dyed silk scarf went.  I think that the container that I used was a little small, the instructions said to use a container that allowed the material to float freely and I thought that I had.  But the scarf has marks of where the material bent and it is lighter on one side.  So I guess that it is mine now!

Final garden photo is a Hydrangea paniculata 'Vanille Fraise' the shrub is over 8 feet tall and the heads are at least 1 foot in length.  The flowers start as white in the summer then as the nights get cooler they start to pinken.   We had a heavy rain a few weeks ago, so they are being supported a bit now. It is a spectacular highlight to the start of the autumn in the garden.

Monday, September 4, 2023

Getting Ready for a Dye Day

The weather is here on Vancouver Island is turning a corner and fall is starting to creep in.  The lovely days of planting, weeding and harvesting from the garden will be soon over and now our thoughts are turning to weaving.  

There is nothing more exciting than putting a gorgeous colourful painted warp on the loom in the cold, grey months of winter. Mom and I decided it was time to paint some warps.  It has been a few years since we last had a dye day for silk warps so I’m going to share how we do it.

We purchased some 2/22 Bombyx silk from India and we like the sett to be 24 epi (ends per inch), so for a scarf 8 inches wide we need 200 ends.  We have found that 100 inches is the perfect length for a scarf on our Louet Spring Looms; it gives 10 inches for fringe at both ends, 70 inches for woven length and some extra for take up and loom waste.  

We also pulled  warps with a few different silks; 2/30 Tussah silk, 2/30 Tsumuga silk, 1/20 Bourette silk and 2/30 Camel/Silk blend.  They all have different setts and numbers of ends so we have everything on a spreadsheet.  We also use large tags made from ice cream bucket lids with numbers on them to keep track of the warps.  We ended up pulling 24 warps!  

We set up to dye in the garage with saw horses and a long piece of plywood that was topped with a piece of rigid insulation to get to just over 100 inches in lenght, it is best to lay the warps long and straight, it really makes painting the design much easier.  It is totally jury rigged but it works and we can each paint a warp at the same time, one on each side!

We separated the silk warps into 3 sections of 8 warps, because 24 is too many to do in one day.  So two people with 4 warps each means the dyeing only took about 2 hours to do but it still took three days.  We use Procion MX dye and the first step is to place the warps into a soda ash bath for at least 30 minutes.

The dyes get a mix of salt and urea with some dry powdered dye and then some water.  You can mix the dry powders up to get different colours like teal and magenta.  Always follow the manufacturers instructions for safety and use when using dyes.

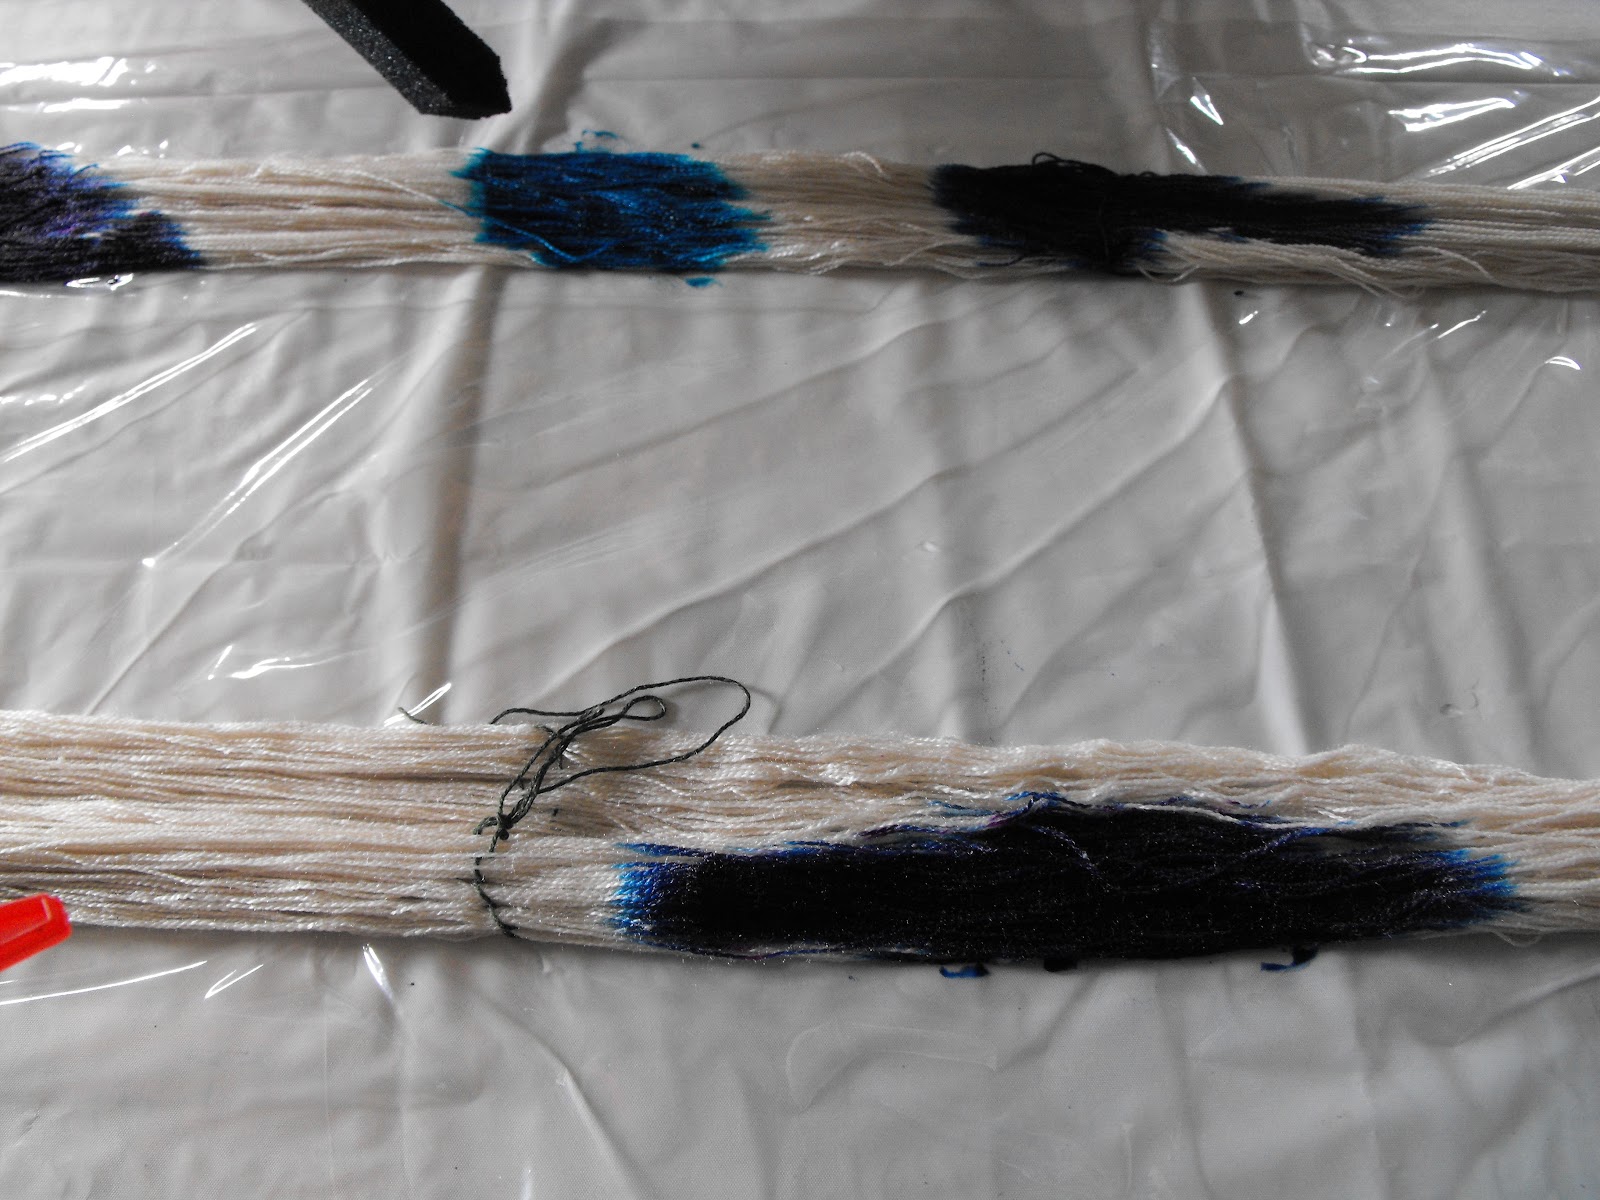
A long piece of plastic wrap is placed on the board then the warp is squeezed dry (wear gloves!) but not rinsed and is added on top of the plastic wrap.  Carefully untwist the warp, try to get it flat but this is not an exact thing.  We use sponge brush to add the dyes to the warp.  Sometimes we do splashes and dashes of colours.  The next warp could have a long twisting curves of colours.  There is no right way to do it, every warp is different.  

Once the warp is coloured, wrap it up in the plastic wrap and leave for 24 hours.  We then put them into a plastic zippered bag just in case they leak.  Next post we rinse!

Final garden photo is of Dahlias, the bumble bees just love them.  Some are named varieties and others we grew from seeds but all are just covered in bumble bees.  The bumble bees also sleep on them over night.

Wednesday, March 25, 2015

February Dye Day for Silk Warps

The day after dyeing the silk blanks we dyed some silk warps because we had some dye left over.  We had purchased some 2/22 bleached silk from Georgia Yarns and the silk has a grey tone.  In the picture is white 2/8 cotton and three tall cones of silk, so you can see the colour difference.
That evening was spent pulling silk warps, we got three warps each with 200 ends per scarf.
We soaked the warps in water first and they were very hydrophobic I had to use a plate to weigh them under water.
We then soaked them for an hour in Soda Ash.  It was the last of the soda ash we have and to buy more was going to involve a long trip to Victoria but doing some research I believe that a product called pH Up from the pool supply store is soda ash and I can get that here in town.  Has anybody used it?

We dyed the warps using our usual method of plastic wrap, disposable cups and sponge brushes.
From the last dye day I really enjoyed weaving the warps that I had dyed lengthwise so I did one warp blue and turquoise dyed lengthwise.
Next one is 2/3 orange and 1/3 pink also dyed lengthwise.
The last one is one of those warps that it doesn’t look so good but when it is woven up it could be amazing.  Or I could chicken out and over dye it.  It is gold, moss, plum, green and black.  
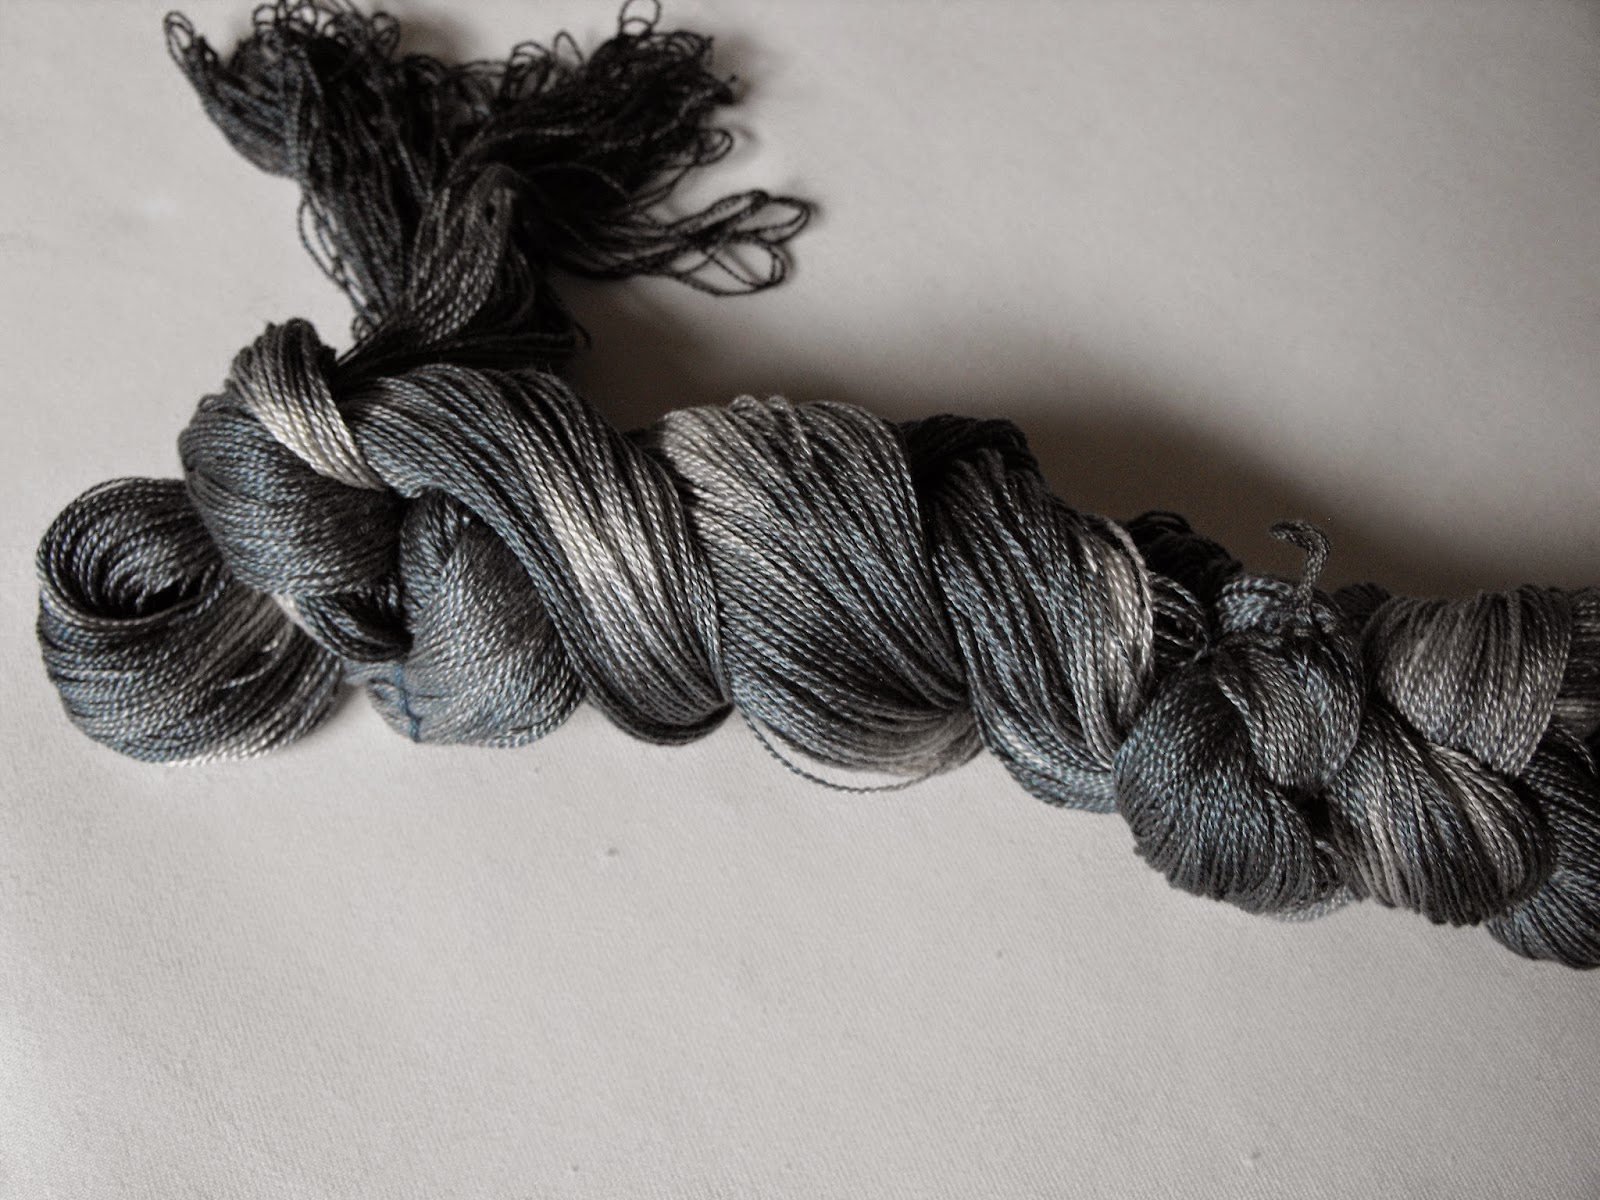
Mum's first warp is grey with areas of the natural silk showing through.
Next one is moss and plum dyed in streaks.  Similar to the Oil Slick Scarf.
The last one is a really pretty green and purple.  It is a dark and grey day today and the colours aren't really showing up well.
We also over dyed our two problem silk blank scarves with the too bright yellow.  Mum’s scarf has a yellow centre and pink ends.
And is now dyed with an orange centre and pink ends.  For Sale.
My problem scarf was dyed is dyed lengthwise yellow and green with the green dye 'breaking' into greens and blues.
I dyed the yellow area with large green splashes and I added some purple to the green area.  I just made a huge mess of the scarf, the green didn’t attach but the purple did, I probably should have soaked it in some soda ash first.  But it is ugly and I am going to over dye it again, correctly this time, using grey.  I think that grey is my only chance of covering the purple/green mess.
Final Garden Shot is Black Elderberry - Sambucus 'Black Lace'
A few days ago I made a Gougères, French cheese puffs, in a triskele pattern and I thought it looked pretty enough to share with you.

Monday, March 9, 2015

February Dye Day for Silk Scarf Blanks

It has been such a mild winter this year; it feels like it's been spring since January!  So Mum and I decided to have an early dye day.  We have such fun dyeing silk warps that we decided to do try silk scarf blanks. 
To get started we soaked the twelve silk blanks in soda ash for an hour.  Then we decided on the colours of Procion MX that we wanted to use and mixed up the colours.  The colours were Crimson, Fuchsia, Royal Blue, Green, Yellow, Purple, Grey and Turquoise. 
To dye the blanks we placed a long piece of plastic wrap down enough to double over the scarf.  Because the scarves are so thin we were able to keep the scarves folded in half which makes matching the ends a lot easier!  
We didn't try for perfection, we let the dye move/run were it wanted to go. There were bubbles of air caught between the layers which added to the interest of the scarves.
We tried different techniques like using plastic spoons to drop colour on to the scarves.
We also used sponge brushes to cover large areas of the scarves, or to give large splashes of colour.
We had to wait 24 hours to allow the dye to set, then it was time to wash the dye out. The scarves took a small amount of dye so it took only a couple of rinses for the scarves to be ready.
Mum and I each did a scarf using the yellow colour and it is so eye searingly bright that we want to over dye it!
 
Here are the beauty shots of the scarfs that we still have, two have already found new homes and two are being re-imagined!
Sky blue middle with new leaf green ends.  For Sale.
A stunning blue and purple marbled scarf.  For Sale.
Pink and orange.  For Sale.
A striking purple scarf that looks like a nebula.  For Sale.
Grey and pink.  For Sale.
Pink, blue and grey polka dots.  For Sale.
Fuchsia and purple scarf looks like the flower fuchsia. For Sale.
Turquoise centre with blue ends.  For Sale.

Friday, October 17, 2014

Six Shaft Crackle Weave ~ Oil Slick Scarf

I’m still slowly working through the silk scarf warps I painted last year ~ who knew it would take me sooooooo long to get through them!!
This warp was not the most promising because it was basically the ‘use up’ of all the left over dyes. I kept picking it up and then like a magpie, putting it down again when another, more exciting warp caught my eye.
Even on drying out day I put it on the end because it was so drab!!!
I had developed a 6 shaft networked turned crackle weave pattern a while ago and this warp was going to be the maiden voyage for it. Once I had the warp on the loom, I felt much more hopeful as the amazing colours popped and I immediately knew that I had several choices of weft.  The warp has plum, fuscia, green, blue….I was spoiled for choice!
My first weft choice was soft plum ~ not so good.  Then onto cedar green ~ my favourite so far; finally I tried lemon grass ~ yup this was the winner!
Well, it was the winner until I got a few inches woven and found out that the weft absolutely killed the pattern!  My usual weft conundrum!
As soon as I tried the purple I was gobsmacked….this looks like an oil slick on water, stunningly beautiful!  The rounded crackle drops just enhance the oil slick theme.

I was so pleased with this scarf that I emailed this photo of the unfinished scarf to my friend Susan telling her that I thought it was the most beautiful of the silk scarves.
Susan now has a new winter scarf and this scarf takes the record as the fastest scarf in an out of Etsy for me ….ever!
We have the most amazing sunsets here in Comox!