Tuesday, September 30, 2014

Blue Ivy Katazome Shawl

This second shawl sat around for a few weeks before I finally came up with a dye plan. The story about the weaving the two shawls can be found here on a previous post.  

My idea was to use a stencil to dye a pattern onto the shawl; but ...the problem is that we live in a small town on an island and I couldn’t source any dye thickeners locally that would work with the Procion MX.  I really didn’t want to drive three hours to Victoria or wait for an order from the internet or take an ocean voyage to go to the mainland; so the only course of action was to find a DIY alternative on the internet. 

I stumbled upon katazome which is a Japanese dye technique using a resist paste applied to the cloth.  The best part is that the resist paste is rice flour, and that I could find!  A little research later and I found that wheat flour can also be used ...even more awesome!

So here is how I did it for the first time – no sampling/testing just straight onto the shawl!  First I washed, dried, ironed and trimmed the threads from the shawl.  I left the fringe untwisted.
I made a table long enough to hold the shawl and the fringe.  I used a piece of firm insulation on top of some boxes to extend the sawhorse table!  Then I covered it with a large piece of plastic sheeting, like the stuff used for painting drop cloths.  I made sure that there was enough overlap to wrap the dyed shawl.
The next step is to make the paste.  I used ½ cup all-purpose flour and ¾ cup of water, adding more water to get the right consistency.  You want a mixture like thick cream, not too runny but not too thick.
I did a test run on the kitchen counter to make sure that it was able to hold the shape of the stencil and it looked good!
We (Mum and me), measured out the halfway point of the shawl, marking it with a pin.  We then figured out the placement of the stencil and found out that we would need to flip the stencil over so that the ends would match (having the end ivy pointing down to the edge on each side).  Then it is just a matter of glopping the paste down on the stencil and lightly pushing it around using a small offset spatula.
For the centre motif I didn't want to use the whole stencil so I just taped off the areas I didn't need with painters tape.
The shawl had to be left overnight so that paste could dry.  It was weird to see that when the paste dries it pulls and puckers the shawl. 
So the next day is dye day.  The first step is to make a solution of soda ash and water.  I used 2 teaspoons of Soda Ash with 8 cups of warm water.  I only needed about 1 cup for the shawl but we were able to use the rest of the dye to dye some silk yarn.  I sprayed the soda ash solution all over the shawl until it was wet but not soaking.  And I left it for 20 minutes, at about 10 minutes I gently pulled the shawl flat and made sure that there were no dry spots.  The soda ash is an important step to dyeing the Procion MX as it activates and sets the dye.
Mixing the dye comes next.  I choose Royal Blue in the Pale value.  The recipe is ½ teaspoon of dye, 2 teaspoons of salt, ½ teaspoon Urea and ½ cup warm water.  Mixed together the ingredients into a cup and then I poured mine into a sprayer.
I sprayed the dye from only one side of the shawl to make an ombré effect.  I only used maybe ¼ cup of dye water, it goes along way! 
When I was happy with the dye coverage we folded the plastic sheet over the shawl for the 24 hours needed for the dye to set.  While the shawl was batching I had mild panic over how I was going to rinse the dye and get rid of the resist paste!!
Thankfully the first and easiest method worked.  I took the shawl outside and used the garden hose to rinse off the resist paste and dye!  The flour paste easily rolled off the shawl and with the small amount of dye used in the shawl it quickly rinsed clear.
The shawl looks amazing!  I really can’t quite believe how well the flour paste resist worked.  I already am looking at the other shawl thinking that I’m going to dye it too!
The final photo shoot for the shop and the shawl looks wonderful.  I love the sky blue colour and the ivy motif is so pretty.  For Sale.
So that is how I do katazome dyeing – a little differently than the traditional technique – but it worked!

Sunday, September 21, 2014

Lime and Amethyst Silk Scarf ~ Crackle Weave

The next silk warp to be woven was very boldly dyed in lime green and purple in large triangular shapes.  The thought when dyeing the warp was to have large areas of clear colour so that the scarf wouldn’t look muddy.
To find the weft colour I decided to pull out the Itten star.  
This is a folder that has eight disks that you place over the Itten's colour wheel to compare colour values, complementary colours and colour opposites.

The disc I chose to use is the five tone chord disc which shows a primary colour with four split complementary colours.  The primary colour is the lime green and the other colours are blue/purple and red/orange.  In the end I went with the blue because I wanted the lime green to be the feature colour not washed away in a sea of opposing colour.  The purple weft blended into the purple of the warp hiding any pattern. 
So the last choice is the navy and it looks brilliant!  The pattern is a crackle weave with a really long pattern repeat of 13 inches.  There are only 5 and a bit repeats for the entire length of the scarf.  The pattern is offset and has a lovely echo repeat.
The scarf is really striking; the lime green make highlights the purple and the navy make the pattern stand out.  The long pattern repeat has an organic movement to it that is really wonderful.  For Sale.
Final garden picture is the first of the black mission figs.  The first one is always huge; this one is about the size of an apple!

Saturday, September 13, 2014

Spinning~Knitting~Dyeing

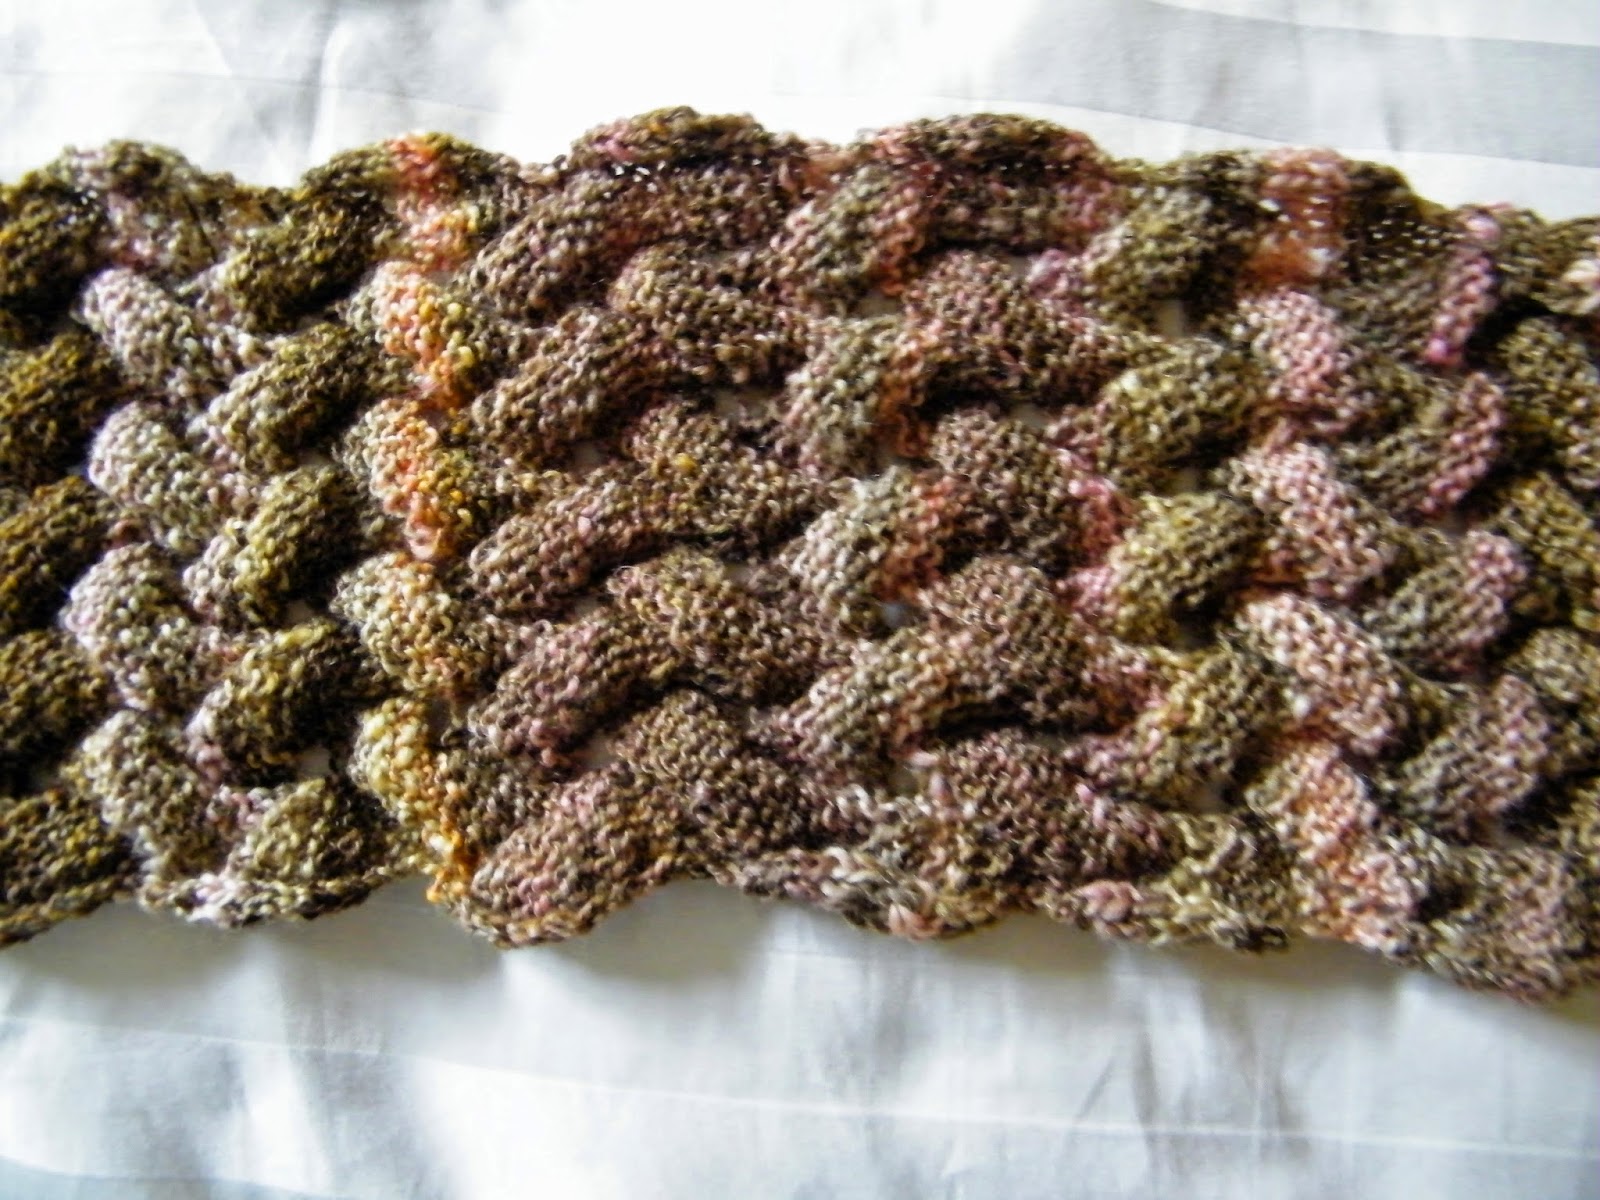
A few months ago I spun a bobbin of merino wool in a colour-way called ‘Teddy Bear’.  The colours seemed to be really lovely so I plied with a very fine cashmina yarn to keep the colour transitions clear and to avoid the dreaded candy cane effect.
I wanted to get a nice spiral yarn, so I held the cashmina yarn tighter than the merino and I got a really lovely textured yarn as you can see on the niddy-noddy below.
Last week I decided to knit the skein into a short scarf and found a pattern in A Treasury of Knitting Patterns by Barbara Walker on page 220 called Scroll Pattern I have to say it is a truly lovely pattern.
As I was knitting along I discovered that the hand spun wasn't quite working out colour-wise.  Instead of having the lovely smooth transition from colour to colour that I was hoping for I got clearly distinct bands of colour and not in a good way. The pink and brown are great together but every once in a while a random yellow appears all by itself.
Ngaire is holding the scarf taut while I take this photo so you can see the pattern and the colours ~ this is pre wash and just off the needles so it's really sproingy.
One of the amazing things about this pattern is the reverse side ~ for a weaver this basket weave appearance is just a bonus!
Here is the scarf finished but not washed or blocked.  I’m really not happy with the colour transitions and so before I go any further with it I think a quick dunk in a dye bath is in order.  

Well, it's been a few weeks and a few changes....You can see on the photo above of the scarf, that my cast on edge and my cast off edge are really different; one frilled outward and the other curved inward ~ not a good look, so I made it a circular scarf!  And I dyed the scarf; I chose to use a blue dye bath and watered the dye down so it was just a pale wash.  My goal was to even out, but not completely obliterated the colours.
I 'frogged' the cast off edge and put the stitches on a straight needle and then did the same with my cast on edge.  Then I cast off following the pattern taking one stitch from each needle.  I think the join looks very subtle!
Here is the scarf after it was blocked and the curved edges and the pattern really show up nicely.
I'm really please with this scarf now!

Monday, September 1, 2014

Immersion Dyeing Method for Cotton

I’ve had some mercerized cotton yarn kicking around in my stash for what seems like forever, that I just could not find a use for.  Why….colour of course.
The yarn is all 16/2 mercerized cotton in baby pink and bone….the pink is much too sweet and the bone was much too, well, old bone looking!  A perfect reason to haul out the dyes and have a dye day.
The first task was making skeins of about between 2-4 ounces each.  I love my little cheap and cheerful Lacis  Skein Holder.  I’ve had it for about 25 years and it just keeps on going!
After making all of the skeins I soaked them overnight in plain water ~ it took overnight because the bone coloured cotton was very hydrophobic.
We decided to dye using the Immersion Dye bath Method for ProcionMx, which entailed dissolving the dye in a small amount of water and adding it to a large container of 105 F water.
Then immerse the fibre you are dyeing and add salt, then stir continuously for 15 minutes and then occasionally for another 15 minutes.
After 30 minutes you dissolve Soda Ash in a small amount of warm water and add to the bath; stir continuously for 5 minutes and then occasionally for another 30 minutes.
Take the fibre out and rinse first in cold water, then raise the temperature to hot.  Unlike heat dyeing of wool, not all of the dye is absorbed into the cotton, there will be some dye bleed. Add synthrapol to the final rinse to remove every last speck of loose dye.
Because we were dyeing 9 skeins, we did it in two separate batches; there was a lot of stirring when we did 5 at a time!
This fabric was the inspiration for my dye choices; it’s called Big Blue Poppy!
Here are the final colours drying in the shade…..finally, colours I can use!

This is the formula that I used to dye these cotton skeins:

For 4 ounces ½ heaping teaspoon of procion dye, 2 ¼ tablespoons salt, 10 cups water, ¾ tablespoon soda ash.
For 2 ounces ¼ heaping teaspoon of procion dye, 1 1/8 tablespoon salt, 5 cups water, 2 ¼ teaspoons soda ash.