Showing posts with label Handwoven Garment. Show all posts

Monday, March 18, 2019

Handwoven Garment Number Three

I’ve finished my second vest using Ngaire’s yardage.  This time rather than drafting my own pattern, I used an old favourite, McCalls 7407.  I have used this pattern before with pretty good success, so I thought I’d make my life easier.
I’ve again used decorative river stones to hold the pattern in place while I’m sorting out where the pieces will best fit.  I love this trick as it is much easier than pinning and unpinning each piece as you move them around.
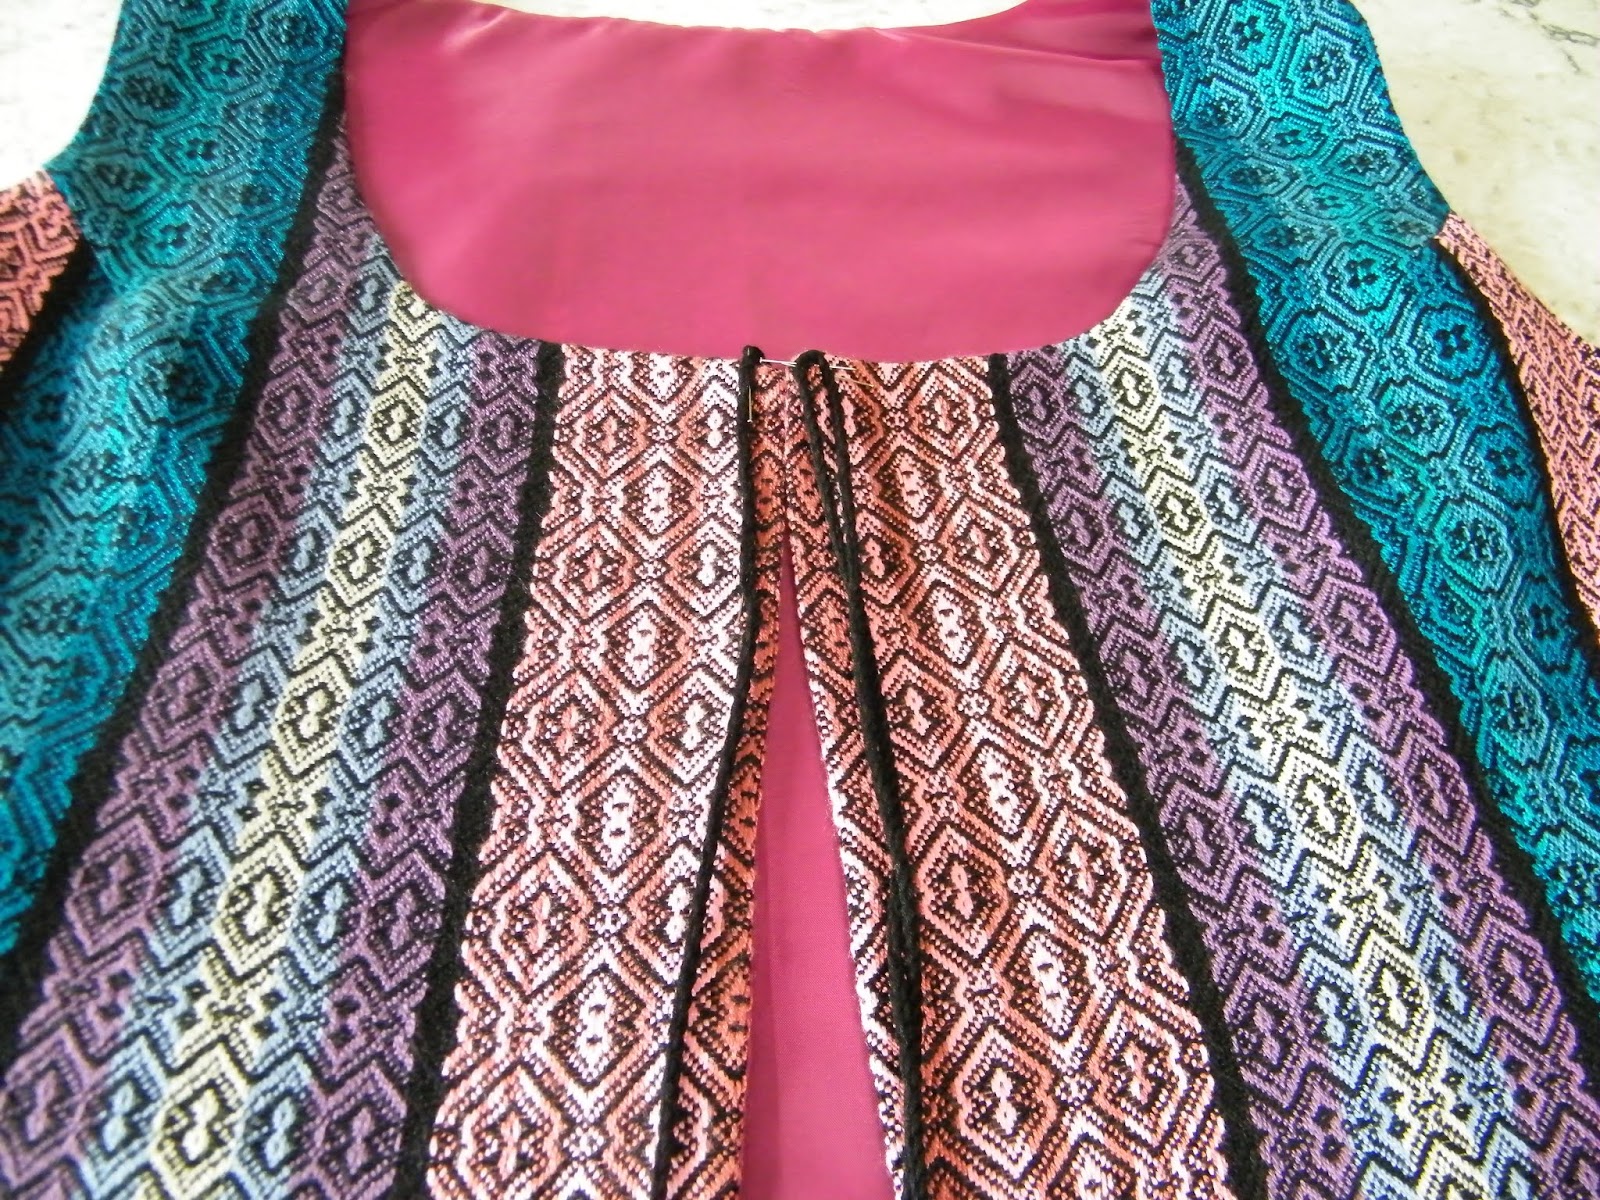
This is a fully lined vest, so I did the same again with the lining.  I have a real beef with the linings that are available to me on the Island.  We have a very limited selection and sadly lower quality than what I would have wished for.
I will fast forward through all the sewing as it really was very straightforward and move on to where the real angst began.

I wanted to show that this was a truly handmade garment and there is no better way to do that than with embellishment.
My first thought was to make tassels on each side of the bodice.  My thought was to attach a cord and make a loop on each side and pull them over one another giving a loose tie.   Hmmmmm, no!
Then I thought I would make a tassel cord.
I used Bamboo 7 for the three strand cord and slip knotted it into a loop.  I made the tassel using the slip knot for the centre of the tassel.  Then using basic wrapping created the tassel.

The idea for the vest was to use buttons on each side of the bodice and loop the tassel over them to act as a closure.
Out came the button box and then I spent a blissful hour picking and sorting through them.  I became very nostalgic because this was something I did as a child, sitting on the living room carpet sorting away!
Buttons were chosen and the tassel was hung....nope, it didn’t work and it made the bodice sag.
My solution was cheap and cheerful, hook and eye closure.  Sometimes the simplest really are the best.
I think it worked well and it quietly makes sure that the neckline remains in place, showing off the nice scoop neck.
Our fashion show at the guild is next week and I feel really happy to be able to show all three of the garments made from Ngaires yardage projects.  This lovely Capelette, the Open Backed Vest and this vest.

Monday, February 18, 2019

Making a Handwoven Garment

In my last blog post I talked about the yardage I wove, but I didn’t tell you what it is going to be . . . a capelette!  The pattern is really pretty and looks fairly straightforward.  The pattern is New Look number 6007.
Cutting out the pattern pieces was a little tricky because the yardage was really quite thick.  So where I could, I cut out a single piece at a time, much easier on the hands.
I wussed out about sewing it (and using Mom's new machine), so Mom is doing the sewing.  Here is the back of the capelette and you can see the circular form of the garment beginning to develop. 
For the interfacing we went with a light pink 100% cotton; it was both cheaper and higher quality than the interfacing that we can get at our local store.  But the pink fabric is so tightly woven that it was seriously hard to push the pins in.  So using a trick that I picked up on The Great British Sewing Bee (did you know that a new season has just started after a four year hiatus?)  I used flat river stones to weight down the pattern pieces; it worked surprisingly well.
I am doing all of the ironing, so I get to iron the seams open flat and also use the new wooden point presser which is great for ironing into corners.  Mom picked up the point presser at the Guild Silent auction in December and it is a godsend on the collar.
The Judy is trying the capelette on at the end of the day.  We still have to add the interfacing pieces and collar, but it is starting to look like the photo on the pattern!
The capelette is a little shorter than expected, but exactly the length on the pattern. So instead of hemming the bottom of the capelette we decided to add satin tape to finish the edge and keep all the length.  It really adds a lot of interest, it is also a labour of love as Mom used the sewing machine to attach the right side but the inside side needs to be hand sewn so that there is no stitching to mar the satin ribbon.
I was surprised about how much of a mess the wool yardage made while sewing.  I had to vacuum every day to keep a handle on the bits of fluff.  The hardwood floors run the entire house so the little bits would end up in every darn room!
Finally finished, well mostly!  It is absolutely lovely and just what I was hoping for!  The belt isn’t quite done yet because it is going to be made from the same fabric as the capelette with the satin ribbon as an accent.  But, of course I ran out of ribbon and today is Family Day in BC so the fabric store is closed.  So just imagine it with a wider belt with a ribbon accent all around the edges.


Final Garden Photo is a lovely shot of the picture perfect snowflakes that we had last week.  These snowflakes came down while it was sunny and in large fluffy clumps that looked just like the fake snow in the movies.

Monday, February 11, 2019

Weaving Mixed Fibre Yardage

In September of last year my weaving guild’s study group, Exploring More, decided to look at sewing a handwoven garment.  We have also decided to have a little fashion show for the guild at the February meeting so I guess that I better get started!

To start, I’ll talk about the yardage that I am using which I wove it in 2012; and looking back at the blog, it seems that I have never shared anything about it.  So I am going to piece together its story from the photos and my memory.
The warp is based around this large cone of variegated cotton.  The cotton is white, rusty brown and green, and is surprisingly pretty.  I added stripes in brown chenille and a shiny rose boucle rayon.
Going by the pictures, it looks like Mom and I had found the sewing pattern before weaving the yardage.  We then used the pieces to find out how wide and long that I would need to weave the yardage.  Pretty smart if I do say so myself!
The stripes are narrow and the overall warp looked quite brown.  The weft is a pretty pink 2/20 merino wool and once it was added the fabric really lightens up.  The pattern I chose to weave is basket weave.
I remember that I had trouble with the tension for the chenille stripes.  I used a tightly folded towel across the warp beam to try to even out the tension.  The towel allows the tighter threads to bite into the towel to give some ease of tension.  It seems that I still had to add individual weights on the chenille stripes.  Horrors!
A pretty shot of the yardage on the cloth beam.  I carefully washed it in the bathtub and let it dry flat and then ironed it.   Then it sat in the closet waiting, and waiting, and well you get the picture.
I have periodically taken the yardage out and looked at it and put it back into the closet.  So when my weaving study group started a topic about sewing handwoven garments I was excited to finally have a reason to start on the sewing of this yardage.  Mom and I talked about it and we decided that the yardage was too loose and open.  So this time I put the yardage into the washing machine and then for a brief stint into the drier to get the cloth to be firmer.  It is definitely firmer but still has a lovely drape.
I have finally started cutting out the pattern.
Final Garden Photo is of all the snow we are getting, the local schools and library are closed due to the snow.  Also all the ferries have been cancelled for tonight.  Just last week I was working in the garden weeding!  The picture looks like it is black and white but just a very grey day but the red of the stop sign is popping out.