As I put the second warp on Lily Louet I thought that I’d take photos and share how I am dressing her. This method has given me, without a doubt, the best tensioned warps I have ever had. Thank you Jane Stafford for the CD Discover the World of Weaving Looms, by Louet!
 I make my warp on a standard warping board, but since I’m a bit of a shortie I hang my warping board on the wire shelves in my studio. The boxes of yarn on the shelves made it very hard to see my warp threads and kept boggeling my eyes, but I fixed the problem with a few clothespins and a towel, not pretty, but it worked. I know I'm a bit retentive about keeping my yarn in clear plastic bins, but, that's the way I am! This warp is 4 yards long, 2/10 Egyptian cotton in pale cream.
 I moved the warp to the loom and inserted the thin metal rod through the loops and then put the lease sticks though the cross, pretty standard stuff so far. The lease sticks are tied to the sides of the loom with a half hitch knot and then firmly tied to the back beam. The half hitch becomes important later on.
 I then lashed the thin metal rod to the 3/8” metal rod that I added to the loom, at about 1” intervals. I take time here to ensure that the distance between both ends of the rod is exactly the same.
 Now we come to the different stuff. The Louet Spring has a built in raddle on the castle of the loom, so the warp goes over the top of the loom for sectioning between the notches. To keep the warp threads not yet in use from falling into the cracks I use a piece of plain paper to lay them on.
  Once the warp threads are raddled you need to secure it with a piece of twine to make sure that it doesn’t pop out of the raddle spaces. I thought about it, and never one to waste yarn, I thought that making a giant elastic band that I could use over and over again was the way to go. I found this thin round elastic in my sewing box and it worked pretty well.
  The warp threads are beamed with a paper separator on the back beam, and the care I take to start the paper off evenly and straight is rewarded later on with an evenly beamed warp. After winding on a turn or two, I pull down very firmly on the paper and this tightens it on the beam, then off to the front of the loom and a very hard pull snugs it up even more, it's really quite amazing. Repeat, repeat, repeat…..
To keep the warp threads from tangling as you are beaming you run your fingers over the threads right at the raddle level, this and a bit of shaking is all that is needed to ensure it moves through the raddle. I never finger comb or fiddle too much with the warp threads as it usually causes more grief. Even though this was extremely sticky yarn, this method works.
 As you can see, it beamed very evenly and so I only cut off an inch or two of loops, using the front of the shelf as a guide line.
 Then on to threading the heddles; because the lease sticks were half hitched to the sides of the loom, you can move them up and down to be at the perfect height so you can easily pick the threads from the cross. This was one of the best things I learned, it was a real improvement on my previous style of threading. As you can see below it is sticky, sticky yarn and wants to clump! I have a print out of my threading taped to the loom shelf on the left and use a pin poked through the paper to keep my place in the threading sequence.
 To tie to the front beam I take very small increments of warp and pull it under the bar then split it in two and under the warp bout and tie it in an overhand knot that you put through the loop a second time. Putting it through the loop a second time makes it a moveable knot. After going from right to left across the warp, I tighten the tension on the warp until some of the groups are quite firm. Now I have some groups slightly tighter than others; to even them out I lay my hand over the tightest bouts and rock back and forth on them to make them all the same tension, the knots will loosen just enough to achieve it. This really works!
  Now the final step, I start at the right side and pull up each bout as tight as I can and give it another overhand knot. Working from right to left without stopping you give the bouts a final knot. You will probably find that the right side is slightly looser by this time, but leave it alone and walk away from the loom for about 20 minutes and you will be rewarded by an evenly tensioned warp as the bouts most recently tied relax.
 This warp will be a submission piece for the Guild of Canadian Weavers Senior test. It is an original Overshot namedraft bordered on four sides, minimum size must be 12" x 18" and I only have about 6" done so far. Not really my favourite thing to weave, but.... I’m using 4 strands of 2/20 wool for the pattern thread and the same 2/10 Egyptian cotton for the tabby. I set it at 24 epi and am aiming for 24 ppi. Although the photo looks black and white it is actually blue/olive and cream. I think that I'll change the pattern weft to be silk for the next one. I put on enough warp for 4 runners, thinking that I'd gift one to each of my children because the namedraft is our family name.


 I used 2/20 tencel set at 45 epi; 7 inches in a 15 dent reed, sleyed at 3 per dent. This gave me 315 ends. I put on 6 yards for 2 scarves, each 70” long with 8” fringes.


 I decided to start again, but to change the selvedge to navy to help hide the navy weft I had decided on. Then, to add a bit more colour I added a pink thread for each of the two blocks. Well it was obvious that I didn’t completely understand the weave structure; my 2 thread pink stripe was not balanced on the sequence changes so it looked a bit dot, dash, dot, not what I had envisioned at all.
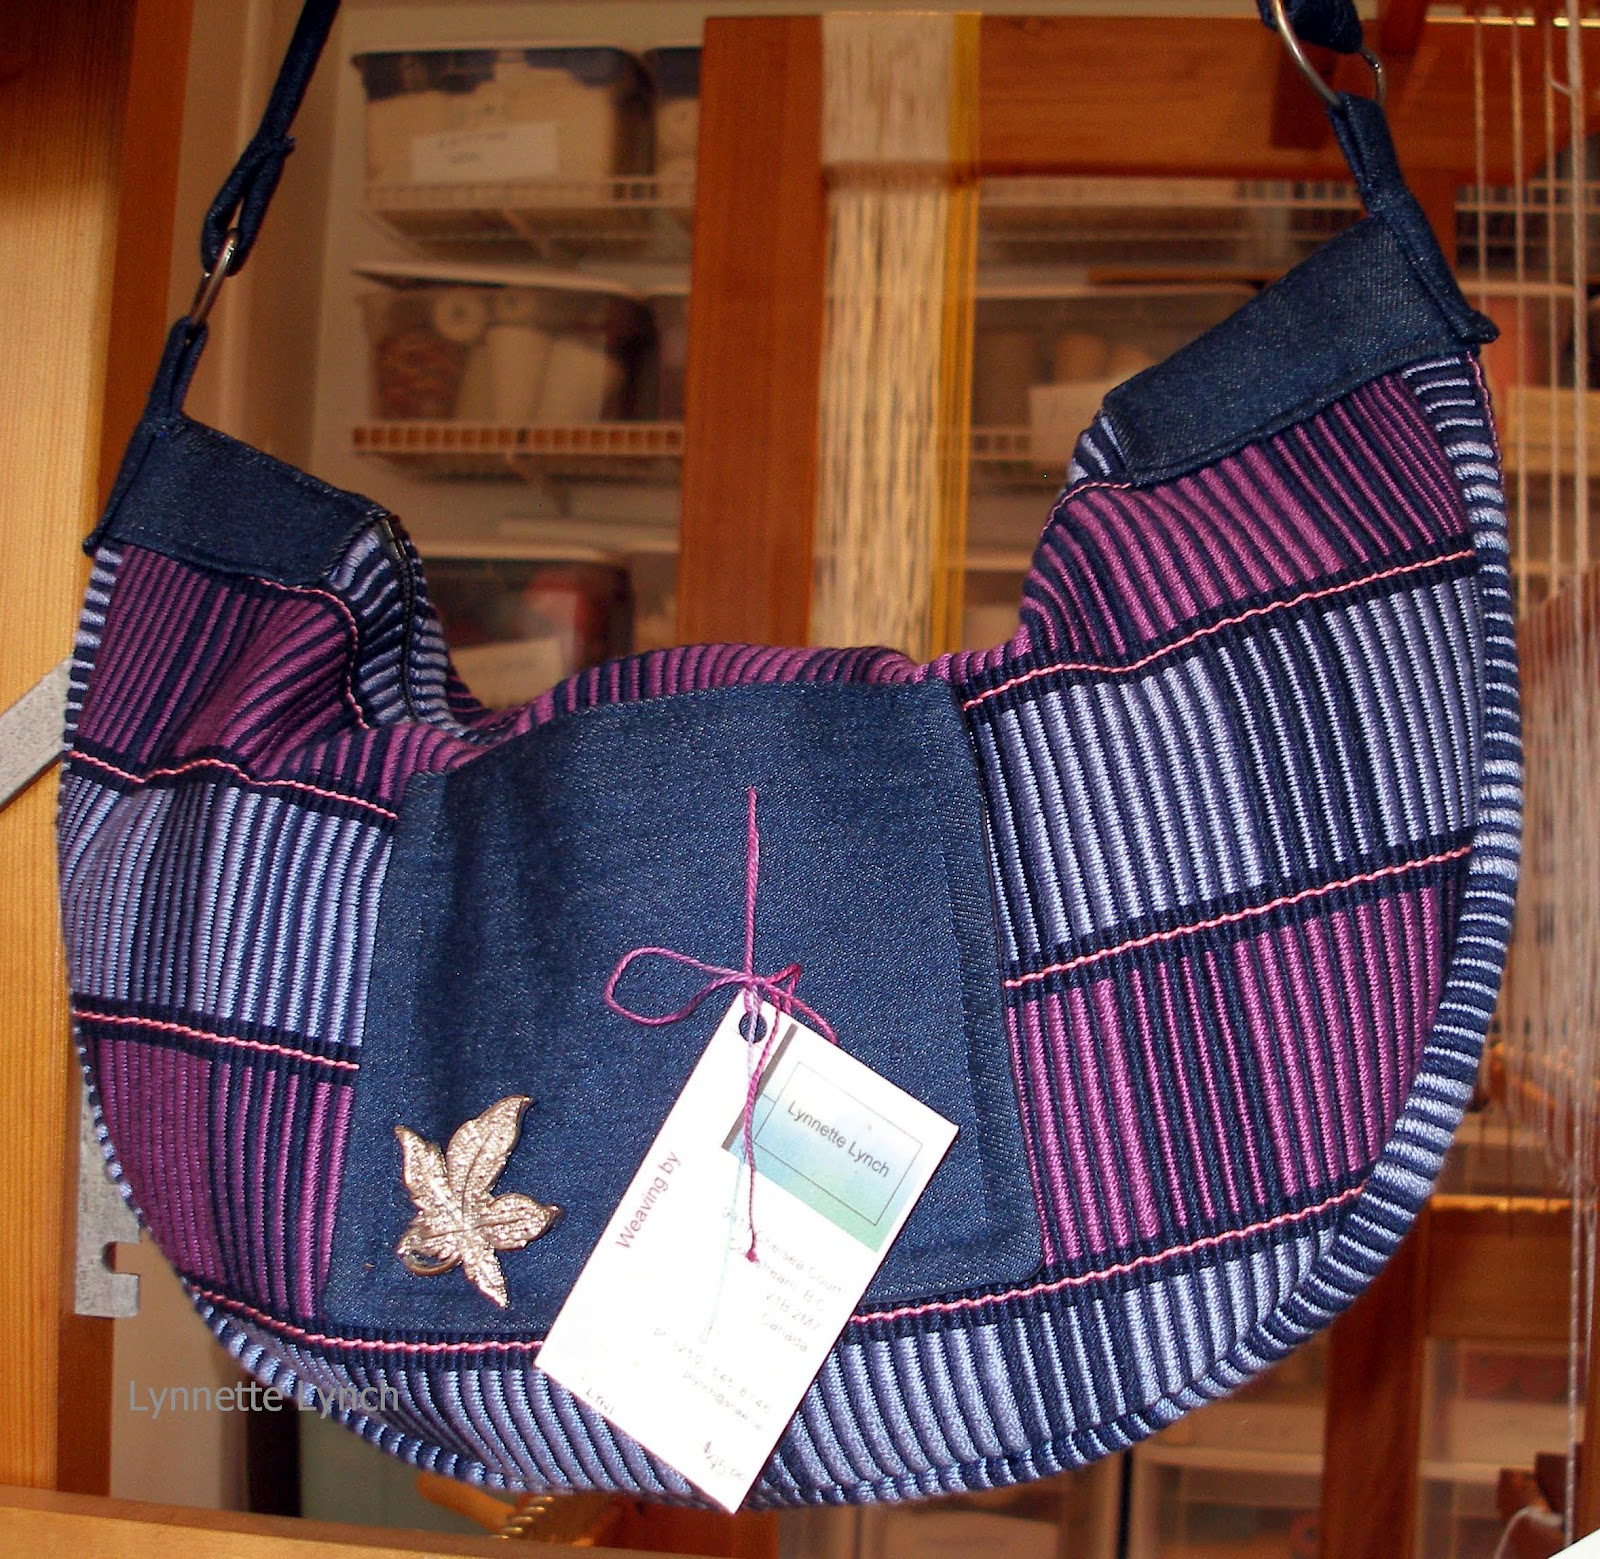
 I bit the bullet and warped it a third time, a big undertaking, this now was my third 600 thread warp in two weeks! This time I used 4 pink threads, 2 for each block change, making the pink stripe appear solid in each block change; this worked much better. This would be my final test submission warp and finding a soft 6 ply cotton weft made the piece I wanted.