When Microsoft changed my Windows 7 to Windows 10 some pictures disappeared into a weird folder and I just found them so here is the post to go with the missing photos. If it seems a little familiar I think that I weave these creamy shawls every year.
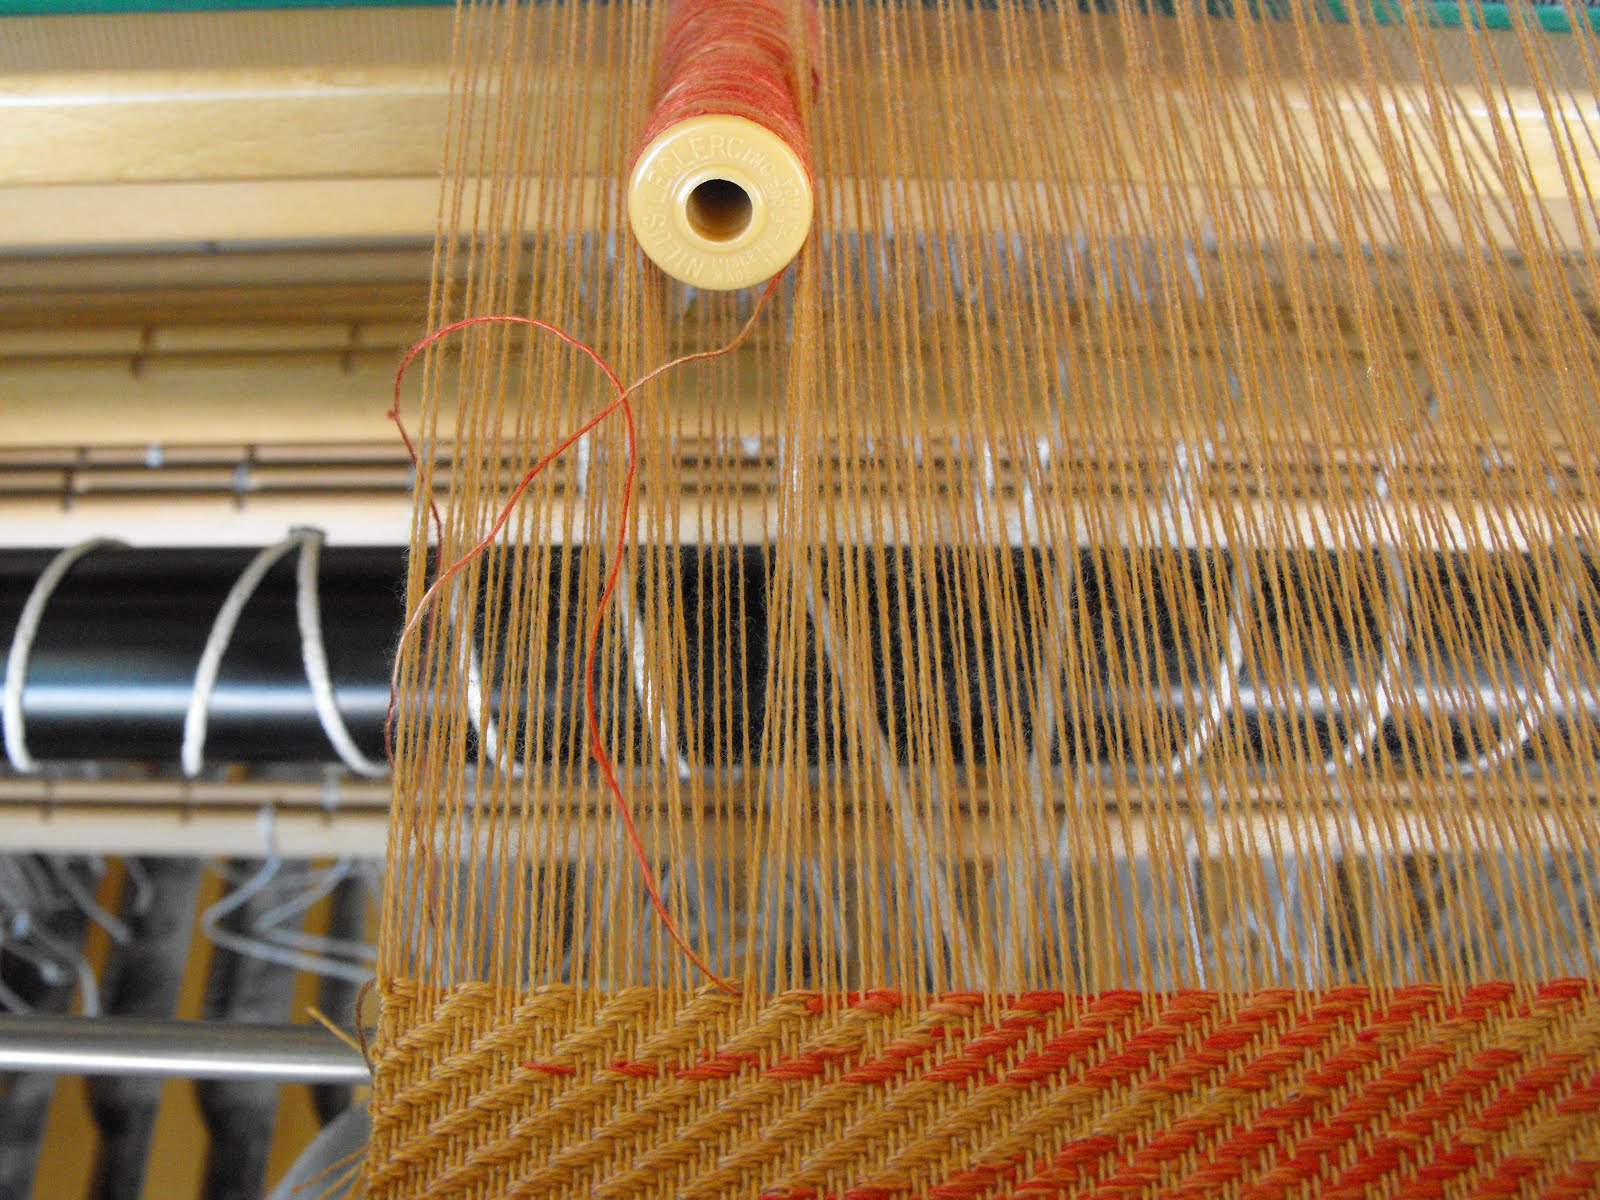
The warp is enough for two shawls and it is 2/20 Tencel/Cotton blend in Natural with a white Rayon knop yarn. This time I had some trouble with the warp even though I followed my own instructions. The reed that I usually used pulled the knops on the rayon and even frayed the 2/20.
I had to change to a larger reed that would let the knops through. But that lead to the problem of the 2/20 threads being sleyed three per dent and having reed marks show up on the shawl. The threads almost look braided together.
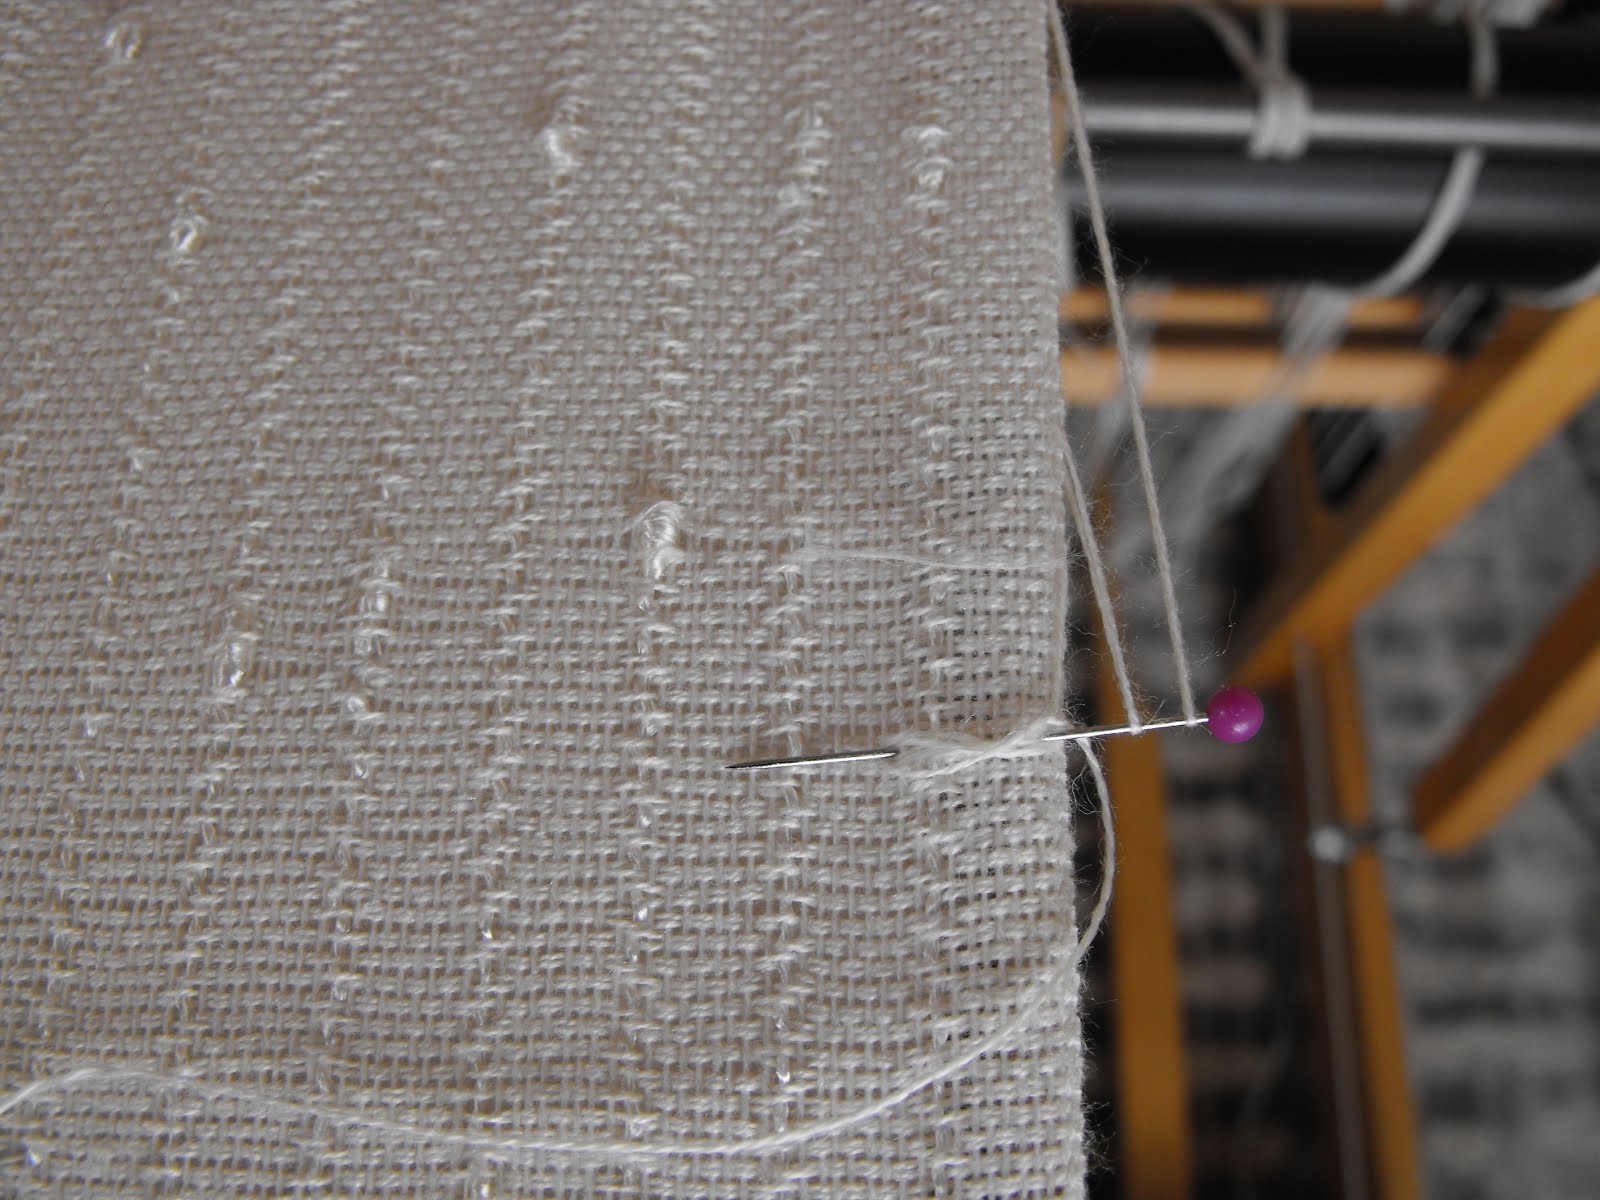
The solution was to weave about two inches and then move the threads by hand with a needle into the correct spots. It was very slow going but I had a time line for this shawl because it was a custom order.
This shawl also had the additional problem of the right hand floating selvedge shredding. So I had to pin another floating selvedge on but I left the pin head sticking out a little bit and I looped the weft over it twice! Sometimes it seems that I spend more time unweaving then weaving.
The shawl gets cut off and finished to meet the time line for the custom order. It is really pretty with the freshwater pearls and seed beads in the fringe. It was sent to a lady in Australia and she loved it!
For the second shawl I didn’t change the reed, hand manipulating the threads worked and you couldn’t see any reed marks in the finished shawl. The trick was to not weave too much and run the needle along the thread gently moving it into a more open position, almost like strumming a guitar.
This time I managed to loop the weft around the paper clip temple three times! More unweaving.
I did make a rather terrible mistake on the second shawl. I stepped back from the shawl and noticed a weird line going across the second shawl. The weft thread had gotten thinner at the end of cone but I didn’t notice it until I had woven it into the shawl. The mistake was that I left that line of thread in; I thought that it would bloom in the water and you wouldn’t notice it.
Well it didn’t wash out and it was noticeable in the finished shawl. I should have pulled it out but I didn’t so I had to figure out a way to fix it. First the shawl had to sit in the cupboard for a couple of months. But then inspiration struck.
Mum came up with the idea of doing an embroidery stitch on the shawl. The stitch is called Scroll Stitch and it looks like little knots going across the shawl. The thread used is a fine cotton and silver thread that adds a little extra shine to the shawl.
The finished design was four lines of silver stitching that are four different lengths. The back of the Scroll Stitch is a plain vertical stitch but it does add sparkle.
The shawl is quite pretty and the Scroll Stitch is very subtle when the shawl is being worn.
For Sale.
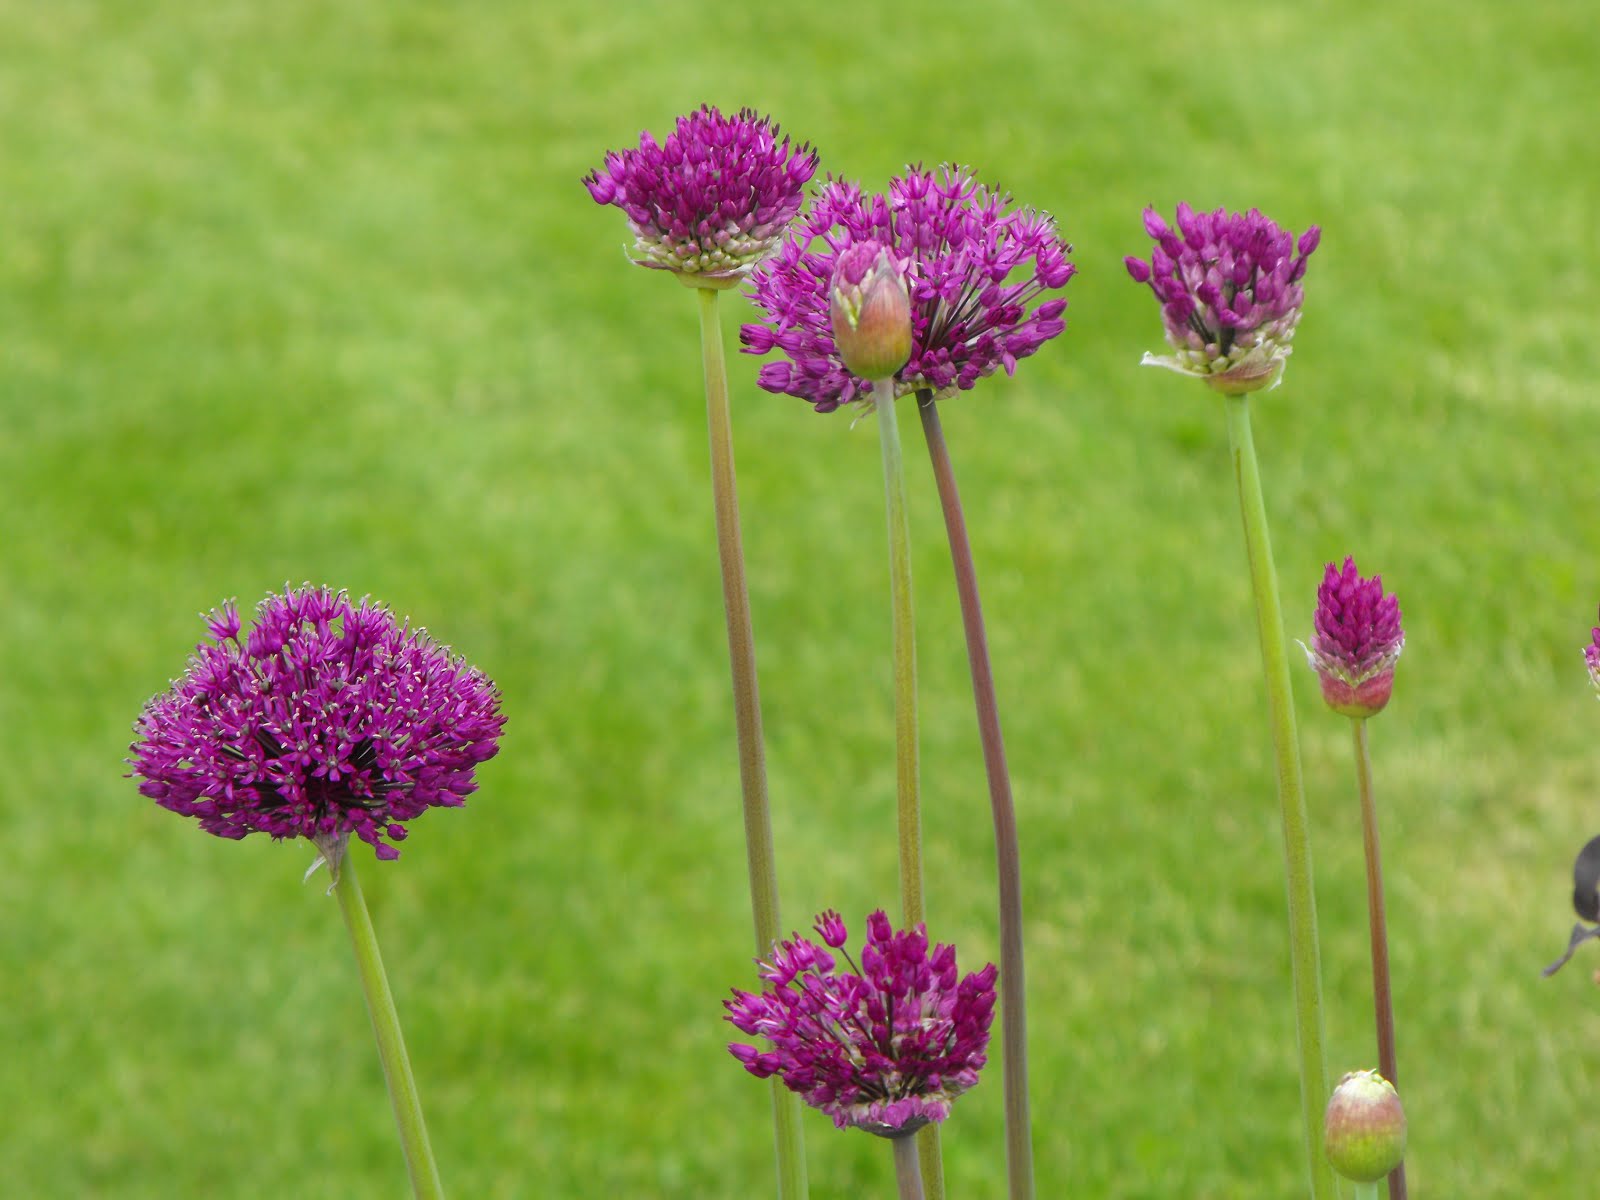
Final Garden Shot are large purple Alliums - they are a new addition to the front garden and they make quite a statement!