I am a part of the same weaving study group as Mom called Exploring More, and this fall the project that we are weaving is to weave something that we can frame. There is really no rules you can do any weave structure, any fiber, anything really. It is surprisingly hard to come up with an idea!
I have always wanted to weave a textured canvas (like for an oil painting) and paint over it, letting the paint pool and collect in the texture. I only have a vague idea of how I am going to do this project. First step was to find some artist canvases that I am going to use to stretch my fabric over so that I can then paint on it.
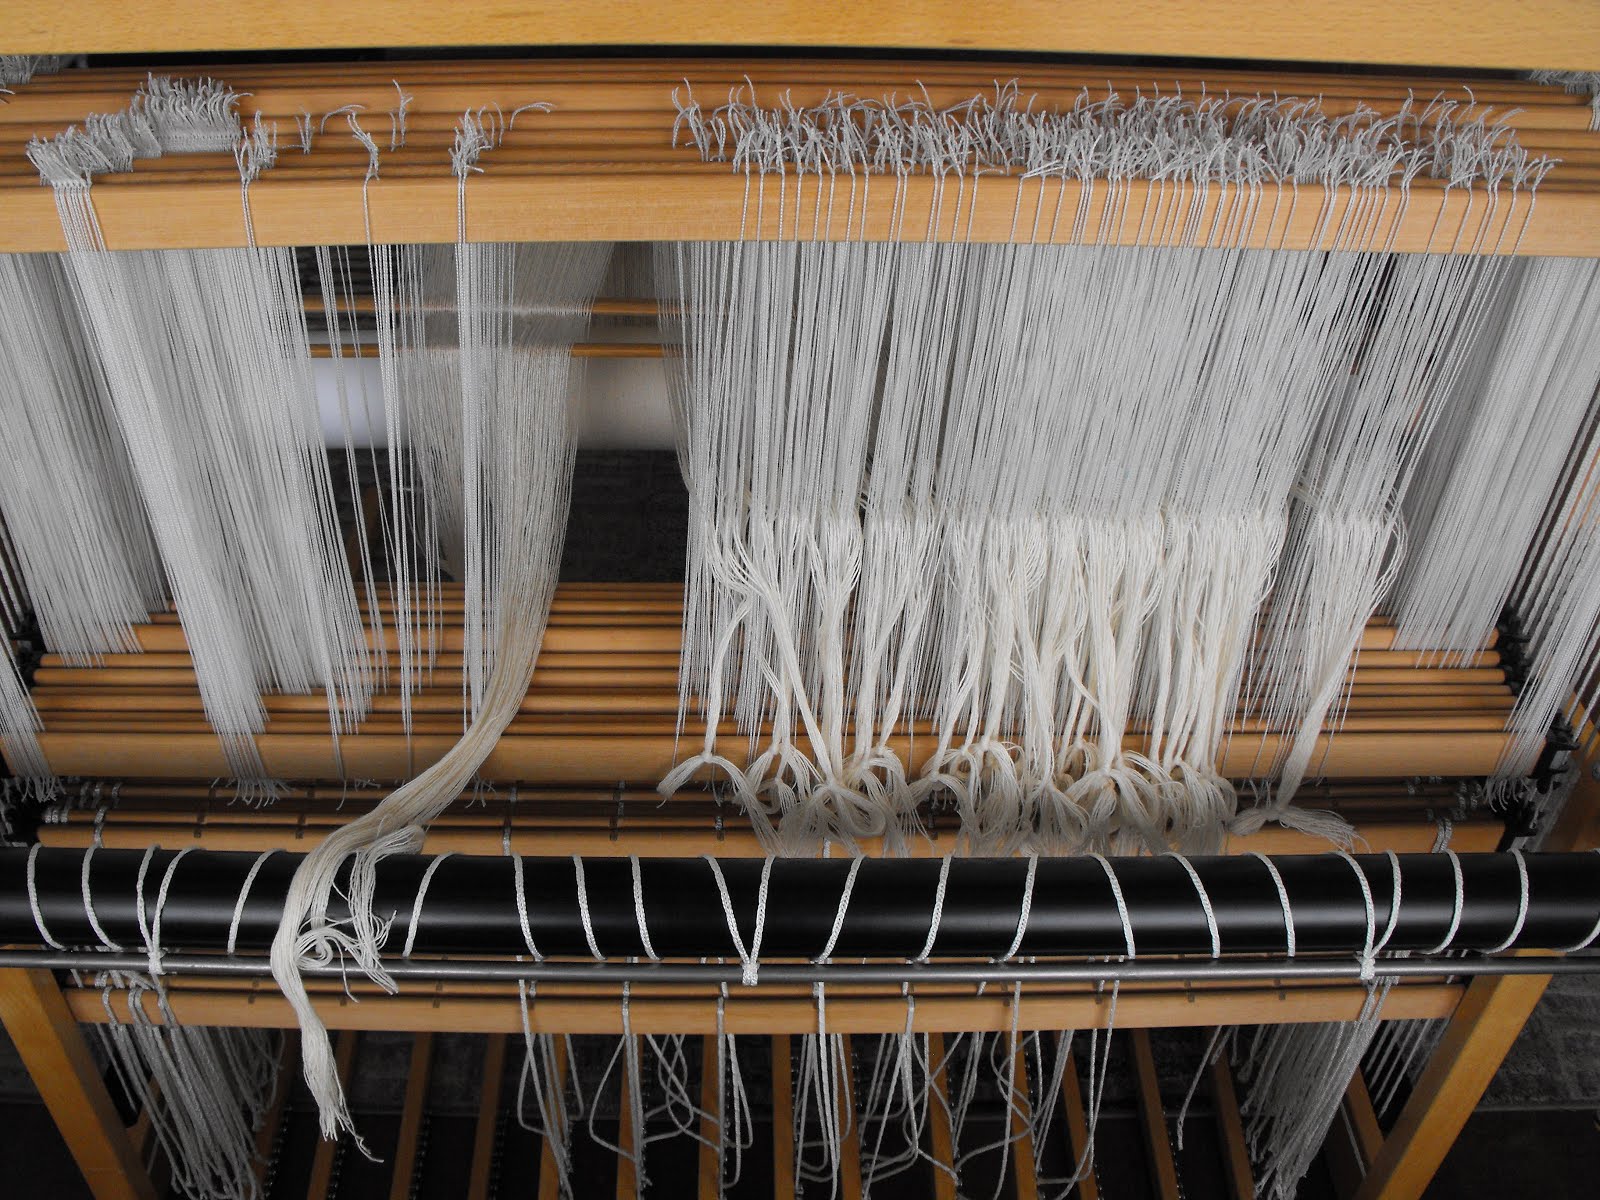
Now that I know the size that I need to weave I can pull my warp. I wanted to use a fine thread so I used a 2/30 cotton. Yup I went from Chenille set at 10 epi to this cotton set at 40 epi!
I pulled the warp with no idea what pattern I was going to weave, I just wanted to get started! The warp is 18 inches wide and 3 yards long, enough for four paintings.
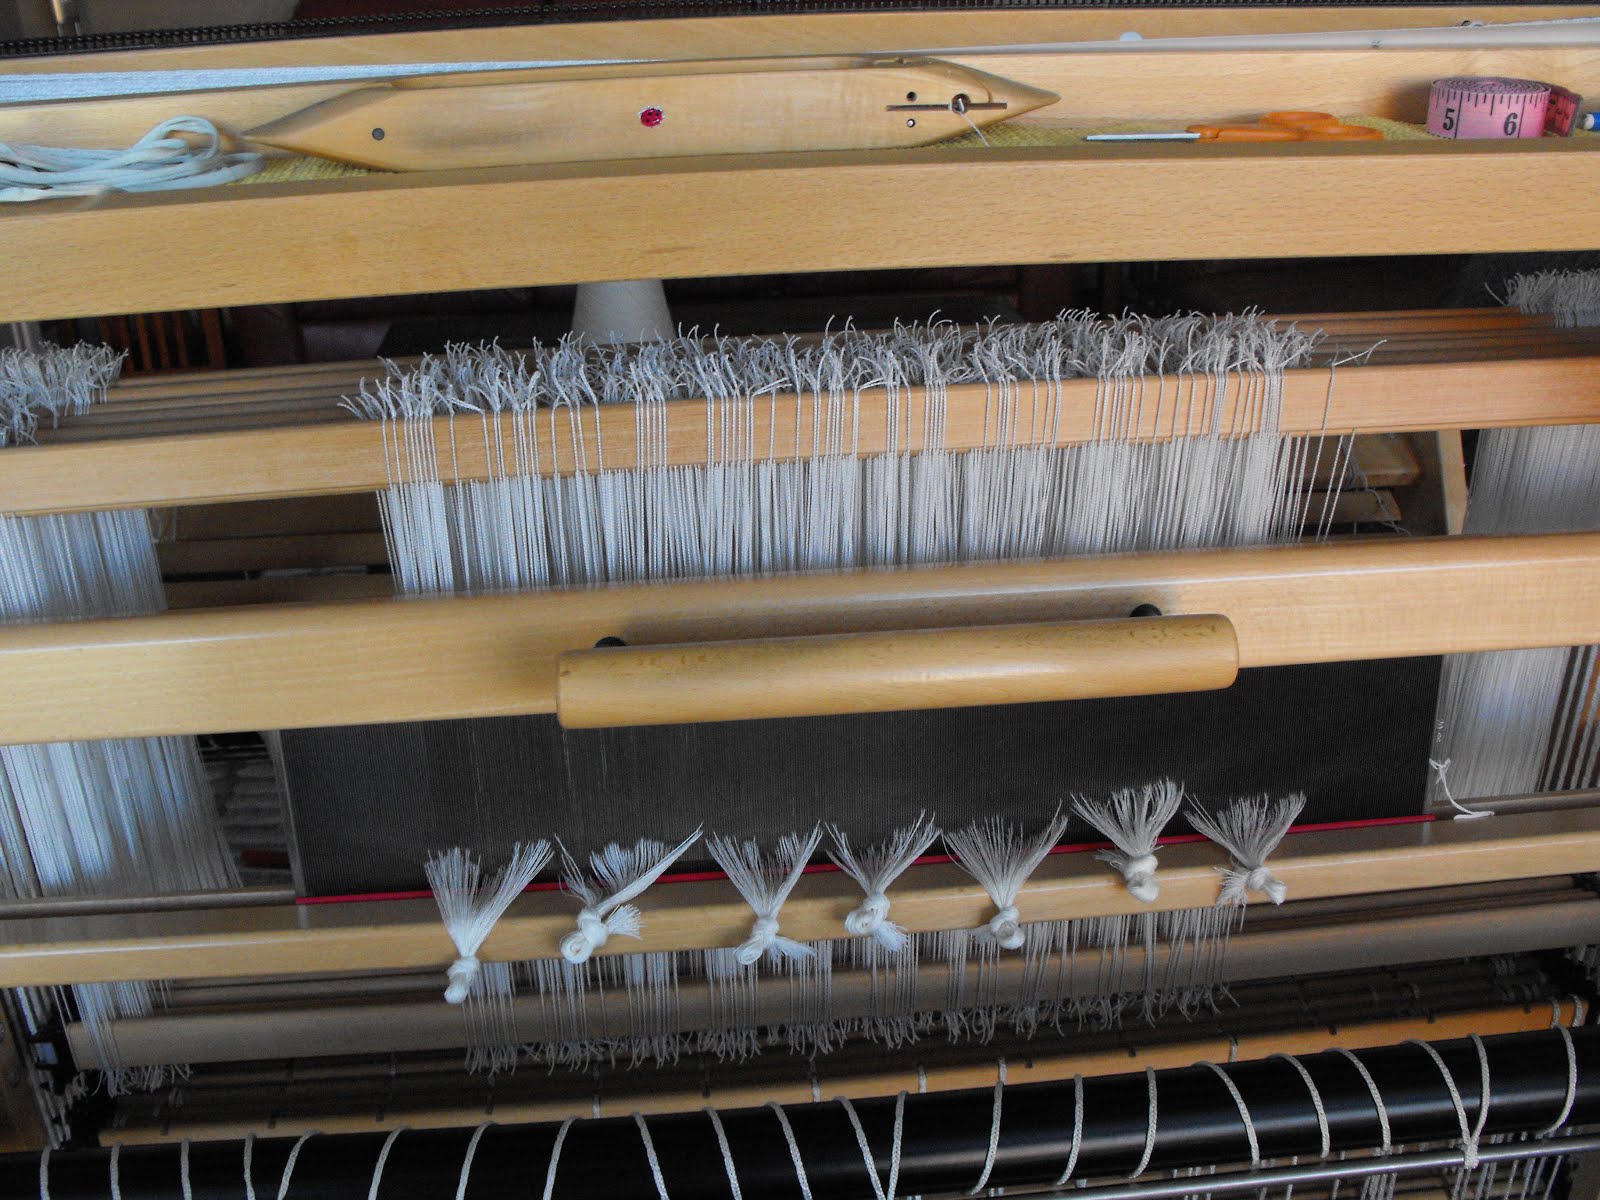
I decided that for the first painting I wanted to weave something with a lot of texture. I went with an advancing twill that looked like ripples on water. Of course I made a threading error that I didn’t notice until the end of the threading process. I had to rethread over 700 threads, yikes!
While I was busy weaving; I heard something fall with a metal clink. I looked down and I saw a huge screw had fallen out of the bar that holds the treadles to the loom. Thankfully it screwed back in with no problems.
The pattern is really adaptable; you don’t really have to follow the pattern exactly. The woven piece is only 22 inches long so I was able to just weave the piece with no repeat.
I washed and dried the piece because I wanted to remove the reed marks from the cloth. I ironed it really hard to remove the wrinkles. Here you get to really see the watery ripples of the pattern appear.
Next step is to staple the fabric piece onto the art canvas.
The hardest part was figuring out how to do the corners. I’m still not happy with how they look.
But the finished canvas looks pretty good!
Last step is painting the canvas. I chose to use acrylic paint because you don’t have to prepare the canvas, you can paint over the raw fibres. I didn’t want to use gesso to fill in the texture of the fabric. I wanted a modern look to the painting with just one bold stripe of colour. I had too much paint on the brush so there is a big glob of paint and I hate that I applied the paint on the diagonal. I tried to balance it with more paint but still hate it.
So I added more paint, now I hate it more.
I like the light areas where the paint picks up the woven pattern. But I hate the dark globby areas.


I am not sure where I am going now; do I work more on the painting or just leave it as a failure that I learn from? Should I keep going with the other painting ideas I have for the warp or should I just weave something else with the warp?
As I am writing this blog I think I may have a solution for the blue painting. Maybe I could paint it all over blue then use silver paint to dry brush over it to bring back the woven texture of the painting. Maybe . . .
Final Garden Photo is flowering plants, it may be November but we still have some plants flowering. They will keep going until a heavy frost. They are Anise Hyssop (Agastache foeniculum), Wand Flower (Gaura lindheineri) and Garnet Beardtongue (Penstemon 'Garnet') and peeking around back is Alyssum.