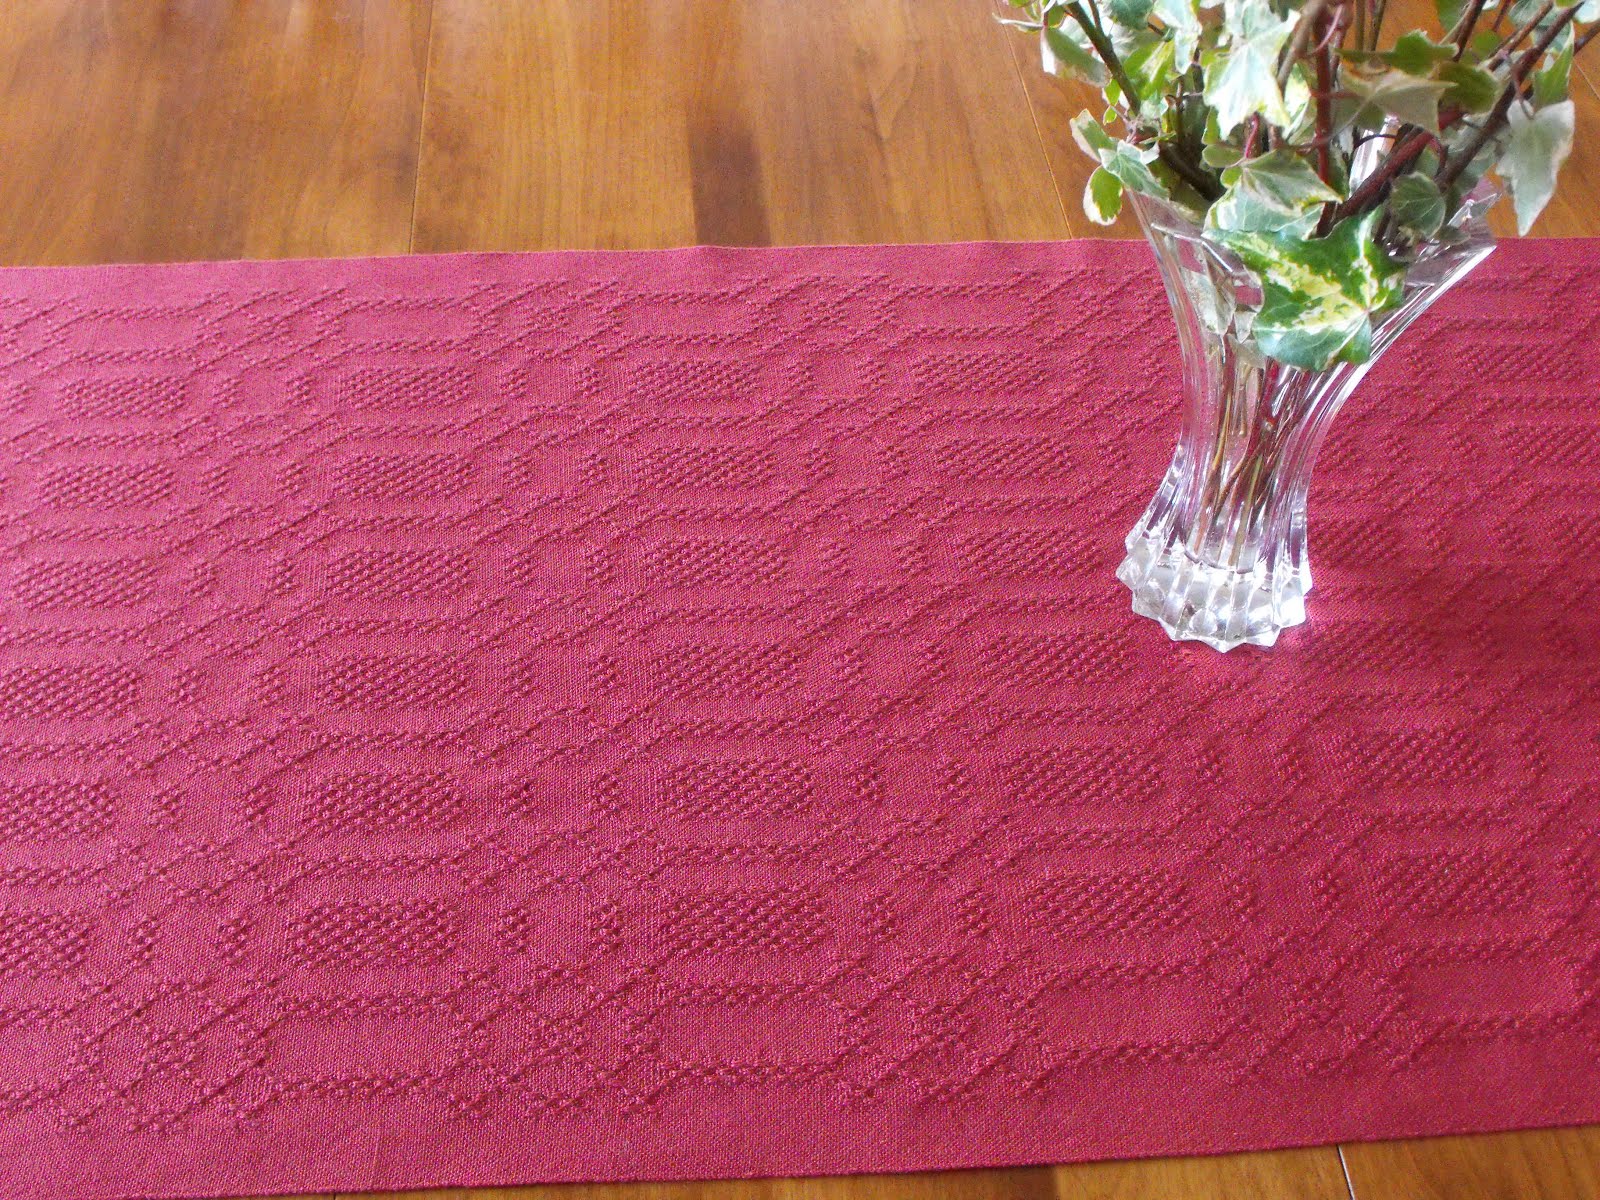
For the first half of the year in my Guilds study group, Exploring More, the topic was taking a motif and drafting it in various weave structures. The first weave structure that we did was Lace, and I am going to take you through how I drafted a pattern.
We choose to do a Lace Weave first because it has clearly defined blocks and has a relatively large number of pattern shafts. I chose to do a Huck Lace because I like the look of the interlacements.
The first thing is to choose a motif. I chose something that has symmetry, so I can have a larger image using less pattern shafts. Let’s try this cute angel fish.
For Huck Lace the first two shafts are the background shafts, they don’t affect the pattern. But the rest of the shafts are pattern shafts. In my case I have a 12 shaft loom so minus the two background shafts I have 10 pattern shafts. For my fish I only need six pattern shafts so I have plenty of shafts.
So, now is the time to get out the Huck Lace graph paper. You have probably seen in the back of Lace weaving books or Drafting books. This sample is from The Complete Book of Drafting for Handweavers by Madelyn van der Hoogt. I actually find it too small to use and I only need a small portion to use for my motif. So I make my own when I graph the image.
For a motif you are going to thread the blocks in either straight order (i.e. in a straight line) or point order (i.e. in a V shape), with the fish I will be using point order because I have horizontal symmetry and it cuts down on the number of shafts needed. Use the standard Huck Lace threading blocks which are Block A is 23232 Block B is 14141 Block C is 25252 etc.
Now is the time to add the hash marks into the graph. The hash marks alternate between |, which are warp floats and the –, which are weft floats. I wanted the nose of the fish to be a warp float Huck Lace unit so I started with the | hashing there and worked back across the line. Then I add the rest of the hash marks to the graph. The hashing alternated between EO (even odd) and OE (odd even).
To figure out the tie up a new graph is needed. This new graph is set up in alternating plain weave. This is where the EO (even odd) and OE (odd even) stuff comes into play. My first line on the fish graph is EO so I start with the odd number plain weave line.
To fill in the new graph I look across at the fish graph and look at the purple highlighted areas. On the fish graph I have numbers 3-8 running on the top of the graph these are the shaft numbers.
If the highlighted area has a |, that shaft number is added to the new graph, which created a warp float unit. If the highlighted area has a –, the shaft number is subtracted from the new graph, which creates a weft float unit.
Looking at the first line the highlighted area is a | and on shaft 8 so it gets added to the new graph. The second line the highlighted area is a – and on shaft 8 so it gets removed from the new graph. Continue adding and subtracting until done. This is now the tie up, instead of reading it from the bottom up, read it from the right to the left.
For the treadling I look back at the fish graph and can see that each treadle corresponds to a single unit, there is no symmetry. I will place the treadles in straight order (in a straight line) in the Huck Lace manner, which is the same as the threading blocks, Block A is 23232, Block B is 14141 etc. I now have all the information that I need to weave the fish, I don’t need to put it into a weaving program. But I will so you can see the final product!
There are some duplicate treadles that I can take out, down to 15 treadles from 19. But there is still too many treadles needed from my loom.
If I take out the alternating huck lace units I can get down to 10 treadles but I think that the fish looks funny. If I was going to weave this fish I think that I would add back the alternating huck units and just have the nose as a duplicate and that would get me down to 14 treadles, which is what I have on my loom. Of course this isn't a consideration if you used a table loom!
So there you go a small guide to drafting a motif in huck lace! If you would like to know more about drafting I recommend The Complete Book of Drafting for Handweavers by Madelyn van der Hoogt.