Saturday, November 23, 2013

Pinwheel Tea Towels on Eight Shafts ~ Cutting Out

 The beautiful 8 shaft pinwheel tea towels have become the bane of my weaving world.  I just can’t believe how many problems I’ve had with this warp!

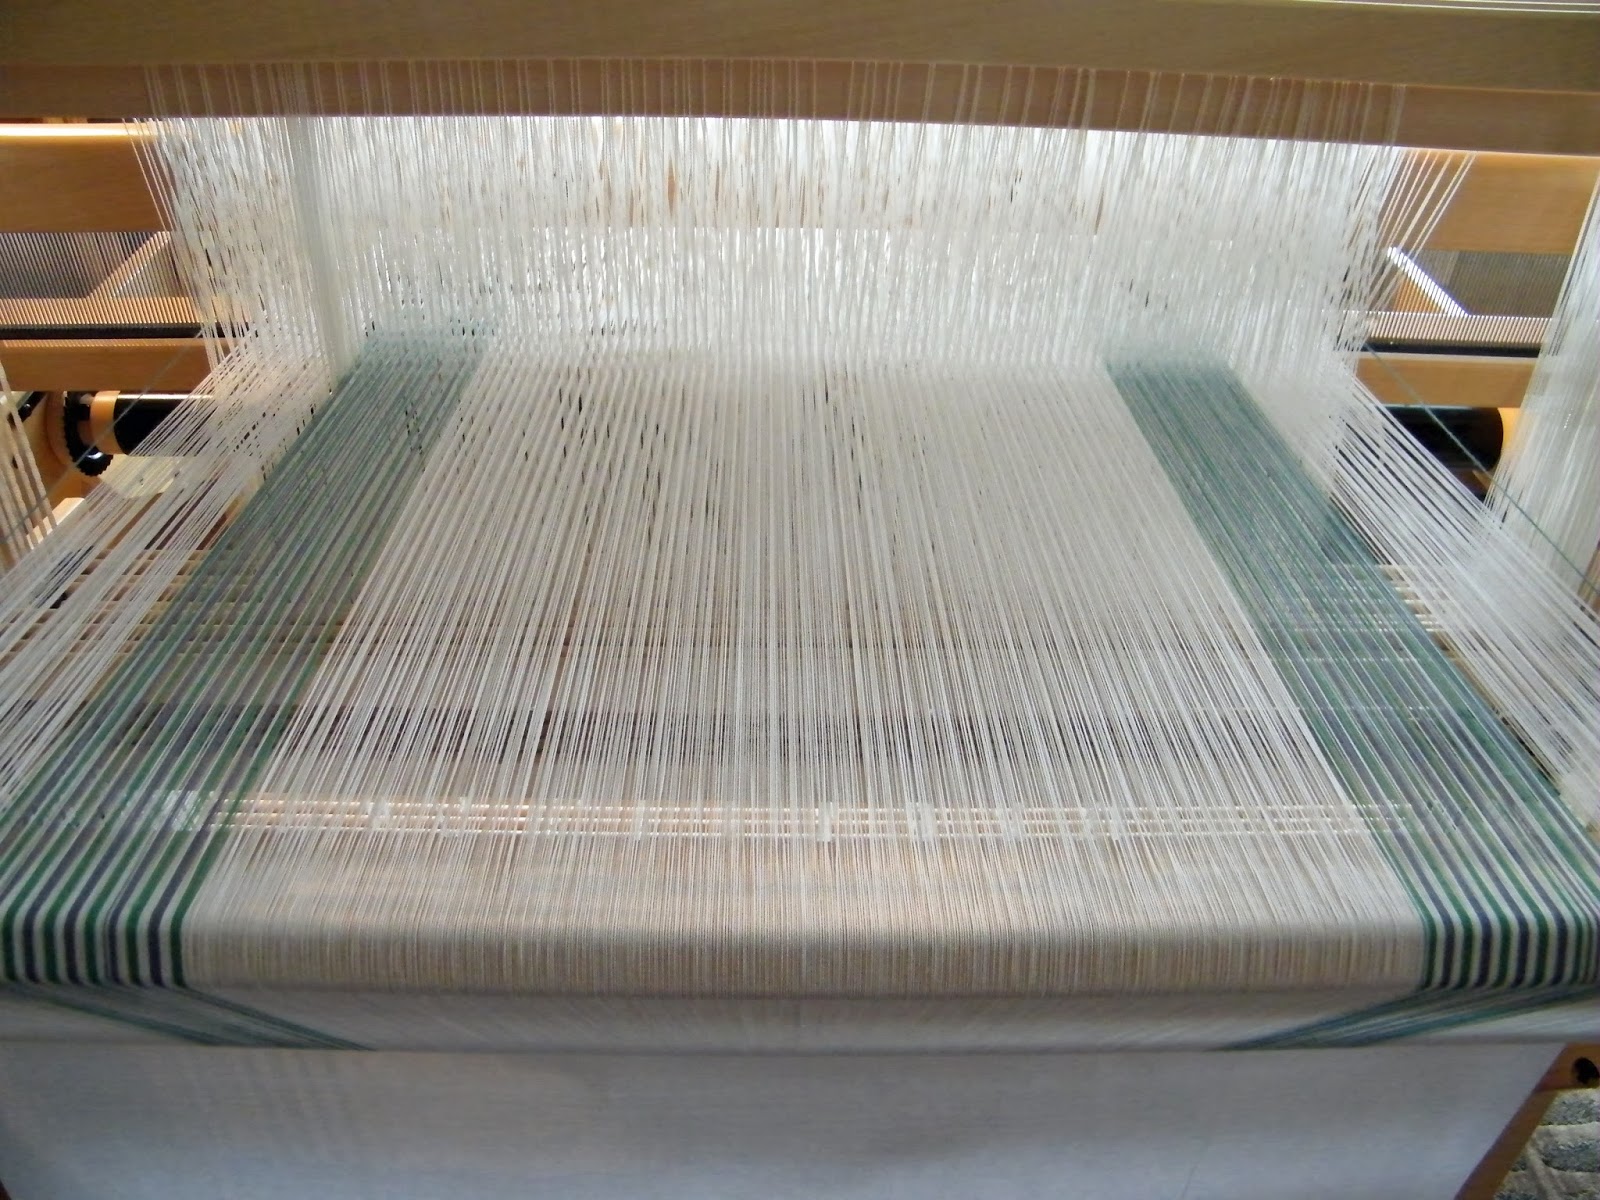
The first 36 inch tea towel had been woven and I was about 8 inches into towel number two when I started to notice that there were loose threads in the centre of the web. 
This was essentially the same place where the threads had snarled when I was pulling the warp through the raddle when I beamed the warp. 
As you can see the stripes are bowing toward the centre….not good!

There is really only one fix for a poorly beamed warp and that’s cutting it off and re-beaming.  This is my process.
I choose a spot near the selvedge and push apart the warp and carefully clip each weft thread.  I do the same on the other side. 
I don’t clip the weft right on the selvedges because it can put too much stress on the selvedge threads.
Then using a blunt needle I pull out each thread from somewhere around the centre of the web.  I change up the spot from time to time to minimize damage to the web.  I unpicked the weft right back to the end of the first teatowel.
Before I went any further I inserted my lease sticks back into the web, to help with re-beaming.
Then I cut off my first tea towel.  Here it is off the loom but still not washed.  It is so pretty and light, but I’m not sure if I’m preserving with this hideous warp because it makes a pretty cloth or if I’m just too pissed to quit!
At this point I needed lots of hands, so my husband manned the back beam and brake and Ngaire and I pulled the warp through the heddles and the reed from the front.
This warp didn't pull through the heddles and reed without a fight and there were more snarls and snags to contend with; but thankfully it finally came off the back beam and I could start the process of beaming all over again.
I could not believe the difference in the length of some of the threads when I tied on, it was several inches between the shortest and longest!  While I was teasing these twisting, torqueing  threads onto the beam the first time I beamed it; I was sacrificing the overall tension of the warp and boy did I pay the price.

Monday, November 18, 2013

8 Shaft Tea Towels - Pinwheel Pattern

 The never ending story of these 8 shaft twill tea towels continues, with yet another set back. 

The warp was on the loom and I had threaded the heddles and was almost completely finished sleying the reed.  I began to notice that the warp was getting wider than I thought it should….and that’s when my basic math skills leapt to the fore.  I was sleying the threads 4 to a dent in an 8 dent reed….yup 4x8=32 and I was supposed to be at 36 epi.  I wish I could say that I grabbed the wrong reed, but no, I remember looking specifically for the 8 dent reed and not the 9 that was right beside it!  Complete brain fart!
Since I was working with 868 ends I really didn’t want to pull all the sorted ends out of the reed and start again, so I popped the reed out of the beater and placed it onto the framework of the loom behind the beater with the cut ends face down.
I put the 9 dent reed into the beater and one by one I carefully transferred each 4 end bundle into the dents. 
 Surprisingly it went very quickly and without a hitch. 
Finally, ready to weave!
If you squint just a wee bit I think you can see the pinwheels developing, but only a wet finishing will tell if I’ve got this right.
I made myself a template tape to help me keep consistent, and I run it along the left of my web.  I marked off 2” for turn-under and then I insert a red thread guide my first pressing line.  I separate each towel with 4 picks in yellow as a cutting guide.  I’ve also marked off when to start the pattern on each end.
Just thought I’d show you how different the same pattern can look with different warp and weft…on the left is hand-painted silk and bamboo weft, the middle is tencel with muga silk weft and the pattern elongated and the right is tencel with tencel weft; a super versatile pattern! 

Thursday, November 7, 2013

Twill Tea Towels ~ 8 Shaft Pinwheel Stars

Wanting to use yarn from my stash is always a challenge. I’ve wanted to weave a set of fine tea towels using 2/16 cotton for some time and I’ve wanted to try out this colour and weave twill pattern that looks just lovely with the tiny pinwheel stars.

Off I went into my stash cupboard and found that I had some lovely blue and green cotton in 2/16, but I didn’t have anything that went with them.  What I found was some 24/4 white cotton which has approximately the same yards per pound.

Then came the realization that the ends per inch needed to be somewhere between 30-40 threads ~ 30 for loose plain weave, and 40 for lace weave.  Since I was doing twill I decided on 36 ends per inch.  My final thread count is 868 ends for a 24 inch tea towel and that is more heddles per shaft than I have on my loom.  First order of business, move heddles from shafts 11 and 12 onto shafts 1 to 8; this is fairly straight forward on the Louet Spring loom, but it sure hurts your fingers after a few shafts! I'm thinking this is my first big mistake.

The plan is to weave 6 tea towels at 36 inch long each, so I pulled a warp of 242 inches.  This is just shy of 7 yards but still gives me lots of loom waste and take-up.  Since I had 2 cones of the white cotton yarn I decided to pull them at the same time, but to separate them at the cross to keep them in order.  This proved to be my second big mistake, and the reason is torque.  As the thread is pulled up off the cone it creates a spiral and by using 2 cones at the same time, the spiral turned into twist.  I pulled the warp in 3 sections over 2 days because it was a tad tedius.  I’m already having doubts about this project.
This is how it looked as I was trying to pull the warp onto the loom.  This was such a nasty warp to pull on that it took 2 people 1-1/2 hours to get it through the raddle and beamed because the torque was immense.  Starting to really dislike this project!
Nothing but snarls and twists as the threads passed through the raddle!
And even more sticking and bridging as they tried to pass through the lease sticks.
I had to stop and strum the warp with the back of my fingers to separate the web, every half turn of the back beam ~ awful!
 Right now I’m threading the loom and up pops my next challenge; bear with me while I explain my problem.  When I work out the pattern on the computer I have the tie up on the top right of the screen, when I pull the warp on the warping board I start at the same place, but start building my warp from the back left of the loom.  So when I start to thread I’m sitting at the loom and I start threading from right to left and that is from the left of the screen printout.  Normally this is not a problem, but on this particular colour and weave pattern if you thread it backward the pattern does this and you lose the star pattern.
There is another very odd foible in this pattern, if you don’t get the threading and treadling exactly right you get this.  Not only do you lose the stars but you lose the rest of the pattern.
Because of the way I put the warp on the back beam I’m having to thread my heddles from left to the right to make sure it works out.  I'm finding it completely counter intuitive and it’s taking me forever to get anywhere, but I have to admit that it's looking really, really lovely.

Sunday, October 20, 2013

Networked Twill ~ Finished and Started

I have the treadling for the Polka Dot pattern committed to memory…or so I thought!  I pulled the painted silk scarf off the loom I just loved it.  After wet finishing and hanging to dry I put started to twist the fringe and that’s when it appeared, a whopping big error.

On this side everything looks great, and this is what I saw on the loom. 

This is the reverse side and there it is….a three thread treadling error right across the scarf (about half way up on the left side)!  Just as well that I love this pattern and don’t have a scarf like this because this one is mine, yet again!  I seem to be the recipient of more and more of my scarves lately.  Not sure what that says about my concentration of late.

Since I’m not one to give in, I immediately put on another silk warp using the same pattern.  This warp is hand spun silk that I blogged about spinning here. 

I have used this silk to weave a scarf before and I found that the sweet pastel tones really didn’t leap to the fore, so I decided to add a bit more colour to the warp and I dropped, green, purple, turquoise and navy onto the pulled warp during my last ProcionMX dye day in August.

There was no question regarding the weft this time.  I decided to use 2/16 Bamboo in navy and I couldn’t be happier with the outcome. The weft is really fine so the painted silk really pops.

This scarf looks just like a painting of dappled water; it is without a doubt one of my favourite painted warps!  Hopefully, this silk scarf with come off without an error and I’ll be able to list it on Etsy.

Saturday, October 12, 2013

Undulating and Networked Twill Projects

The undulating twill shawl is finished and I couldn’t be happier with it!  The buttons that I ordered online were a perfect fit and the subdued copper finish on the metal buttons is a wonderful addition to the soft rust and copper tones in the shawl.  This undulating twill is a real joy to weave and has a wonderful soft drape ~ perfect for a cape or shawl.  You can’t see me, but I’m doing a happy dance!  You can see more photos here.  
At the bottom of the last post I showed you the painted silk scarf that I had just started weaving.  I have been having my recurring difficulty with weft colours.  I was sure, and I mean sure that the Azure blue weft would compliment the various purples and highlight the turquoise in the warp, well, I couldn’t have been more wrong.  What the Azure did was completely masked the turquoise and hide the variegation in the purple warp.  I also found that the 2/8 grist of the tencel over powered the 2/22 silk.  
My goal was to feature the wonderful colours of the warp, so I went to my stash and found this lovely single magenta silk.  It’s probably 1/30 ish and has long slubs that appear randomly. I was sure that this fresh colour would be perfect to show off the turquoise and that it would make the purple warp glow ~ right?  Wrong.  It just covered everything up and I couldn’t even see the polka dot pattern!
After much angst I settled on using a 2/10 black tencel weft.  The black toned down the luminosity and freshness of the warp, but it shows the pattern well and showcases the warp colours beautifully.  This scarf is still on the loom so it looks a bit loosey goosey right now but once wet finished it will be a stunner.
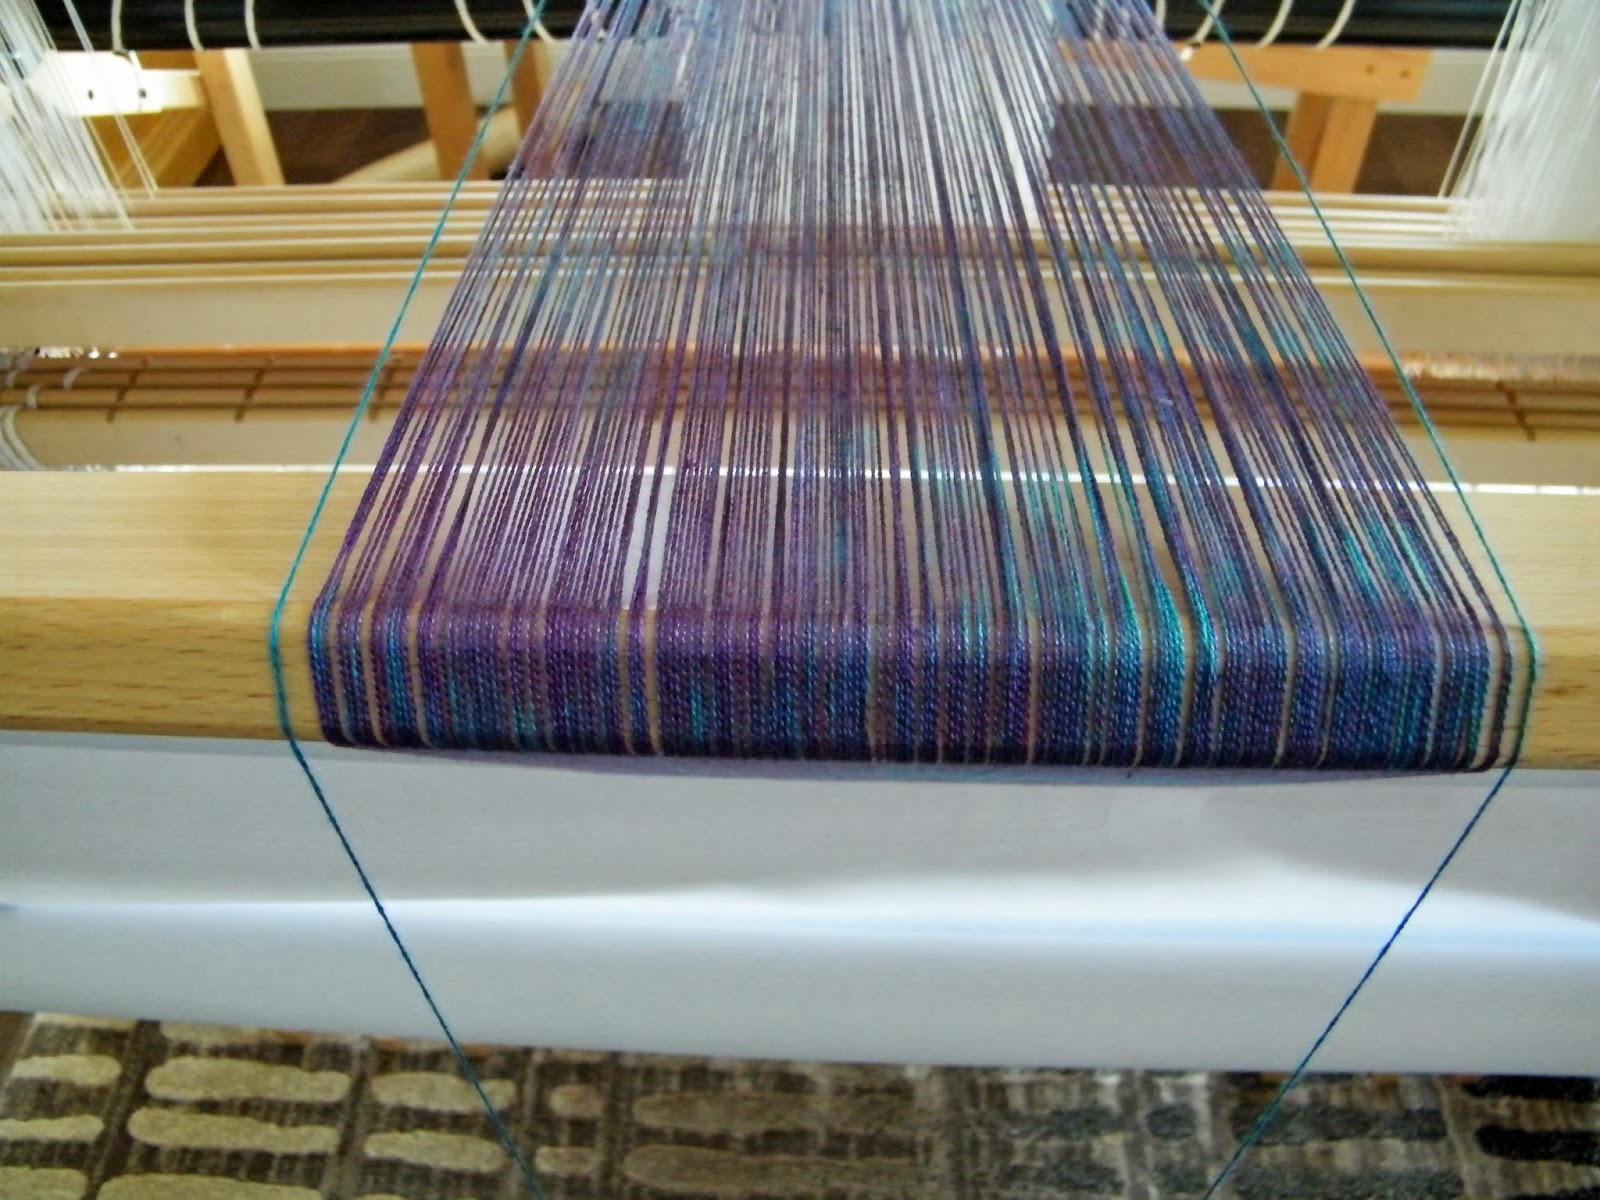
This is not the scarf that I envisioned at all, but it’s a real beauty nonetheless.

Monday is Canadian Thanksgiving day, so, 'Happy Turkey Day Everyone!'

Monday, September 30, 2013

Undulating Twill Shawl

September was one of those months that just seemed to fly by! We've taken plenty of day trips around Vancouver Island as well as a longer trip ‘off the rock’ to the Interior of BC to visit family, so weaving has taken a bit of a back burner.

Although I've not been blogging, I have been weaving in fits and starts.  Mid month I put on a warp in lovely rich rust and brown. I used two different colours of brown and a deep russet colour which I pulled together and randomly threaded through the heddles.

The warp is 24 inches wide and 100 inches long and I plan to make a hemmed shawl.  I chose to use an undulating twill pattern to enhance the fabrics drape and the random colour breaks really add interest to the pattern. 
To temper the earthiness of the browns I added 3 stripes on each side using a colour that Webs calls Adobe. I liked it so much that I used it as the weft too, it really pulls the brown up from drab to dazzling!
The fabric wove up very quickly and I have it off the loom, washed, hemmed and pressed.  I want to add buttons to this shawl but couldn't find any in my local Fabricland, so I ordered some for the shawl from a supplier on Etsy and had to await their arrival.
The buttons came in 10 days beautifully packaged!  These buttons cannot be found in local shops and that’s for sure!  I added a few exta buttons to my order for a raw silk blouse that I plan on sewing soon.
These copper metal buttons are the ones that will go on the shawl to allow it to be worn as a capelet.  Ngaire has already made one of these shawls and you can see it here.
 I've just started weaving one of the silk scarves that I painted in August….this one is purple and turquoise and I've chosen Azure for the weft.  This will be a polka dot scarf ~ a pattern that I go back to time and again….I love it!

Thursday, September 12, 2013

Lashing On A Warp ~ or ~ Lashing Out About Lashing On

 Ngaire just put on a project using Bambu7 and she found that getting perfect tension was problematic using our tried and true method shown here.  The Bambu7 is a fairly thick yarn that has 6 strands and very little twist and frankly it’s really pricey, so lashing on was the solution to fix the problem and to save warp!

The fist step is to tie overhand knots.  The knots are tied using the number of ends in about a half inch of reed.  In this case the sett was 20 epi, so there are 10 ends in each knotted bout.

All the knots are done and you can see that Ngaire made every effort to get the knots about the same length from the ends.  Taking time now to keep them even really helps later on.

On the right hand side you can see a stick holding up the front apron rod.  Ngaire put one of these small lease sticks on each end of the loom and the purpose is to hold the apron rod in place while you lash on, making it hands free.   Ngaire made sure that the apron rod started out about 3 inches away from the knots to ensure that there was enough room to tighten the bouts after lashing on.

The yarn you use to lash on is another variable.  You need to choose a yarn that has hardly any stretch and is very, very strong because you will be pulling on it quite hard and you don't want it to snap half way through!  Ngaire decided to use 2/8 Orlec, but any synthetic will do nicely.  You need to start out with enough yarn to go over and through each knotted bout, so make sure you have at least 8 or 9 times the width of your cloth.

To start lashing on you need to tie the end of the lashing yarn onto the apron rod and go through the centre of the knot and then back around the apron rod.

You go around the rod and then up through each and every knot.

Every 5 or 6 knotted bouts stop and pull the tension fairly tight before proceeding forward.  This is another little step that makes it easier in the end.  When you have reached the end of the knots you tie off the lashing yarn and then pull or press on the lashing yarn until they feel even.

The knots should be in a fairly even line in the front, so go around to the back of the loom and walk your hand across the warp to futher even the tension.  Just gently push down and rock your hand on any tight feeling ends.  You may want to close your eyes to help you ‘feel’ the tension better.

Walk back around to the front and using the tension brake tighten up the warp to remove all the slack.  Now run your hand along the warp in front of the heddles and behind the reed to make sure the warp is evenly tensioned.  Leave the warp to rest with the tension on for twenty minutes or so, to make sure no new tension problems develop.

Here it is all done, evenly tensioned and ready to weave!  This is a great technique to use on those 'spendy' yarns because there is hardly any waste.