The weather is here on Vancouver Island is turning a corner and fall is starting to creep in. The lovely days of planting, weeding and harvesting from the garden will be soon over and now our thoughts are turning to weaving.
There is nothing more exciting than putting a gorgeous colourful painted warp on the loom in the cold, grey months of winter. Mom and I decided it was time to paint some warps. It has been a few years since we last had a dye day for silk warps so I’m going to share how we do it.
We purchased some 2/22 Bombyx silk from India and we like the sett to be 24 epi (ends per inch), so for a scarf 8 inches wide we need 200 ends. We have found that 100 inches is the perfect length for a scarf on our Louet Spring Looms; it gives 10 inches for fringe at both ends, 70 inches for woven length and some extra for take up and loom waste.
We also pulled warps with a few different silks; 2/30 Tussah silk, 2/30 Tsumuga silk, 1/20 Bourette silk and 2/30 Camel/Silk blend. They all have different setts and numbers of ends so we have everything on a spreadsheet. We also use large tags made from ice cream bucket lids with numbers on them to keep track of the warps. We ended up pulling 24 warps!
We set up to dye in the garage with saw horses and a long piece of plywood that was topped with a piece of rigid insulation to get to just over 100 inches in lenght, it is best to lay the warps long and straight, it really makes painting the design much easier. It is totally jury rigged but it works and we can each paint a warp at the same time, one on each side!
We separated the silk warps into 3 sections of 8 warps, because 24 is too many to do in one day. So two people with 4 warps each means the dyeing only took about 2 hours to do but it still took three days. We use Procion MX dye and the first step is to place the warps into a soda ash bath for at least 30 minutes.
The dyes get a mix of salt and urea with some dry powdered dye and then some water. You can mix the dry powders up to get different colours like teal and magenta. Always follow the manufacturers instructions for safety and use when using dyes.
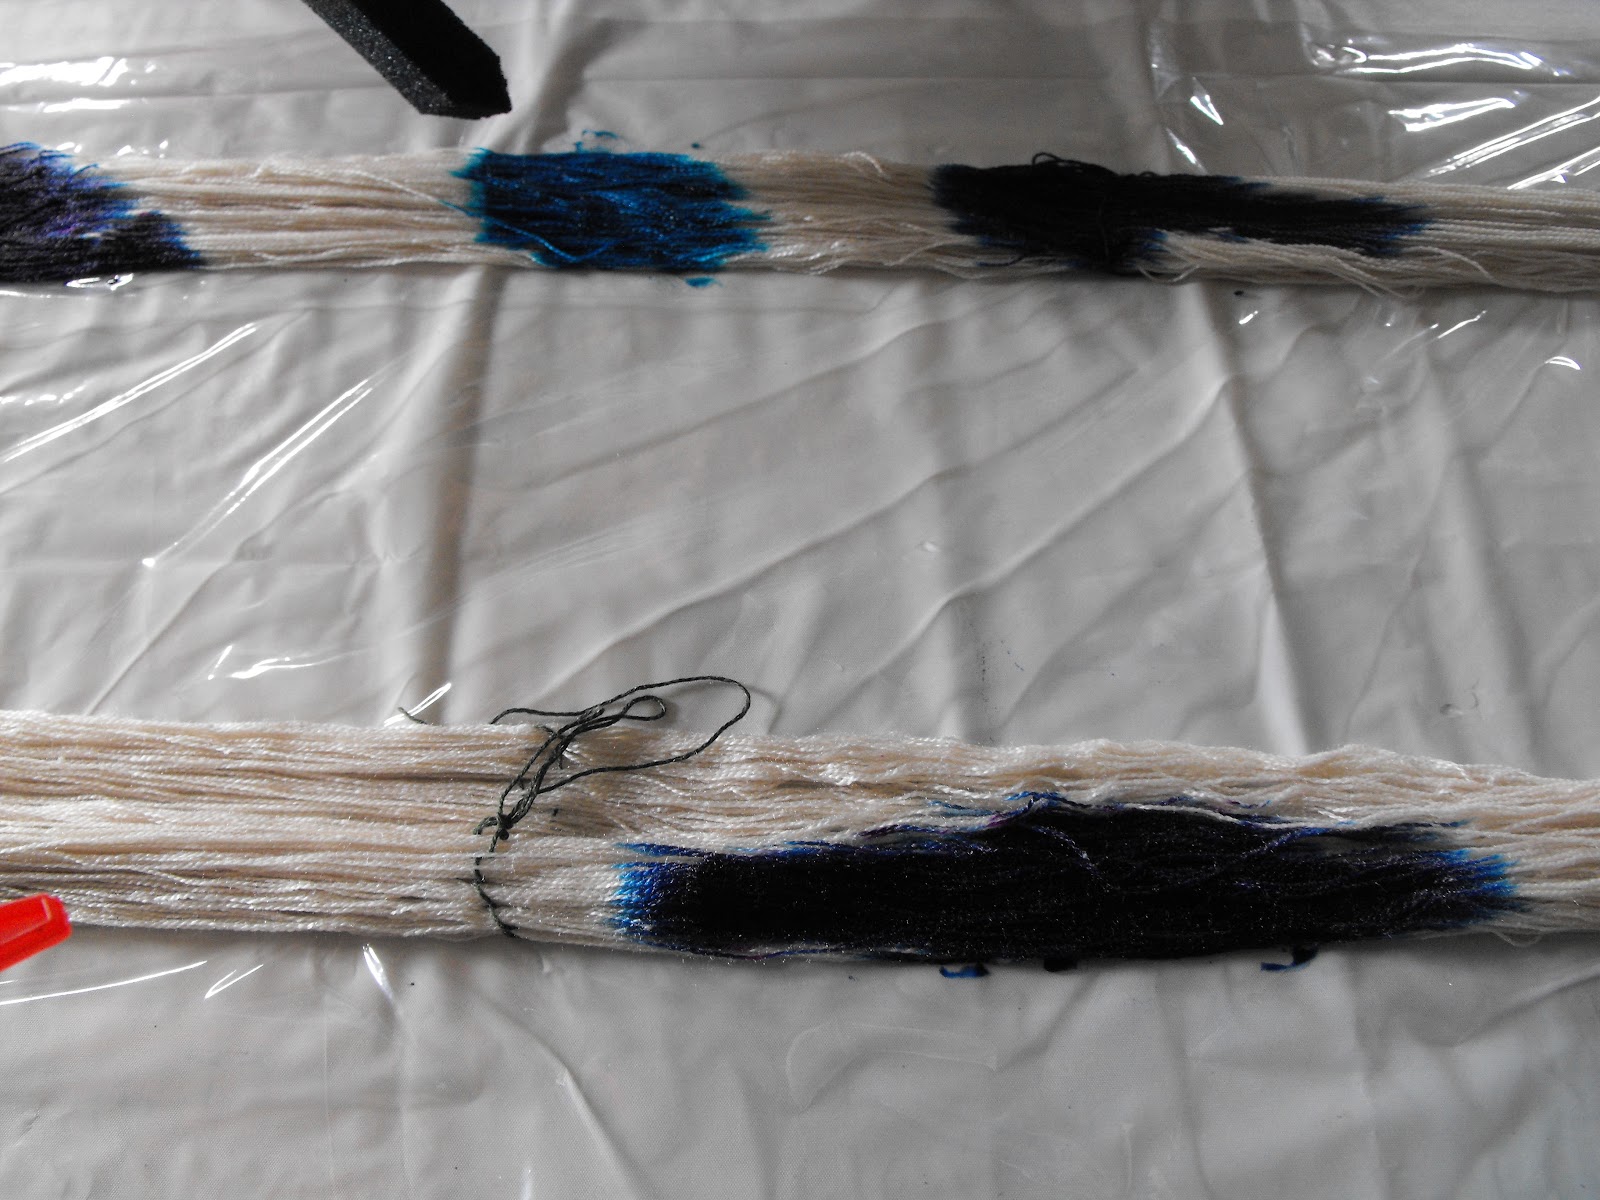
A long piece of plastic wrap is placed on the board then the warp is squeezed dry (wear gloves!) but not rinsed and is added on top of the plastic wrap. Carefully untwist the warp, try to get it flat but this is not an exact thing. We use sponge brush to add the dyes to the warp. Sometimes we do splashes and dashes of colours. The next warp could have a long twisting curves of colours. There is no right way to do it, every warp is different.
Once the warp is coloured, wrap it up in the plastic wrap and leave for 24 hours. We then put them into a plastic zippered bag just in case they leak. Next post we rinse!
Final garden photo is of Dahlias, the bumble bees just love them. Some are named varieties and others we grew from seeds but all are just covered in bumble bees. The bumble bees also sleep on them over night.


It's so much fun seeing the true colours appear as the yarn dries! You are quite right that the painted warps are like summer shine in the middle of winter when weaving time happens!
ReplyDeleteWhat a great post. For me, it's an excellent refresher, having been away from dyeing so long. I agree that weaving a painted warp is exciting!
ReplyDelete